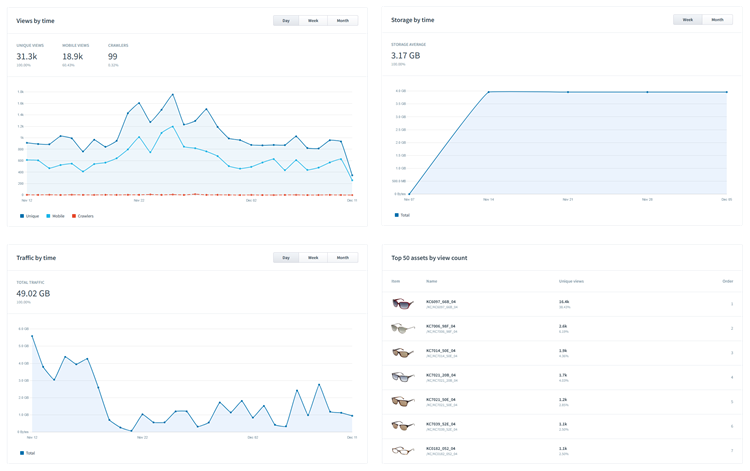
Our new analytics support in PixRiot can help you better understand how 360 product photos and 3d renders you host on PixRiot are being used on the web. In the initial release, available reports include the total number of unique views across all devices, the number of unique views on mobile devices, the number of views by web scanners (e.g search engines, etc), most viewed assets, as well as overall traffic and storage usage in PixRiot.
By tracking the number of unique views, you can get a sense of the overall popularity of your products and how much interest these 360 product views are generating. This information can be useful for a variety of purposes, such as identifying which products are most popular, determining how well your marketing efforts are driving traffic to your website, and identifying opportunities to optimize your website and product offerings. Additionally, tracking the number of views by search bots and other internet scanners can help you understand how much PixRiot traffic is "wasted" by search engines or have an additional insight into your search engine optimization (SEO) efforts.
To access the new feature, select Analytics on the left side of the PixRiot dashboard and pick any of the available reports from the drop-down at the top. Options to change time range and granularity of the reports are available at the top of the dashboard on the right-hand side:
Distribution of unique views between desktop, mobile & crawlers
Additional reports will be introduced shortly and will include the tracking of user interactions with interactive assets such as WebRotate 360 Product Views, similar to what is available in our standalone Google Analytics integration, viewer load times and the ability to track where your asset views are coming from geographically.
We are excited to offer this tool to our existing and new subscribers, and we hope it will help you gain valuable insights into the popularity of your 360 product views and the performance of your marketing efforts.
We just finished a quick review of available options to showcase webrotate 360 product views offline on Android devices, so this post is to share and track our current recommendation.
You may have seen this older blog post about using WebRotate 360 on iOS. The key there was installing a third-party app called Kiosk Pro that would facilitate transferring your webrotate content to iOS as well as serving the content using their kiosk interface. Without such app, the only other option would be to develop a native app for iOS that would do pretty much the same (you would use a WKWebView control to present your uploaded webrotate 360 product views on iOS).
It's a similar story with Android and so unless you have resources to develop a native Android app, finding a good existing option on Google Play is the first choice. And so we did..
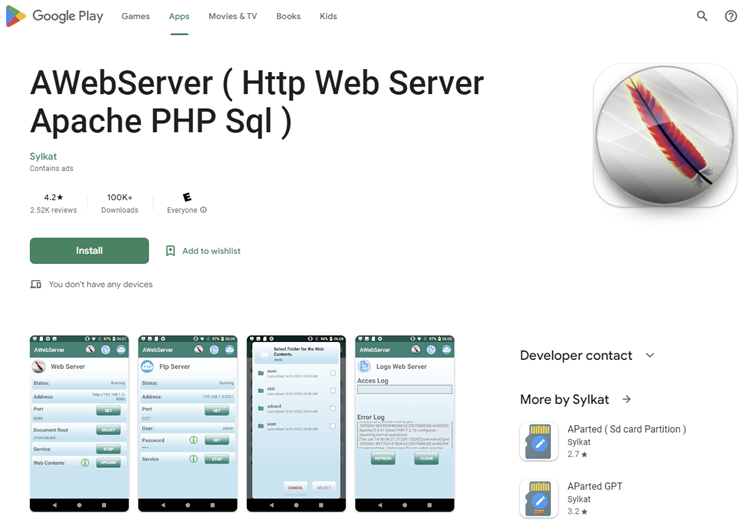
Of the Android apps we could find and review, the winner was AWebServer. It's fee with ads that only show in server setup and there's no paid ad-free version yet. While there're similar apps with no ads on Google Play, this one seems most simple, reliable, and well-thought-through. It runs as a service and with over 100k installations and good reviews, it's a solid choice.
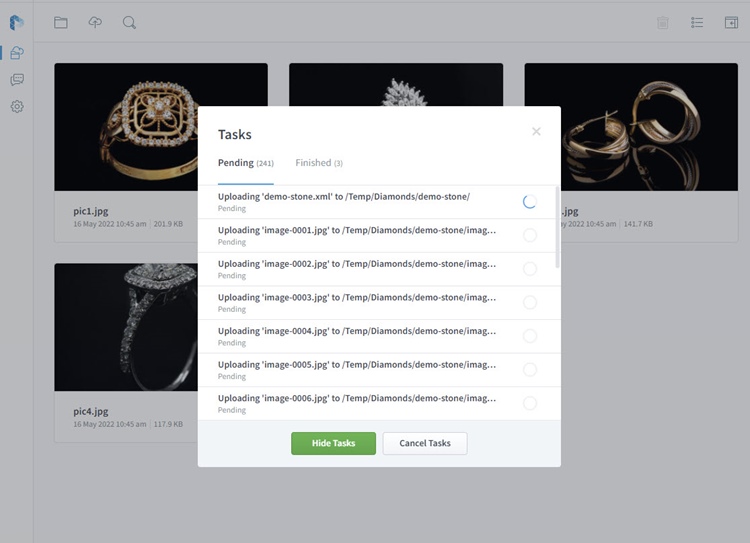
Upload your project's "published" folder to an Android device under some folder you designate for 360 product views. You can do it while online using Dropbox or Google Drive for example or via a memory card on your device.
Install the AWebServer app.
Start the app and select the folder you have created for 360s via Document Root option on the main setup screen.
Select Start under Service.
That's it! Now your folder content is served locally (and remotely on your network if you are online) and you can access it in your Android web browser via localhost, i.e:
You can then use this as a basis for developing a product catalog page or a cool offline presentation for a tradeshow or your on-site sales team like this great example by ACTiVATE.
PS: while we haven't tried it yet, you may also consider Fully Kiosk Browser for a complete kiosk style experience.
We rarely review third-party 360 product photography hardware, mainly because WebRotate 360 solutions for 360 product photography so far have been hardware agnostic. Today though we feel obliged to introduce you to VIVAT's turntables. VIVAT is a small manufacturer located in Ukraine, an Eastern European country that now fights for survival. And while we support efforts there by other means, being able to help a company that works in the same space in this part of the world is important today.
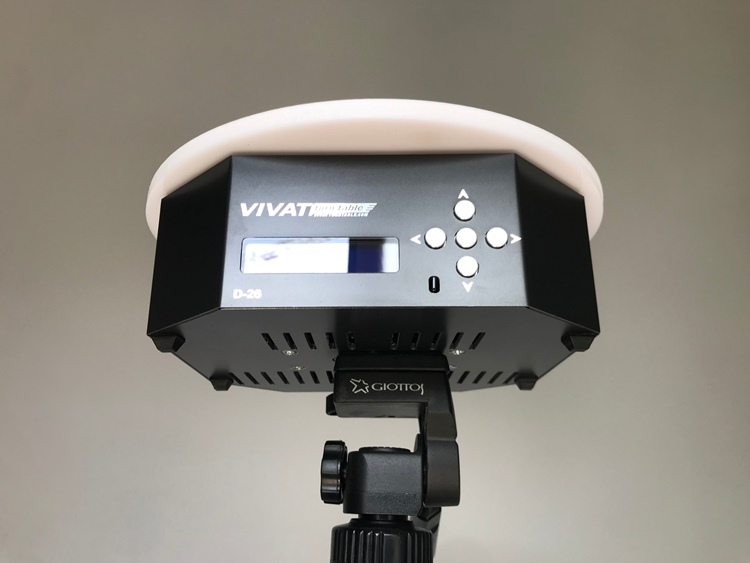
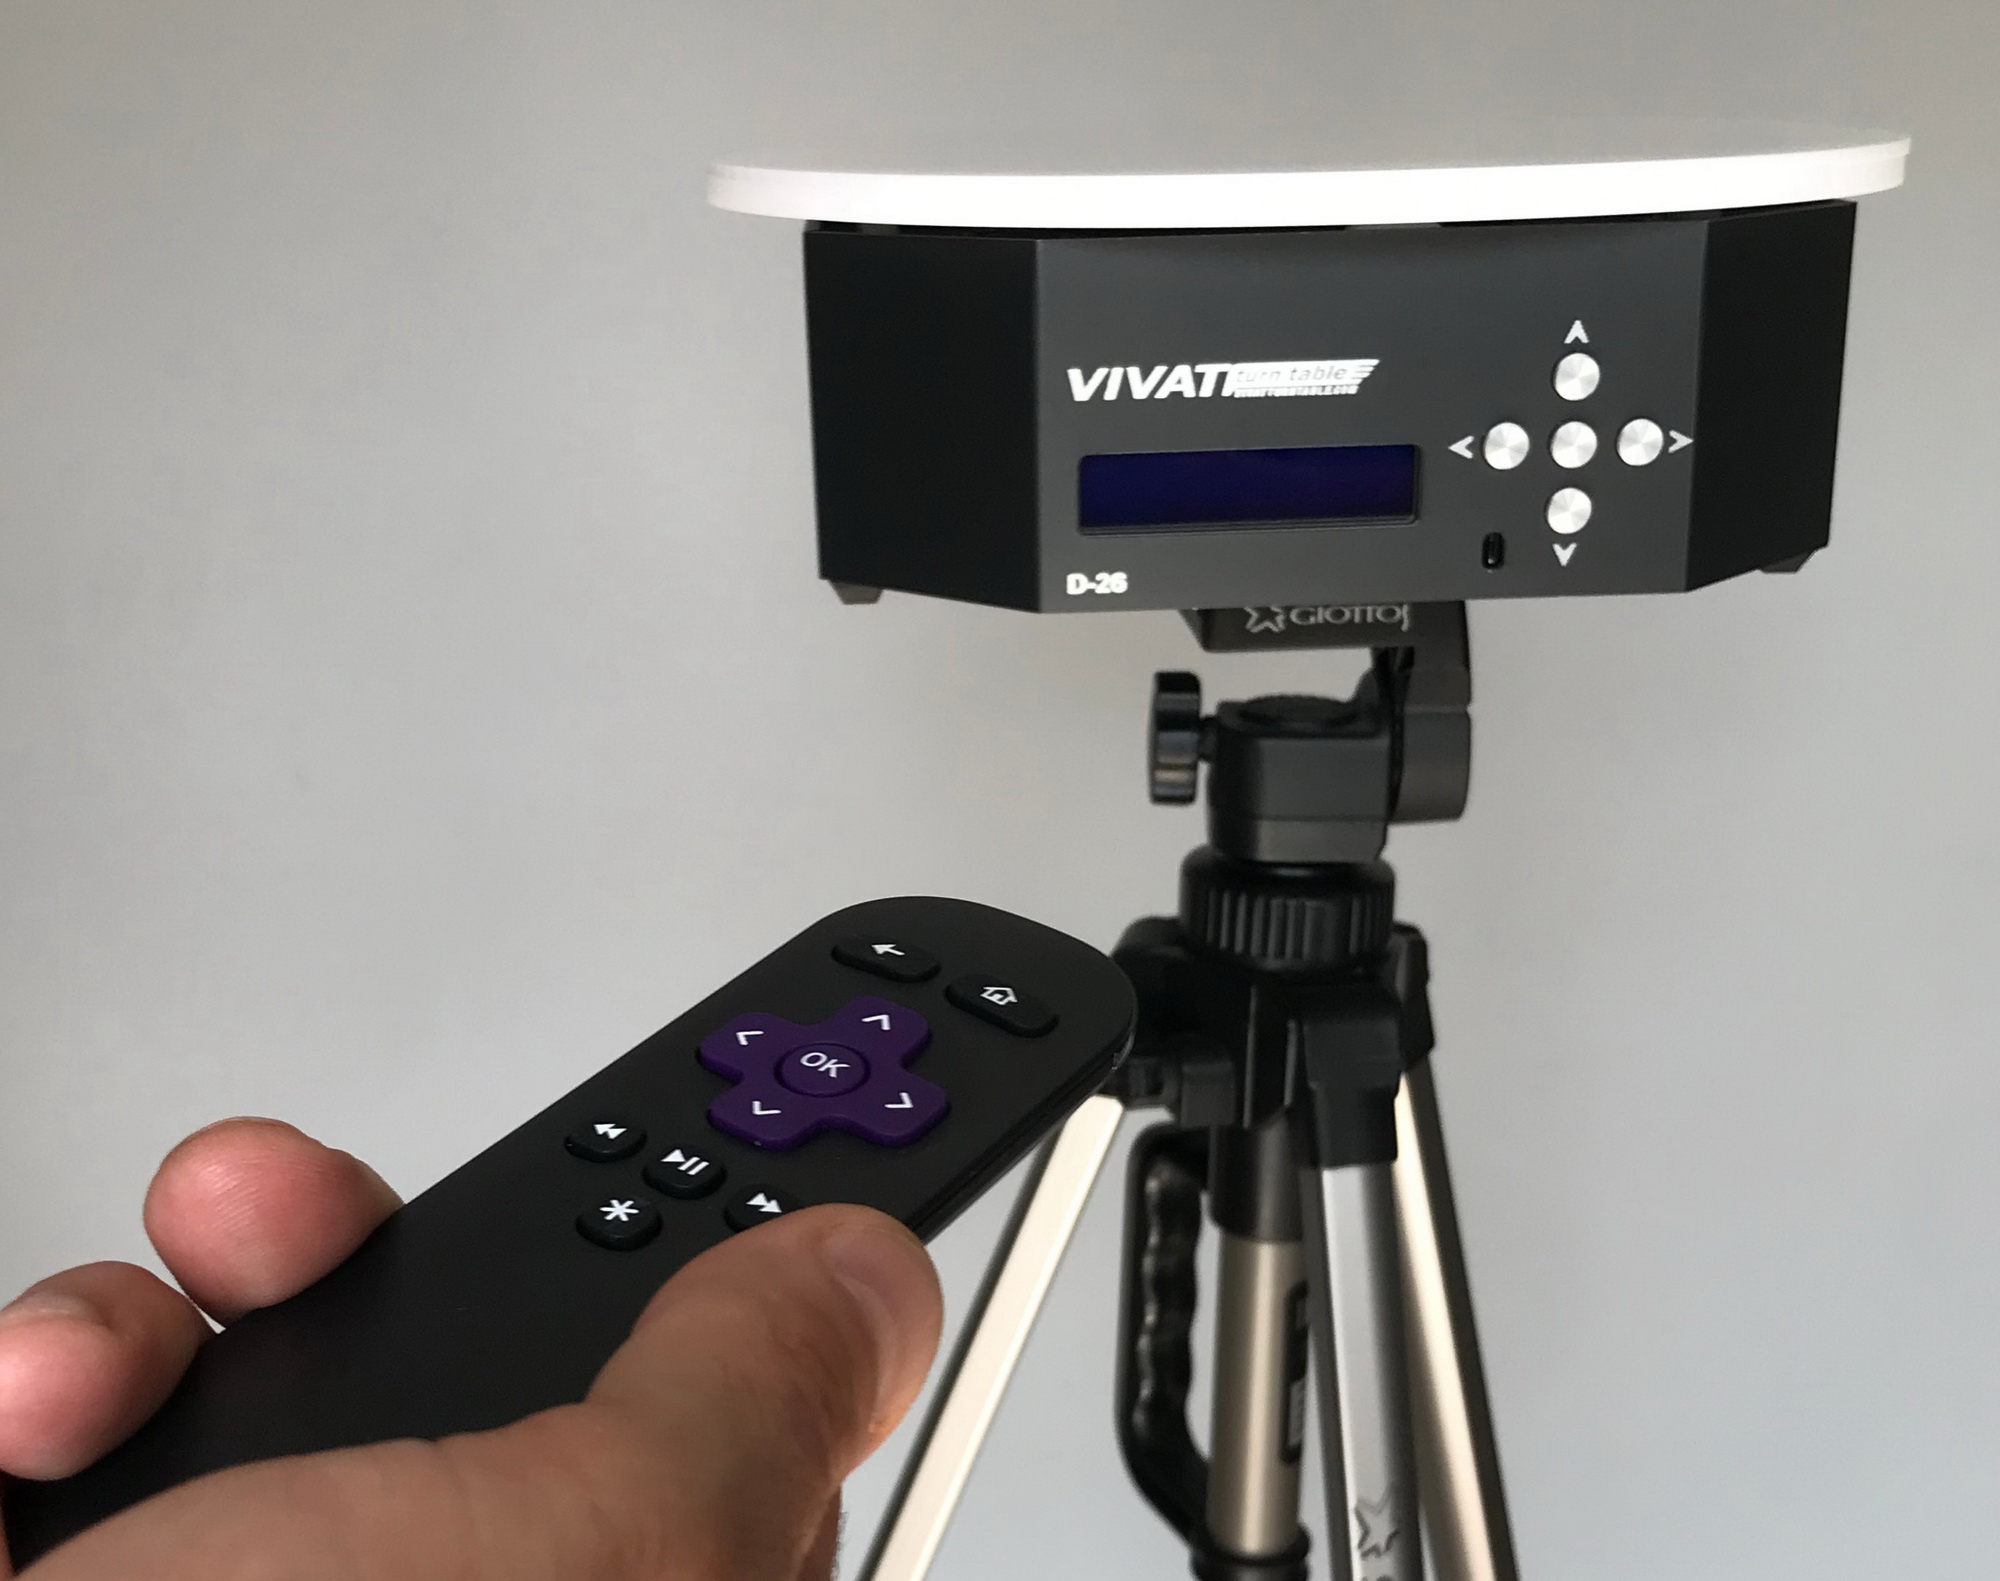
So without further ado, let's see what VIVAT has to offer, starting with their smaller D-26 table.
To start with, the table was designed from grounds up and specifically for 360 product photography, unlike some gimmicks we see out there with rebranded display stands and alike. The team at VIVAT didn't start working on the product out of the blue either. They are professional photographers who shot plenty of 360 product photography before embarking on the product development. Not unlike truly yours.
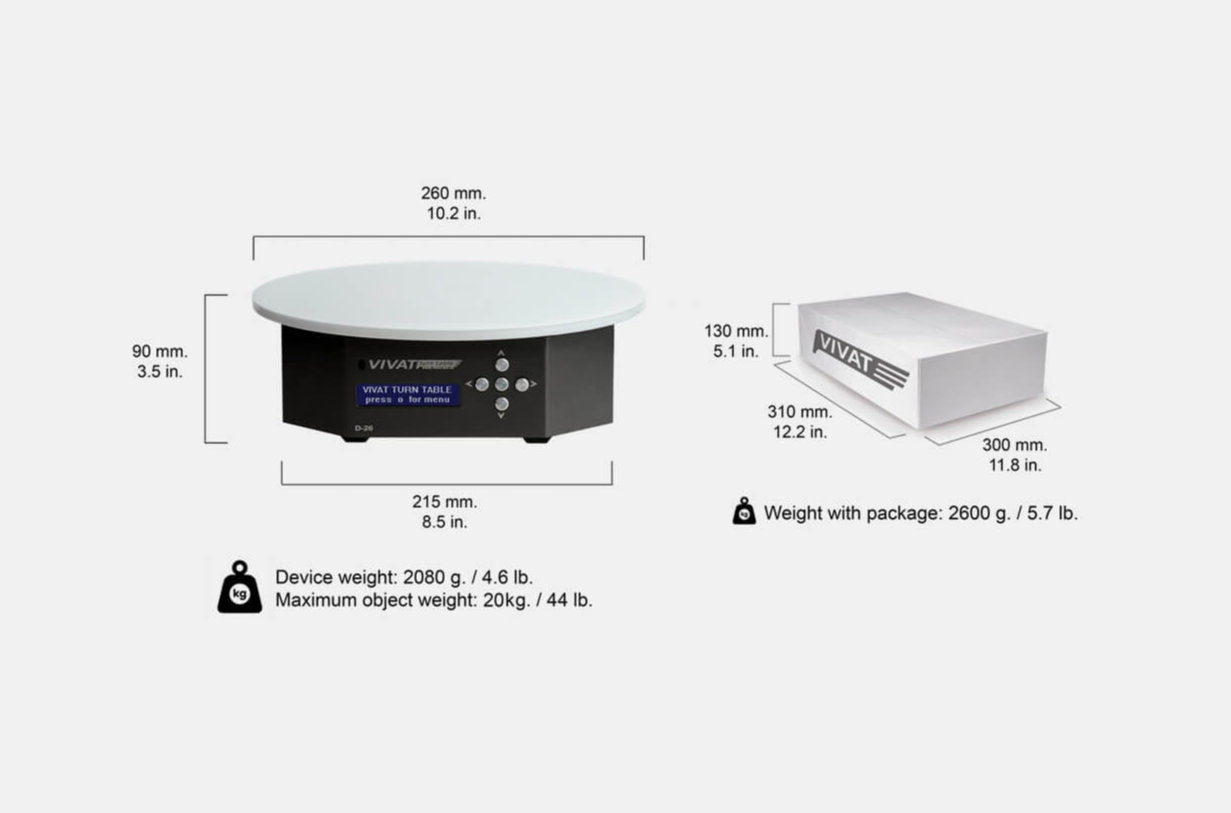
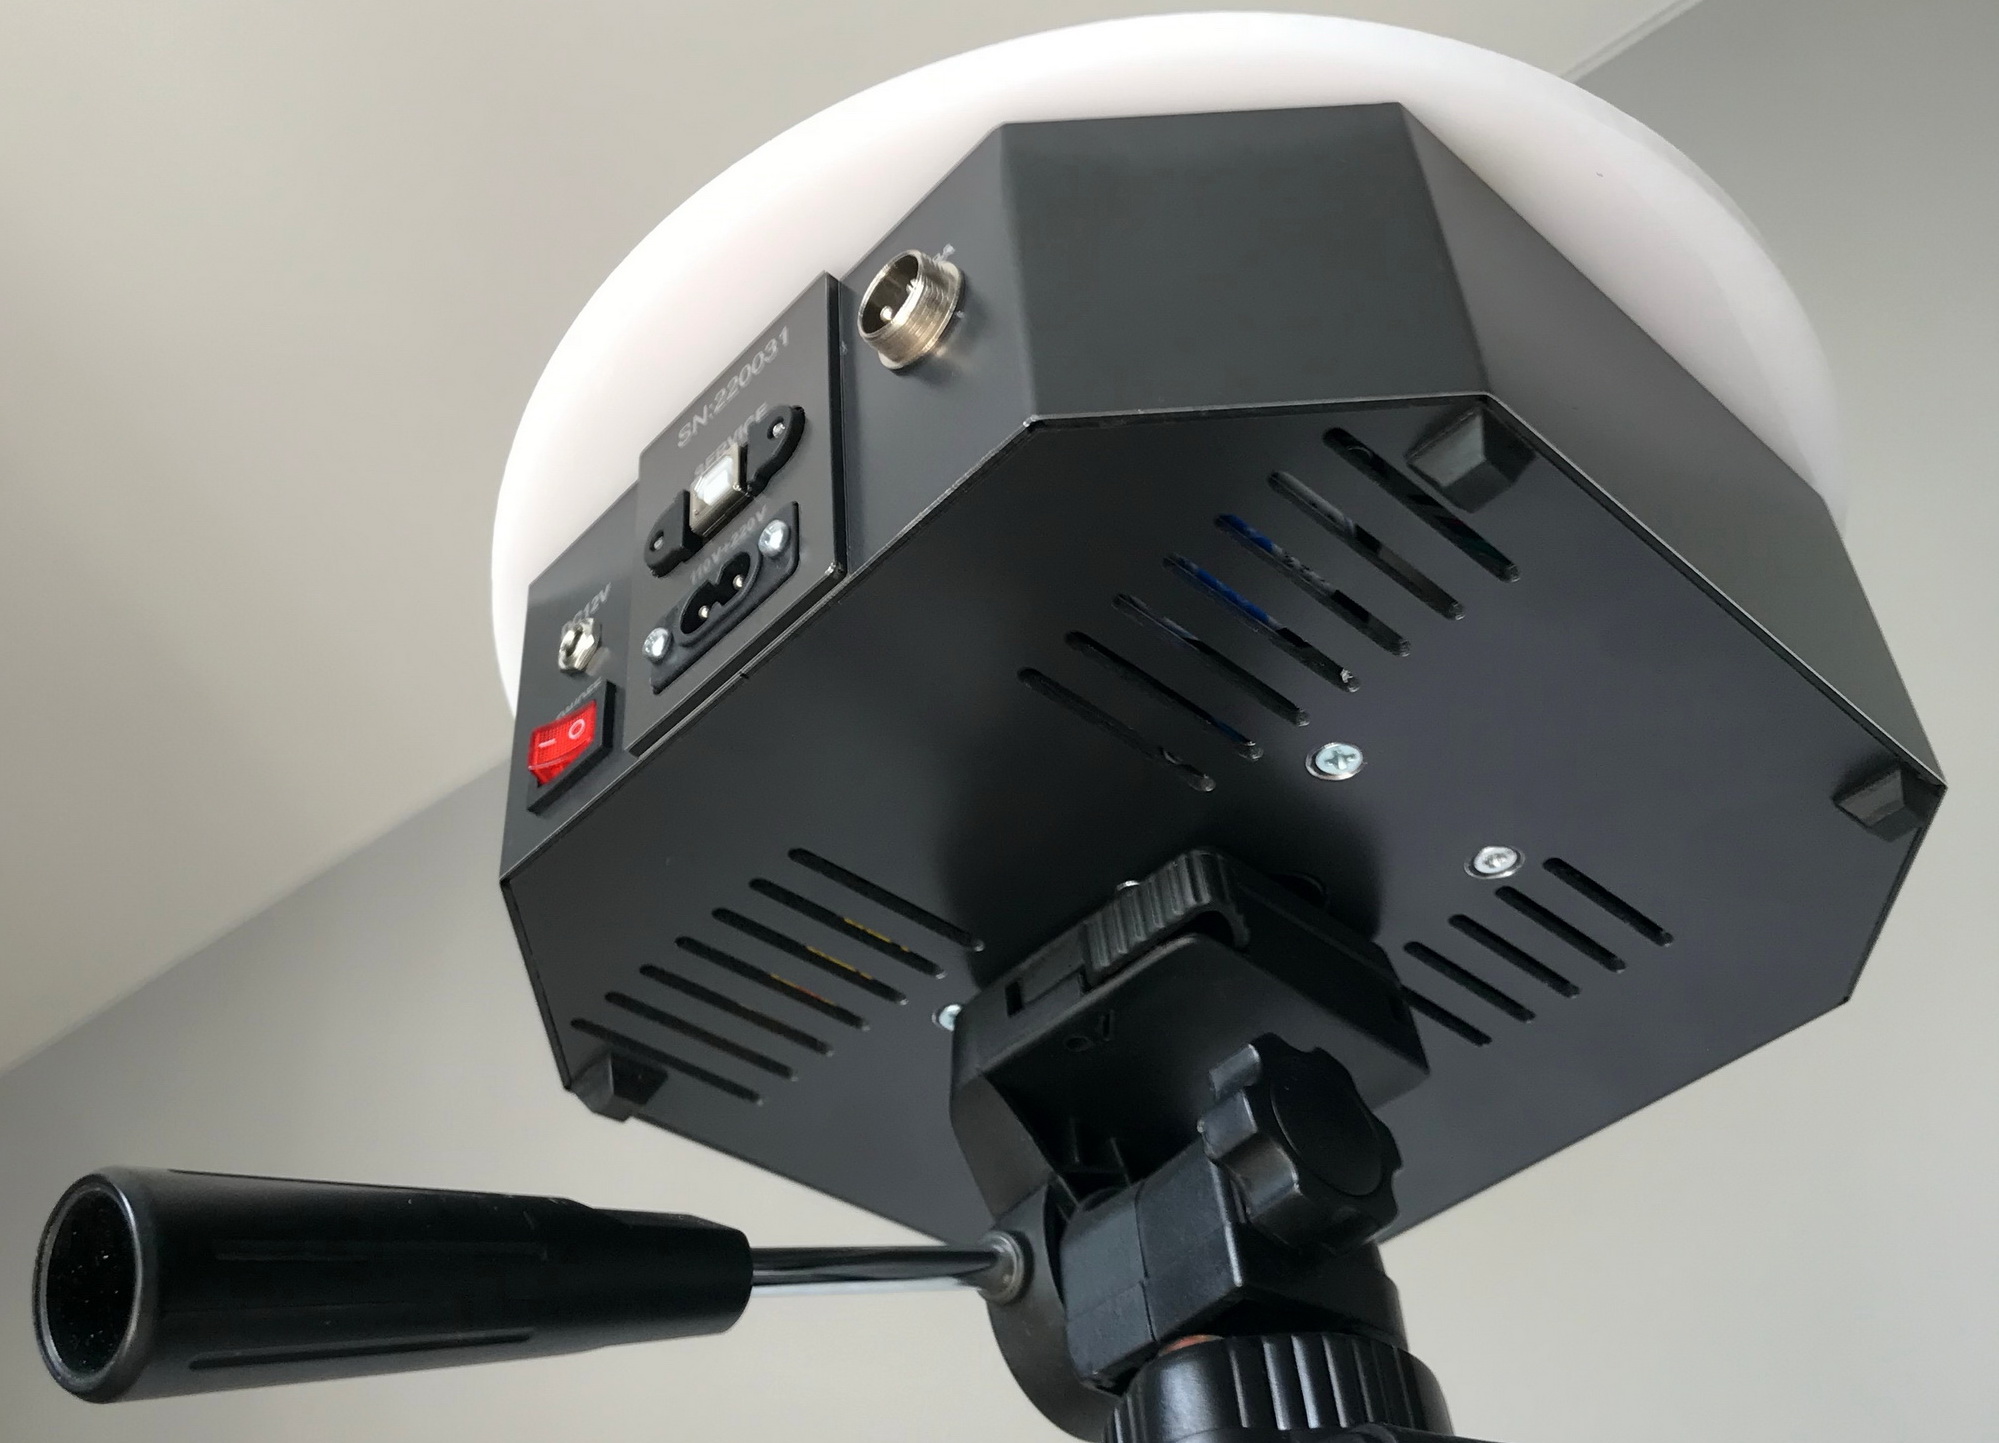
D-26 is rated for weights up to 44lbs (20kg), which is sufficient for most small object photography be it jewelry, small electronics, footwear and such. If you are a professional product photographer, that's enough to get started. Note that even though the base platform is just 26cm (10.2") in diameter, you can order an expansion platform and some are 60cm (23.6"), so you can deal with some bulky items too. AC input can be either 110v or 220v.
The table comes with a camera sync cable and you get a free adapter based on your camera model that you chose during checkout.
D-26 can be operated in 3 modes: photo, video and manual, where photo is an automated stop-motion 360 product photography, video is a non-stop 360 video shooting, and manual is where you can control everything using provided features. In terms of automation, it's pretty much an industry standard and is something we see in the top of the line tables by other manufacturers.
There are a couple of things we really appreciate in the design of D-26:
IR remote and on-board control
We have been shooting commercial 360 product photography non-stop for many years until 2016, and I can't tell you how many times we wanted to get a hand-held remote like this in our tables that were three times more expensive (we're taking 2009 prices).
Why? For quality work, you can't just place a product on a turntable, click a button on your computer and wait for great results while specialized computer software works its magic, triggering camera and spinning the platform. Rarely happens. Things reflect differently as it spins, products shift and wobble, etc., so you have to really work your setup and that means running back and forth all the time between the table and wherever your computer is tethered. So if you can control everything via a remote or right there at the table using VIVAT's LED screen, that's a big plus. Granted you would still want to wire your camera to some large TV screen nearby so you can also review images as things progress.
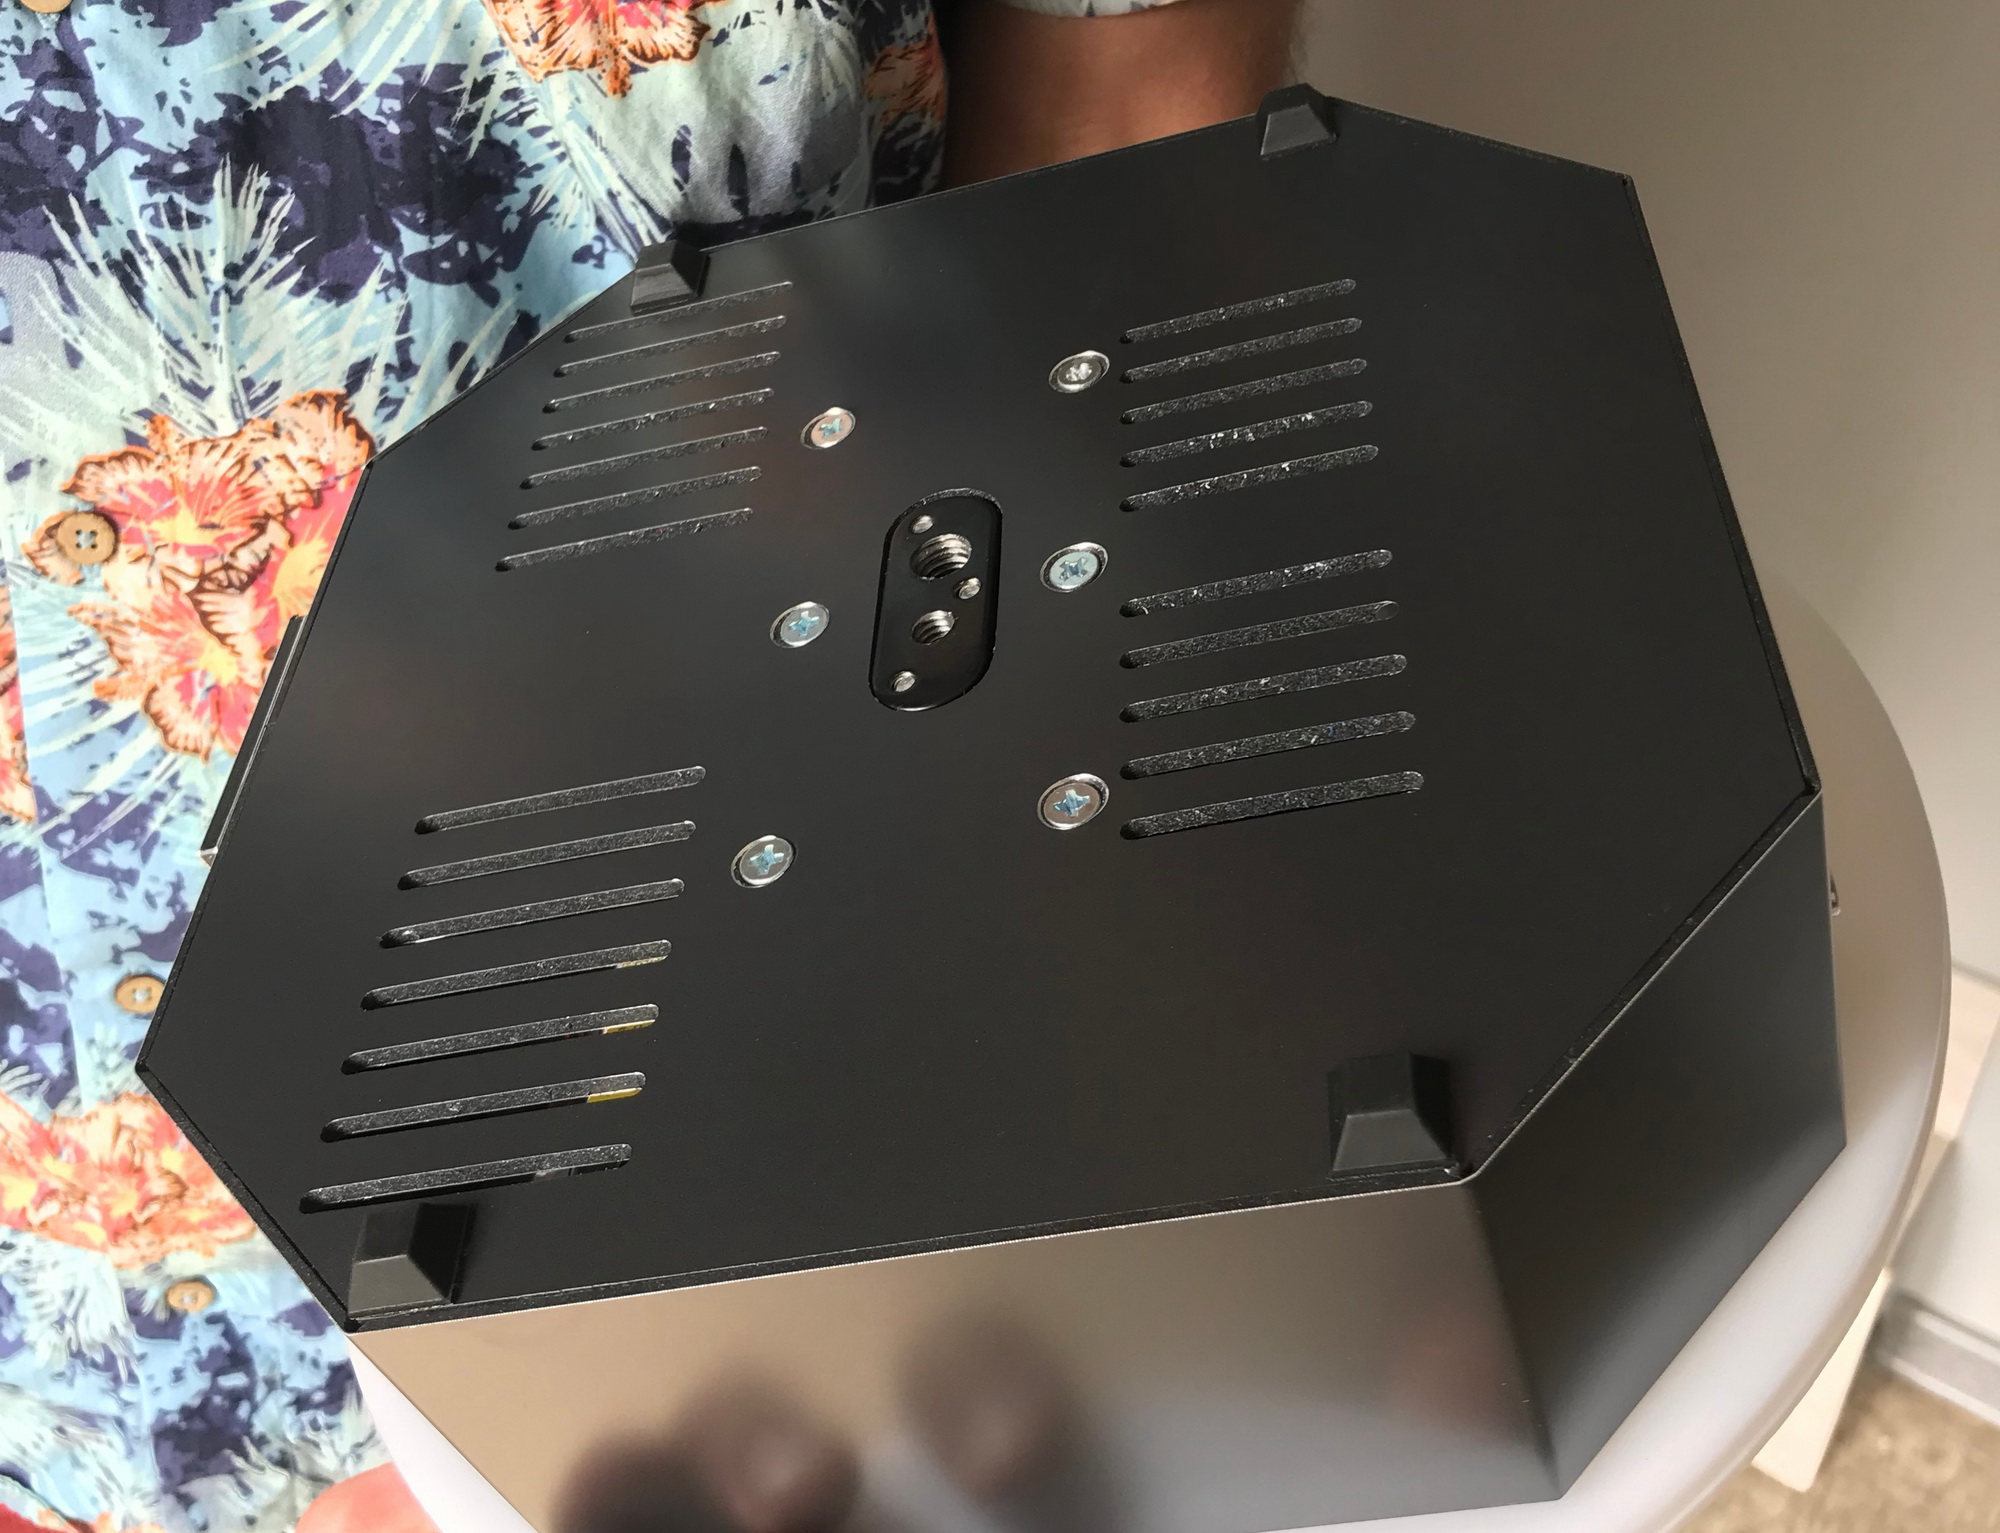
Tripod mount at the base
This is very handy and is something we would be quite happy with in our own studio as well. Having the table mounted at a level that doesn't require constant bending is priceless.
But there's more. When advising our clients on shooting 360 product photography, we often have to warn them upfront that it's actually rare that you can simply throw a product on a table. There's all sorts of rigging that is often involved in keeping products upright and also it's not uncommon that you have to shoot products mounted upside down and the base tripod mount can really help with this (note that it's an extra option that you would need to select during checkout).
D-26's extra 12v power input gives you the ability to shoot pretty much anywhere by powering the table via a power bank and this means lots of flexibility. While you probably have an AC outlet in your studio and an extension cable as needed, sometimes you may need to travel to a client or even shoot outside, and the 12v input can be a game changer. We have been shooting on location on a few occasions (example) and finding an AC outlet was not always easy.
Not to mention, D-26 comes with an over the shoulder carrying case which is a nice touch by VIVAT.
Conclusion
While we haven't used D-26 ourselves yet, at $349 it seems to be an excellent deal if not just for your on-site projects, if you already have something similar.
VIVAT is running a 20% promotion on D-26 and D-70 which is live until July 31st. Use code webrotate-20 at checkout to apply the discount. Plus you get 20% off on WebRotate 360 Product Viewer, if you get both.
There are multiple ways to produce imagery for 360 product views:
1. Professional 360 product photography using still images.
This usually involves a specialized 360 product photography turntable with a stop-motion action, a camera, and turntable control software that runs either on desktop or some mobile device that synchronizes the turntable motion with camera trigger. This is how most of the e-commerce 360 product photography you see everywhere is produced. Note that you don't always need a turntable as other options exist (e.g., "walk-around" 360 object photography, 360-degree camera array).
2. 360 product photography using video recording.
This is where instead of capturing multiple still images one by one, we record a video of an object as it spins on a turntable or by simply walking around our subject. The latter is how auto dealerships often produce 360 product views of their cars.
3. 3D product modeling and rendering.
Here a skillful 3D designer creates a photo-realistic representation of an object in 3D design software by assembling a 3D product model from a number of polygons, meshes, textures, materials, etc. Once a 3D model is created, it's rendered as a sequence of 360-degree images by animating the rotation of a virtual camera or the object itself. Here's one such example: 360 product view in Blender. It's also one of the services we offer at WebRotate 360 and it's gaining popularity as more and more companies start their product design by first creating quality models of their products in 3D.
4. 3D object scanning or Photogrammetry.
This method usually involves some combination of the first three options. The key here is that there's a specialized equipment that can scan a product using multiple cameras and/or a laser and then a combination of "scanned" 3D data and photographic images is processed further in 3D software to produce a photo-realistic 3D model of an object. The model can be then rendered as a set of images and loaded into WebRotate 360 Product Viewer. This option is very time consuming and produces mixed results. We see this mostly used for preserving historical artifacts.
Let's talk about 360 product photography using video recording, i.e option #2.
The major benefit of 360 product videos is the speed of image production as it's much faster to record a video vs waiting for the turntable to finish its stop-motion action as discussed in #1. There are also lower hardware requirements as you don't need a specialized turntable and can get a way with a cheap motorized display stand (there's a bunch on eBay). This comes at the cost of image quality as the imagery in the video is not as sharp as with still photography in #1. Still, it's a very popular option with our users.
One of the popular questions we get here is how one can take a 360-degree video of a product and make it an interactive 360 product view they can integrate online. Even today we're gearing up to help a jewelry client who has an existing catalog of 7000 videos of their products in 360 degrees and they want to make it interactive!
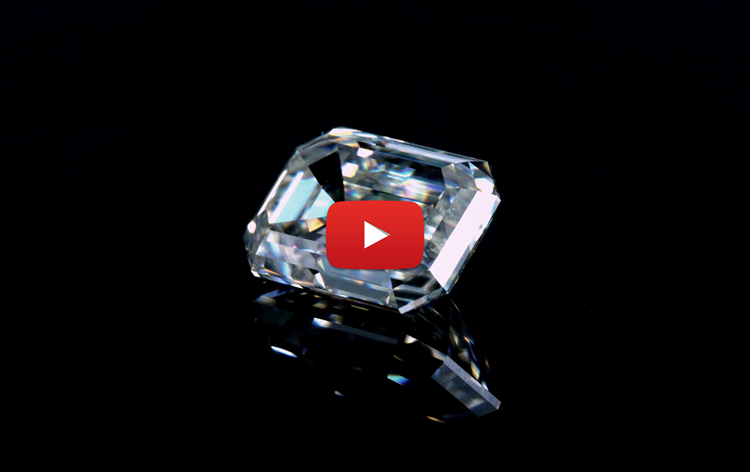
The answer is that we need to extract still images from the video first. For this exercise we will use this 360-degree product video of a diamond. It's 43 seconds long and was recorded in 4K. The result of the video conversion will look like this:
Demo video to 360 product view conversion (120 images).
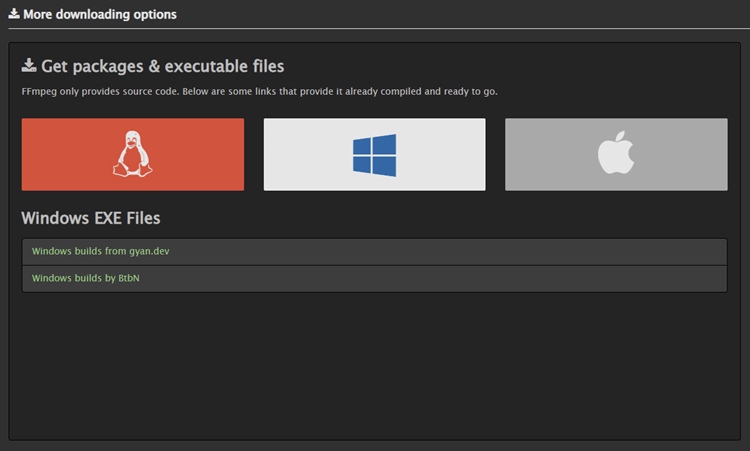
1 There are different software options for extracting individual image frames from videos (example for macOS). For advanced options, we recommend FFmpeg that you can download for free here for either Mac, Windows or Linux. Let's download Windows version and extract it to our desktop.
Download free FFmpeg tool for your OS.
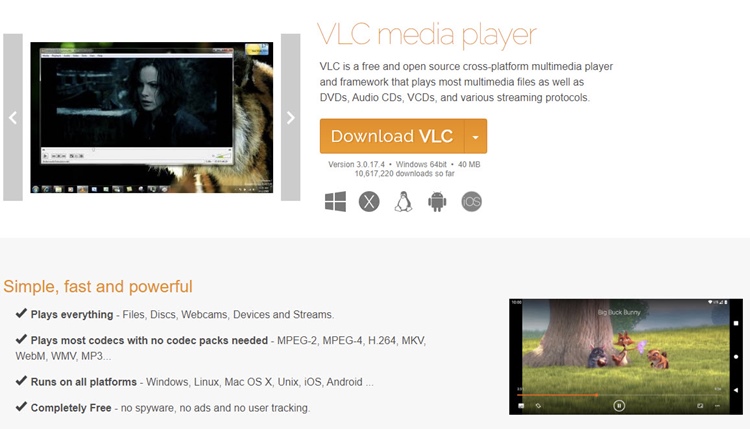
2 We will also download VLC video player as it works everywhere too and will allow us to quickly note the timestamps in the video for the interval with a complete 360 spin.
Download free VLC player to track timestamps.
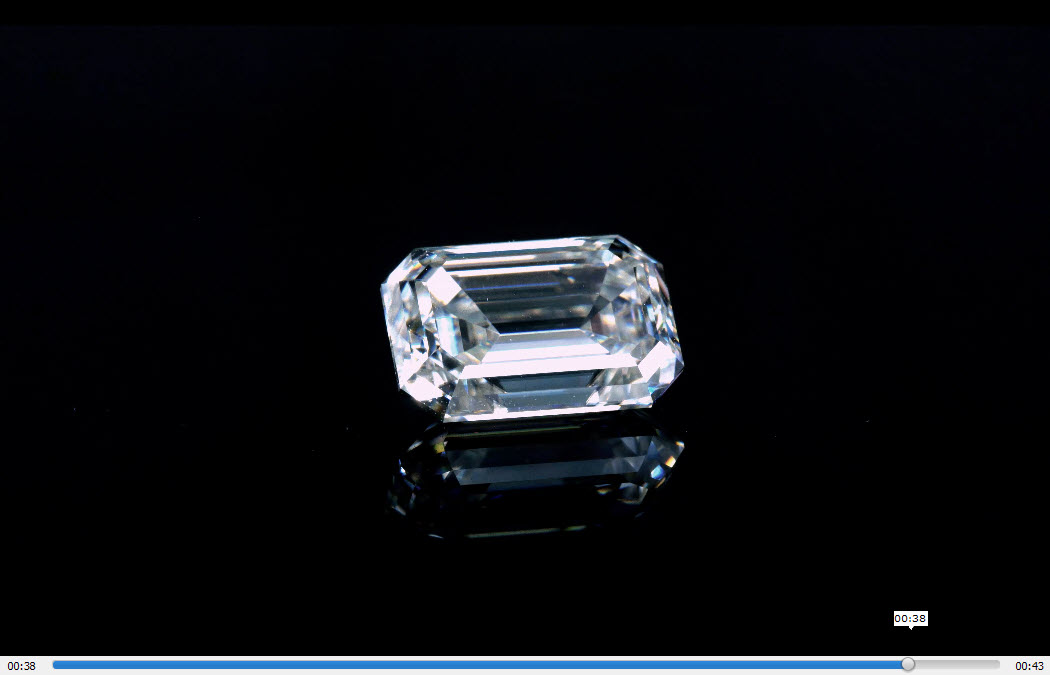
3 Let's fire up VLC with our video and note that the start of our spin is at 0 seconds and the end is somewhere at 38 seconds with a slight overlap to give us some flexibility to synchronize the sequence once it's loaded into WebRotate 360 software.
To prepare for the next step, we also need to agree on the number of images that our interactive 360 product spin will be comprised of. For jewellery, there's a tendency to go with a higher number of images per 360 view to get that smooth spin even at the expense of slower loading times and longer production times. And so for our demo diamond we chose to go with 120 images which means we need to extract about 3.16 images per second (i.e 120 / 38).
Demo 360 video makes a full loop at 38 sec.
4 Now we can run FFmpeg by pasting this command in cmd or PowerShell on Windows (or Terminal on macOS), where --ss is the extraction start time, --to is the end time where we want the extraction to stop, and fps is the number of frames per second to extract. We also tell it where the video is on our hard-drive and where we want the images to get extracted, making sure to extract in PNG format to not lose any quality. For this exercise, the individual images will be named according to this format "image-%04d.png" (i.e., image-0001.png, image-0002.png, etc).
5 Once images are extracted, we create a new project in WebRotate 360 SpotEditor and possibly remove a couple of odd frames at the end or beginning of the sequence that are overlapping.
Remove any overlapping 360 images.
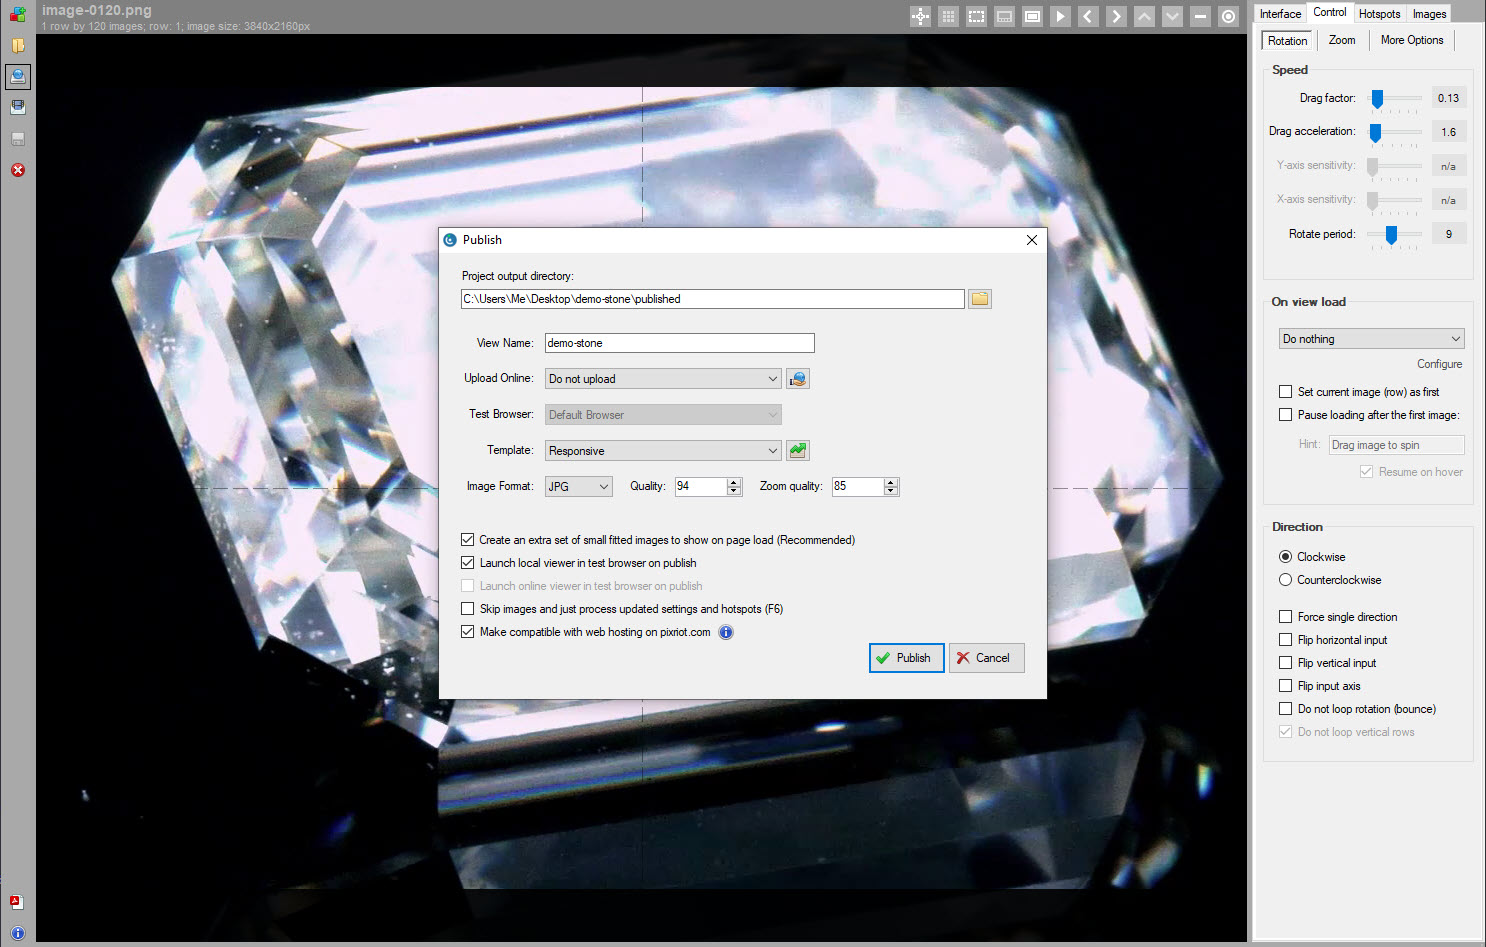
6 After necessary edits are applied to viewer dimensions, image crop, drag speed & direction, etc, we can publish the project to test locally. As our input images were PNGs, it's important to select JPG format on the Publish form to ensure our images are compressed and lightweight.
Publish 360 product view to your hard-drive and test.
7 Once we are happy with the local preview, we can upload it online using PixRiot to give us the final URL or embed code we can share or integrate elsewhere using WebRotate 360 Product Viewer plugins or APIs (see user guide).
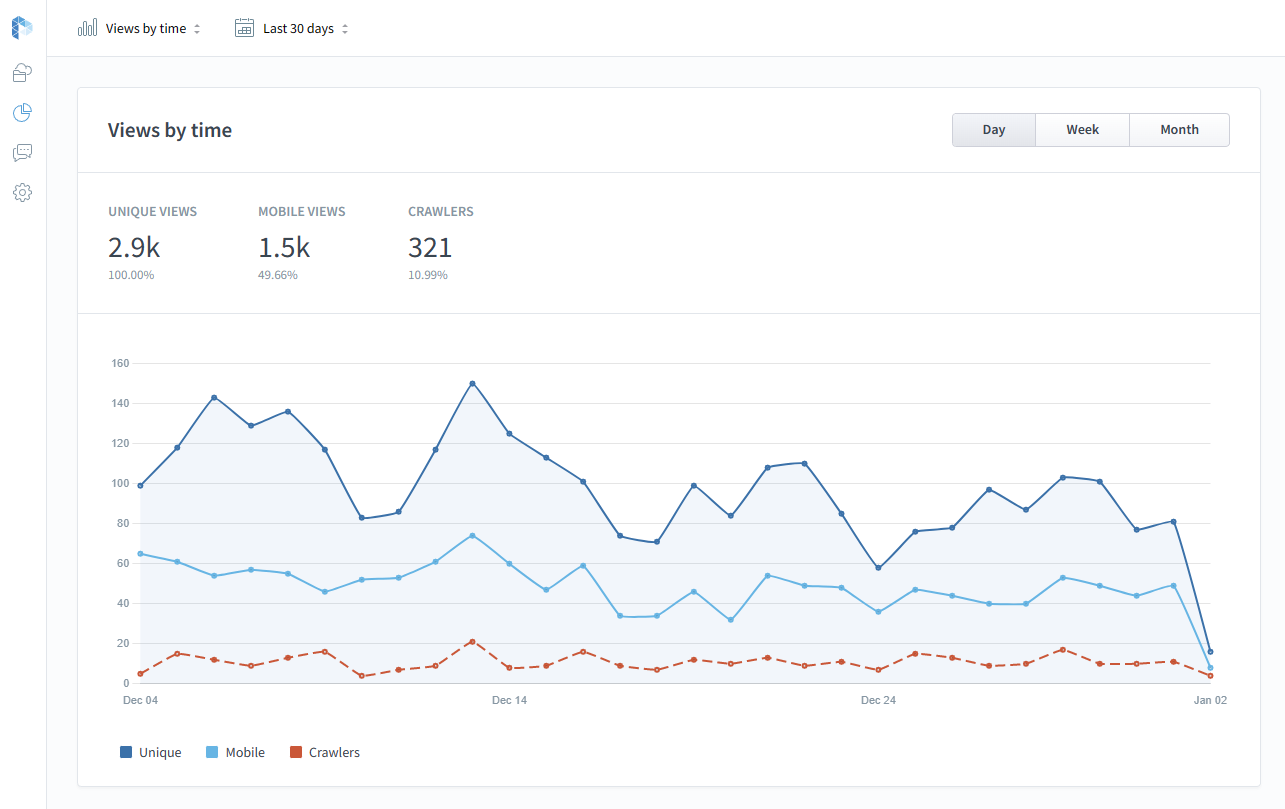 Distribution of unique views between desktop, mobile & crawlers