We had a lot of great feedback on the first v3.6 beta release last month which helped improve v3.6 in a number of ways. If you haven't heard, v3.6 is all about full 3D / multi-row product views! So today we're making another release available with some of the feedback incorporated along with a couple of new features and enhancements:
Full image / row management under Images->Rows
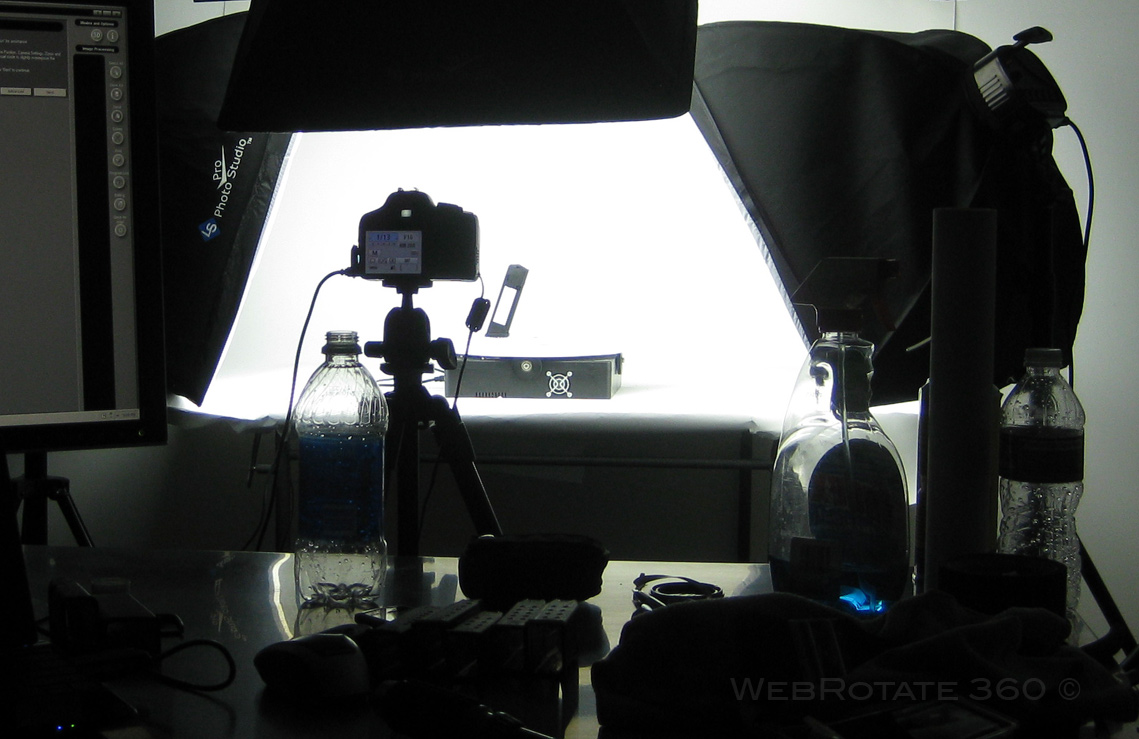
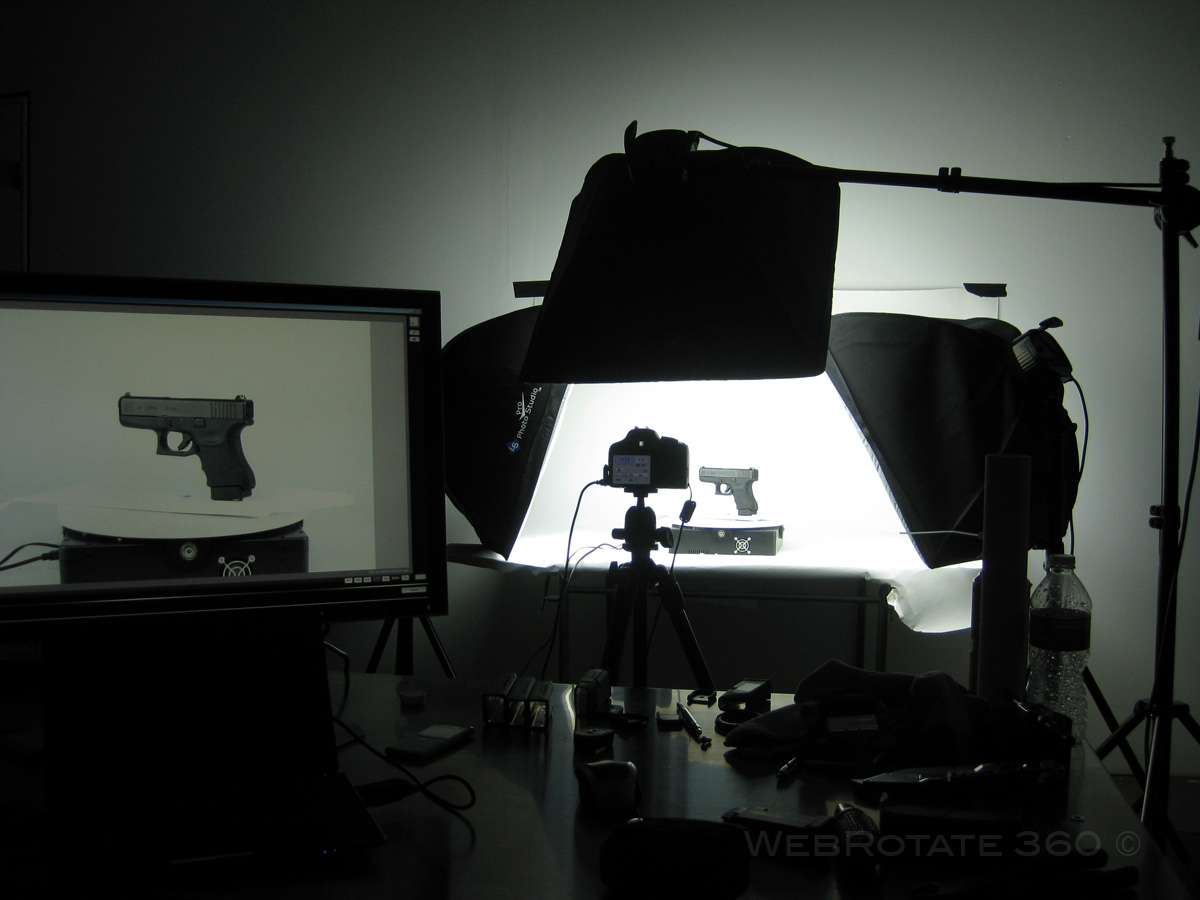
The ability to add, remove and order images, have been on our feature request list since the first release of WebRotate 360 Product Viewer and became even more important in v3.6 with the introduction of full 3D product rotation via multiple image rows. This took some time to implement but at the end we really liked the flexibility of the new feature. New options are neatly arranged under the image list located on the Images -> Rows tab as you can see below:
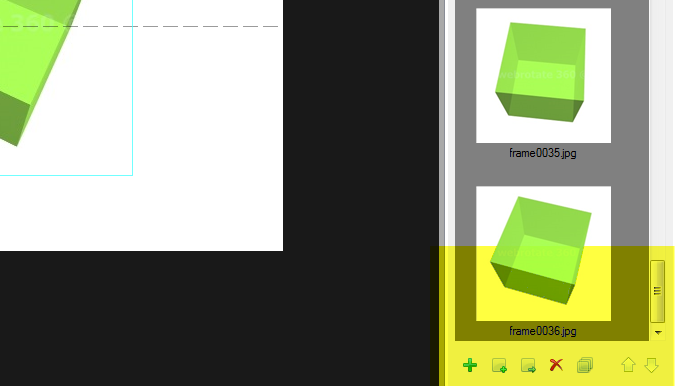
The options are as follows:
- Add arbitrary number of new rows (note that the first row is always present in an empty project and can't be removed.
- Add new images to the end of the current row or immediately after currently selected image.
- Replace selected images with different images that you can pick from your hard-drive.
- Select all images in the currently selected row (can be helpful if you need to replace or remove all images in the row)
- Remove selected images from the current row (images will remain in your project's images folder just in case you will need them later)
- Move selected images up and down to reorder.
Note that there are also two extra controls next to the row drop-down which allow to add a single extra row or remove selected one accordingly.

Horizontal drag sensitivity in multi-row mode
It's called X-axis sensitivity for clarity as the vertical sensitivity control is also available (which is showing as Y-axis sensitivity in the latest release as per the image below). In short, it's a horizontal drag sensitivity and this means that if a mouse or touch moves a shorter distance (in pixel) than the X-axis sensitivity value, the images will not move horizontally. This can be useful for improving the stability of the vertical image drag such that the jumps between the image rows occur without accidental shifting of images horizontally. Row sensitivity works in the same way so you can now play with both values to achieve desired smoothness of your 3D product rotation depending on the number of rows and images in your project.
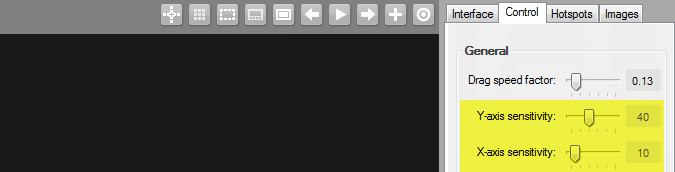
And as a reminder, the Drag speed factor setting that we had there before controls the number of times in a given second to check for the mouse or touch position (it's multiplied by Rotate period located on the same tab to give the value in milliseconds). So if we check for mouse or touch position every let's say 50 milliseconds (based on the configured values of Drag speed factor & Rotate period) and the X-axis sensitivity or Y-axis sensitivity threshold is reached as per above, we move the images accordingly. Note that when there's just a single row of images, both X-axis sensitivity and Y-axis sensitivity are disabled as the Drag factor & Rotation period are enough to control the drag speed of a single row.
Separate JPG quality control for High-res images (PRO)
There's an extra JPG image quality control for your zoom and full-screen images on the Publish form. This applies when you configure your 3D product views to contain two sets of images (i.e., small fitted images and high resolutions ones for zoom and full-screen) which is enabled via a check-box on the Publish form called "Created an extra set of fitted images".
Having a separate control of the JPG quality for your high resolution images can dramatically speed up full-screen and zoom loading times as often you don't really need supper high quality high-res images (e.g., compression artifacts are not that visible on large images). The high-res image rendering performance inside a browser window will also improve accordingly.
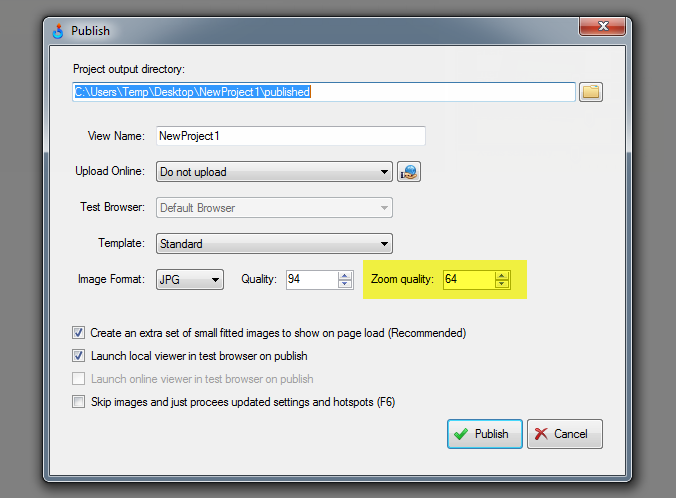
Skip image processing on publish & preview
As you can see in the image above, there's also a new setting on the Publish form called "Skip images and just process updated settings and hotspots". Now you can just check this box before hitting Publish or press F6 on your keyboard to just launch a browser preview after changing viewer settings that do not affect images (e.g., drag sensitivity, template update, hot-spot edits, etc).
In other words, it will not process and copy images again on publish when it's checked on the Publish form or when you hit F6 while making the edits. This saves a lot of time! Note that you would still need to do an initial full publish after creating a new project or at any time after you change viewer dimensions, high-res dimensions, image crop, image filters, path tools or watermarks, all of which affect image output.
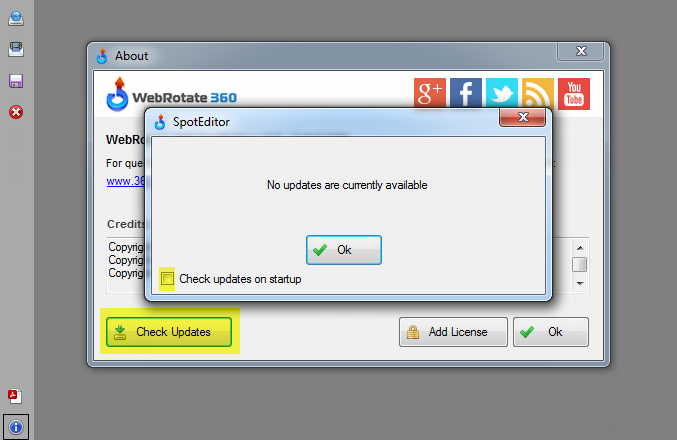
Automatic software updates
Finally you can simply check for new product releases by going to the About form and selecting the new Check Updates button. It's also possible to configure the feature to check updates on every application launch via the check-box as shown below. So from now on, whether you have purchased a license or use the free version, you can get the latest an greatest without annoying email requests we required before.
New scalable loading progress indicator
Now is a good time for our old progress indicator to go. Being an animated GIF, it's not very mobile friendly which becomes more and more noticeable on the modern mobile devices with retina screens. Another complaint we've heard was that it looked too small in full-screen mode on large monitors. So we devised a cool new modern one that looks quite nice on tablets and phones. It can be styled in CSS with different colors, etc and is scaled automatically when in full-screen.
Image delays in animated GIF publishing
Our first v3.6 beta released featured new Images Delays that can be assigned under Images->Rows for each image to help creating interesting effects during product rotation without unnecessary image duplication. The same image delays will now propagate to animated GIF publishing as well, allowing for more creative animations with pauses on important frames, acceleration effects and similar.
iFrame management in HTML hotspots
With this relatively small update it's now possible to embed video and audio content via iFrame inside the hotspot rollovers when using HTML markup. Now we track iFrame elements inside the rollovers and remove them automatically when a rollover becomes hidden. Once user hovers over or clicks again on a hotspot indicator we re-add iFrames to their original position. Without this change, a playing video or audio embed (e.g., Youtube or SoundCloud) would still be playing when rollover becomes hidden which made this option not very useful in the previous releases.
New API setting for full-screen views
You can see a quick snippet below to give you a better idea of the new setting called configFileFullScreenURL. Use this setting to configure alternative view / xml config for the full-screen function, i.e., it will be loaded when user selects the full-screen button, if configured. This can be useful, if you need to show different hotspots, for example, or different images all together when viewer opens up in full-screen. When publishing separate product views to use in conjunction with this setting, please do not select “Create extra set of fitted images…” on the Publish form as fitted images are not needed in this case and this may break hotspot positioning.
jQuery("#wr360PlayerId").rotator({
     configFileURL: "your-viewer-config-xml-path.xml",
     configFileFullScreenURL: "your-full-screen-viewer-config-xml-path.xml"
});
DOWNLOAD
UPDATED on June 10, 2015. More new features and fixes:
PRO & Enterprise customers can either get the free download to play with the new beta features (you can still activate it with your spoteditor.code except for some of the image editing features) or request the commercial version of v3.6 Beta via support email (support at webrotate360 dot com), if you haven't received v3.6 beta download URL from us before which still works! From now on, you can just check and download new software updates as described in this blog post.
And if you need any help applying this update to any of WebRotate 360's plugins (i.e, WordPress, Joomla, PrestaShop, Magento, OpenCart, BigCommerce), please let us know and we would be happy to assist (it's just an FTP upload of a single published folder, i.e imagerotator).