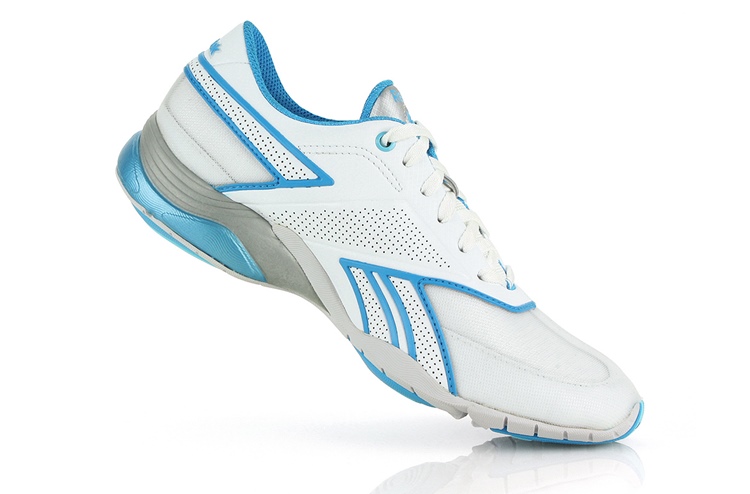
We often get these questions regarding the 360 product view of the Reebok shoe that you probably already saw on our home page. A lot of these questions are specific to the actual photography so this post we hope will answer some these questions and serve as a good reference for future inquires and updates.
We have been approached by Reebok a while back to see how we could shoot their new line of sneakers. They sent us an example and so we quickly assembled a proof of concept using some of the rigging we had left from a recent SCUBAPRO photoshoot (a bunch of buoyancy compensators that required an elaborate rig with hooks, finishing lines and some manual spinning action..).
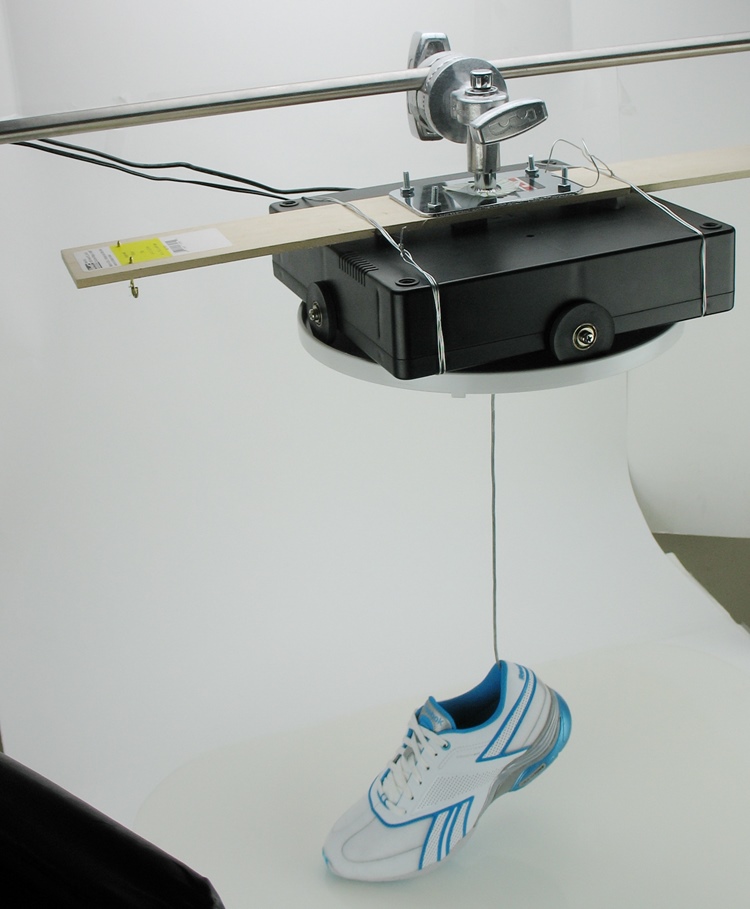
This time we automated the setup by attaching our basic Ortery turntable upside down in hopes that we would improve upon this quick mock-up design later on and be able to shoot hundreds of similar items every now and then. This mock-up design is what you can see in the pictures below.
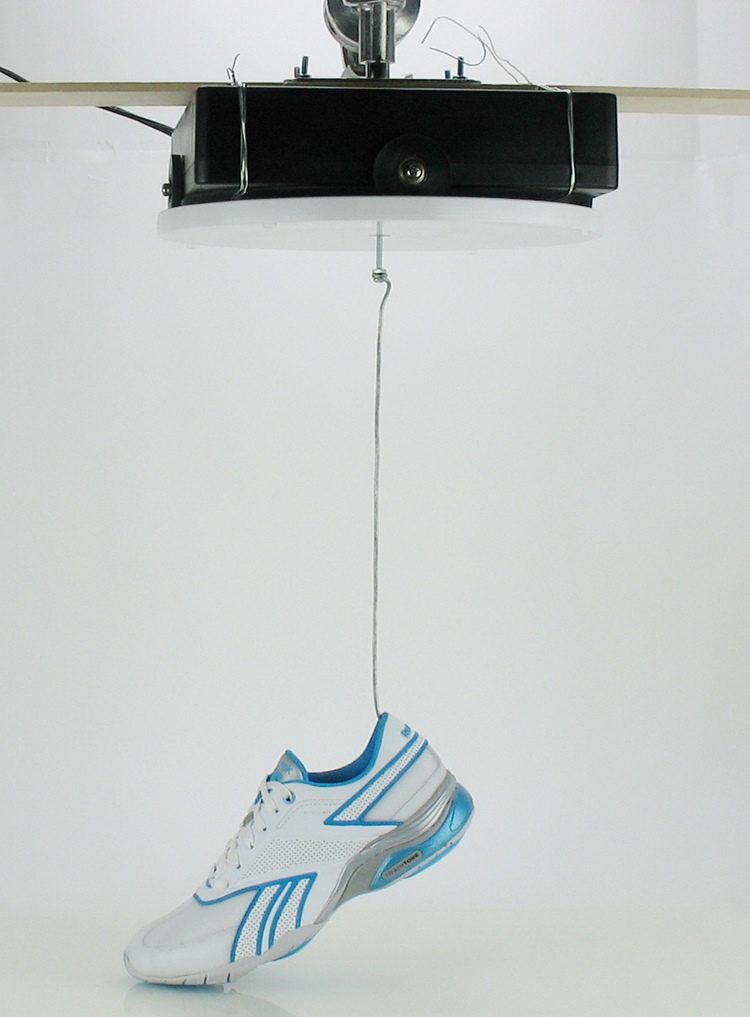
The rig had two Mathews C-stands, a boom pole with a steel plate in the middle (by the same company) and a sheet of plywood that already had holes in it for the steel plate from the previous project. So the table was simply attached to the rig upside down with a sturdy wire. One great thing about the Ortery 360 product photography turntables is that you can re-use the center nut for various applications and so we used a bolt and some tough wire to add the missing pieces. The wire was made quite long to let the boom light to pass through so the shoe was evenly lit.
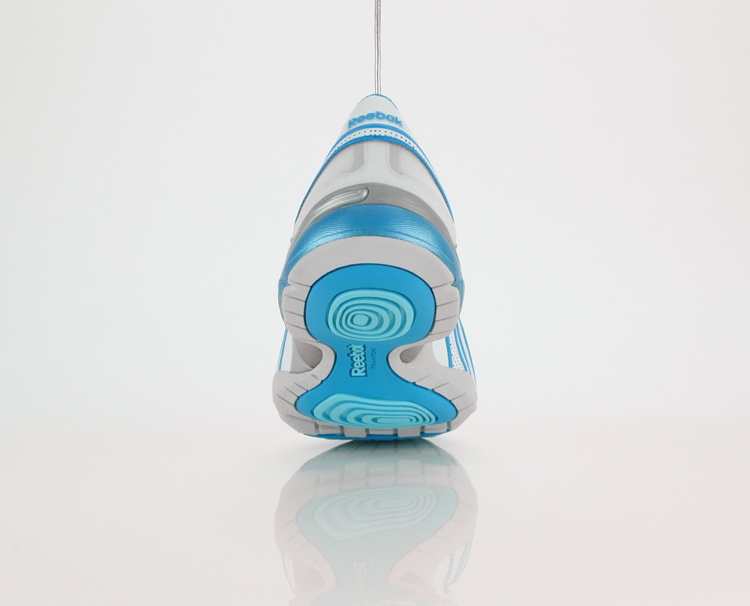
One of the Reebok requirements was to keep the reflection of the shoe on the final 360 product images which was accomplished by having a sheet of translucent plastic under the rig. And while this is not really visible in the reference shots of the setup or in the final 360 product spin, the shoe doesn't touch the translucent sheet. We also made sure there's plenty of light in this area during photography to really highlight the sole of the shoe which had some nice design, color and branding.
Post production was a whole new story and this time we had to solicit some outside help - there are companies that offer specialized product retouching services and their assistance can be invaluable.
PS: since then we have seen this type of angled 360 degree shoe photography in various places online and realized that our approach with the wire could be improved. For example, it would have been better to shift the center of rotation closer to the middle of the sole and may be use some solid translucent plexiglass tube to help with the post work (i.e patching the wire was intense..). Another thing we should have tried is this approach with suspension which at that time we thought wouldn't allow for a rotation without a noticeable wobble.
If you have done something like this that you would like to share on this blog or our Facebook page, please get in touch!
We have recently moved all posts from our old photogear360 blog here, so here's some related material you may find useful:
- 360 product photography of long narrow objects
- 360 product photography upside down
- 360 product photography of Glock pistols
- Using suspension in 360 product photography (example 1)
- Using suspension in 360 product photography (example 2)
- White background in your 360 product photography projects
- DIY guide to building a manual 360 product photography turntable
- 360 product photography of large objects
- Mastering 360 product photography
- 360 product photography of flashlights