Hi, I'm Martin Jan Hoekstra, and I'm the founder of Epic36 (https://epic36.com/), a photography studio specializing in 360-degree product photography for e-commerce businesses. We have been using WebRotate 360 since the beginning and have found their software and support to be exceptional.
I was asked to write about an interesting project, and I thought I would share some tips on how to capture a 360 degree photo of a bicycle. Photographing a bike can be challenging, but with the right techniques and equipment, it's possible to create a stunning 360 product image. So, let's dive into some useful tips and tricks.
Overview of the process
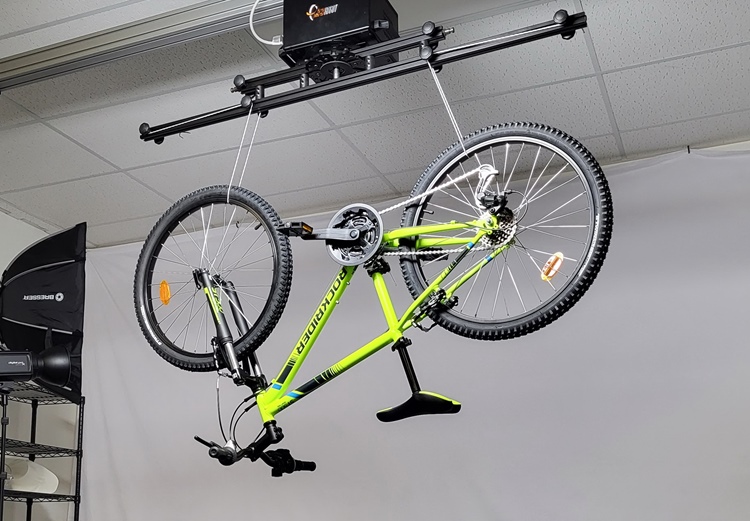
Contrary to what you might expect, we don't place the bike on a turntable to take photos. Instead, we hang the bike upside down to photograph it. We use two key lights, one fill light and two background lights for the shoot.
Taking pictures of bicycles requires a decent amount of space, and it's best to have ample room between the bike and the background to prevent the background lighting from affecting the subject. Below I will share a trick that can help you if your studio doesn't have enough space.
Hanging the bike has the advantage of making the bike stand upright in the end result. However, the downside is that all 36 photos need to be edited manually. Fortunately, I can share a handy brand new Photoshop tool to help you in this process.
Let's get started.
Preparing the studio
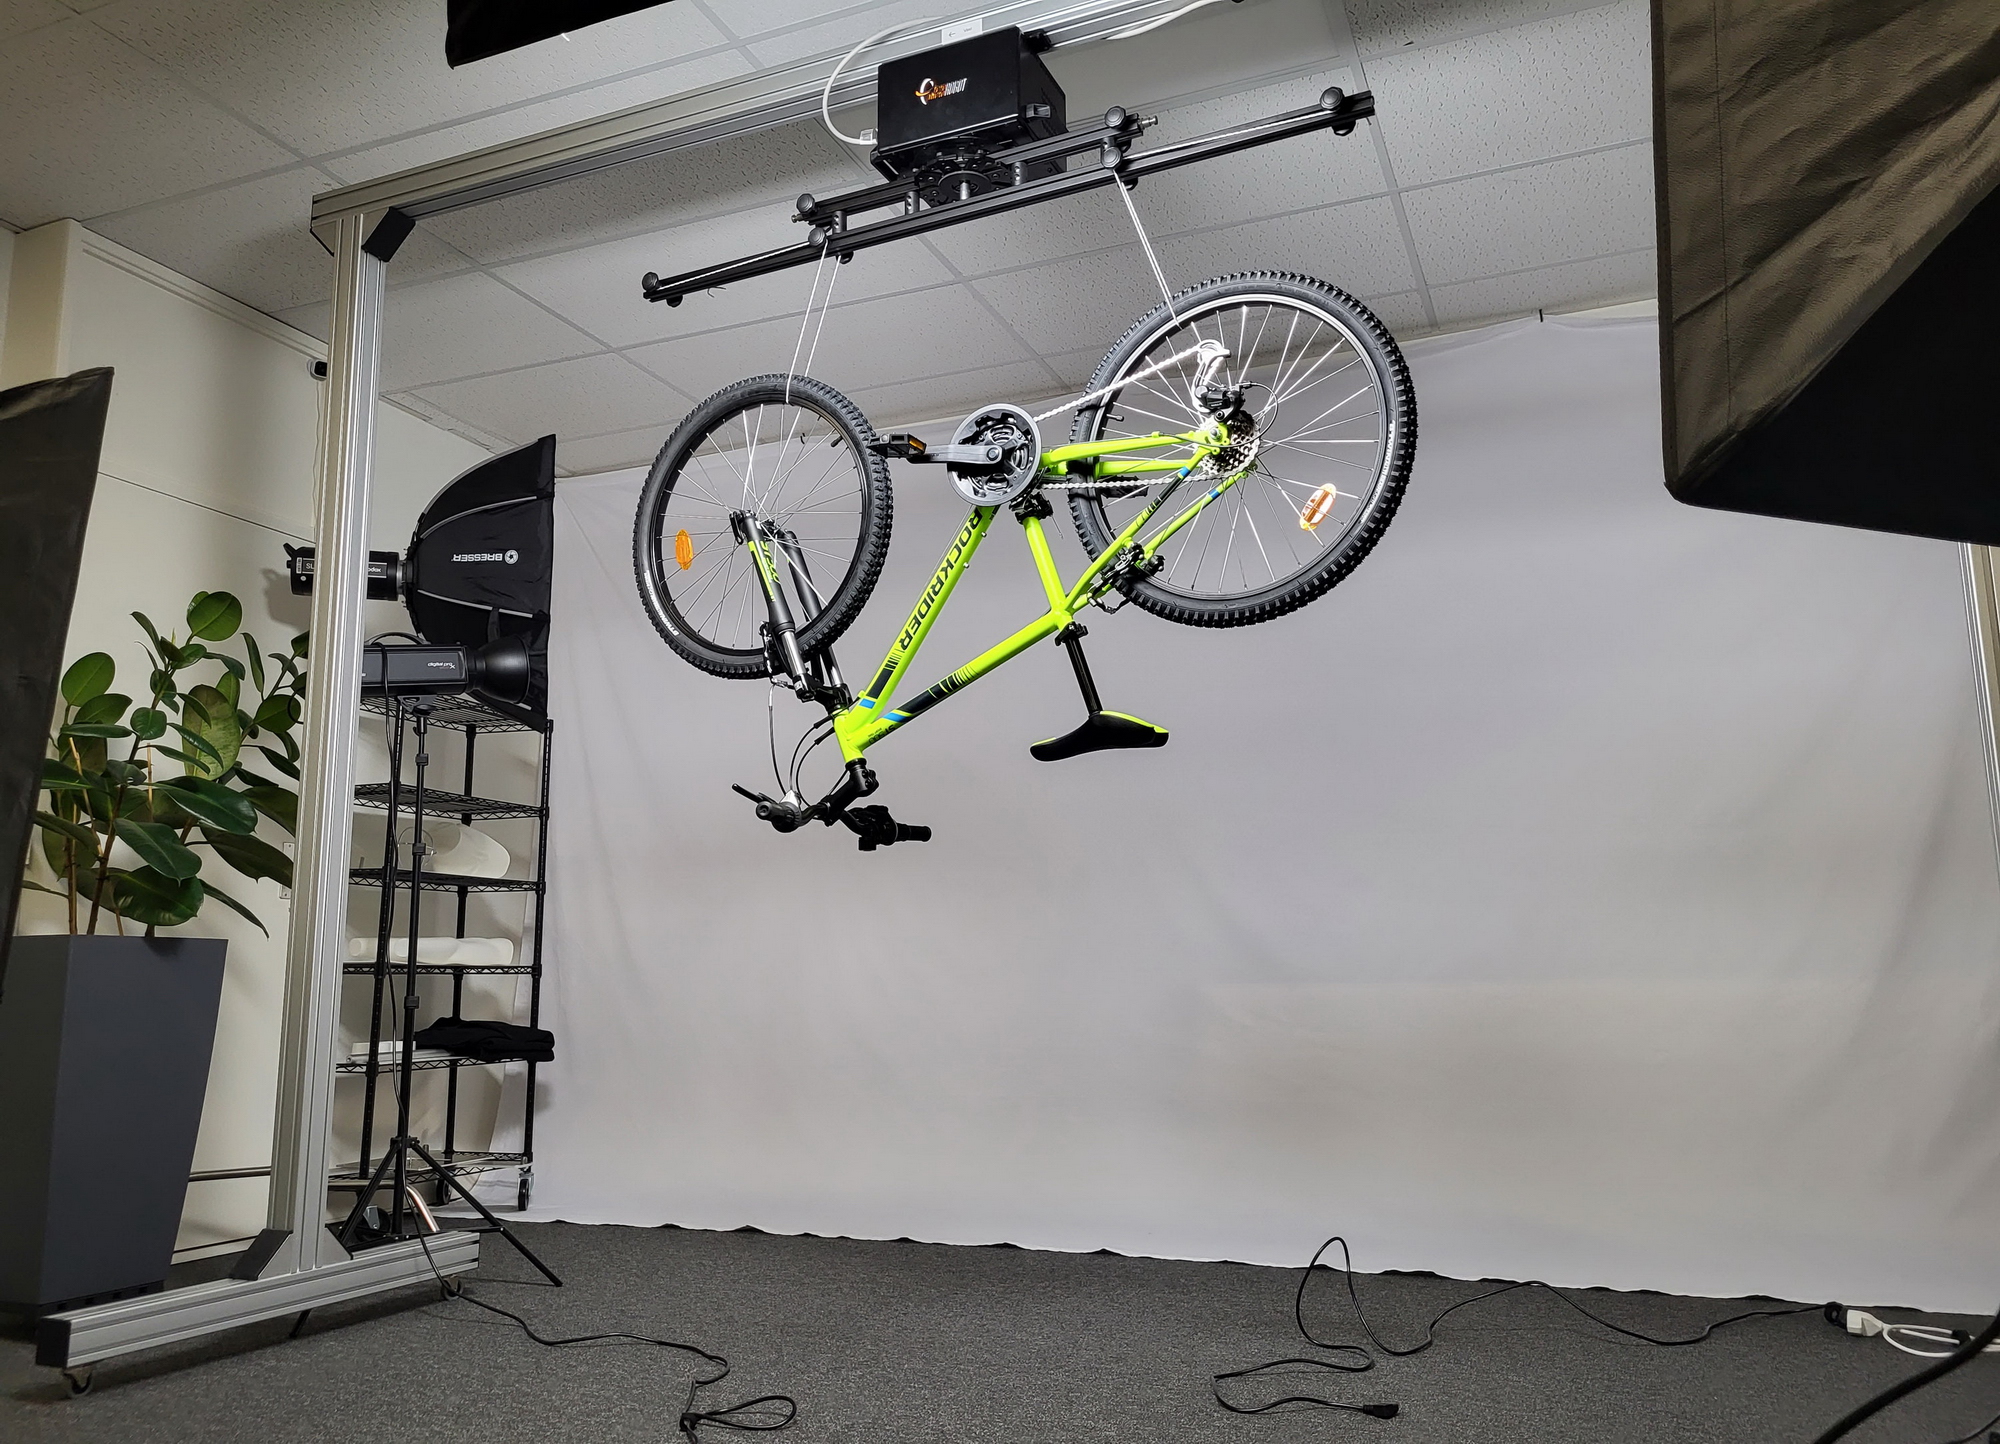
When it comes to photographing a bike in 360 degrees, having enough space is crucial. This allows you to position your lighting equipment in the right place and create the necessary distance between the bike and the background lighting to achieve optimal results.
So make sure to allocate enough space in your studio or shooting location to move around freely. Consider using a plain white wall as a clean and unobstructed background, or a white cloth or sheet can also be used. If possible, invest in lighting equipment with wheels to make it easy to move around and create the necessary space for each project.
Preparing the bike for the shoot
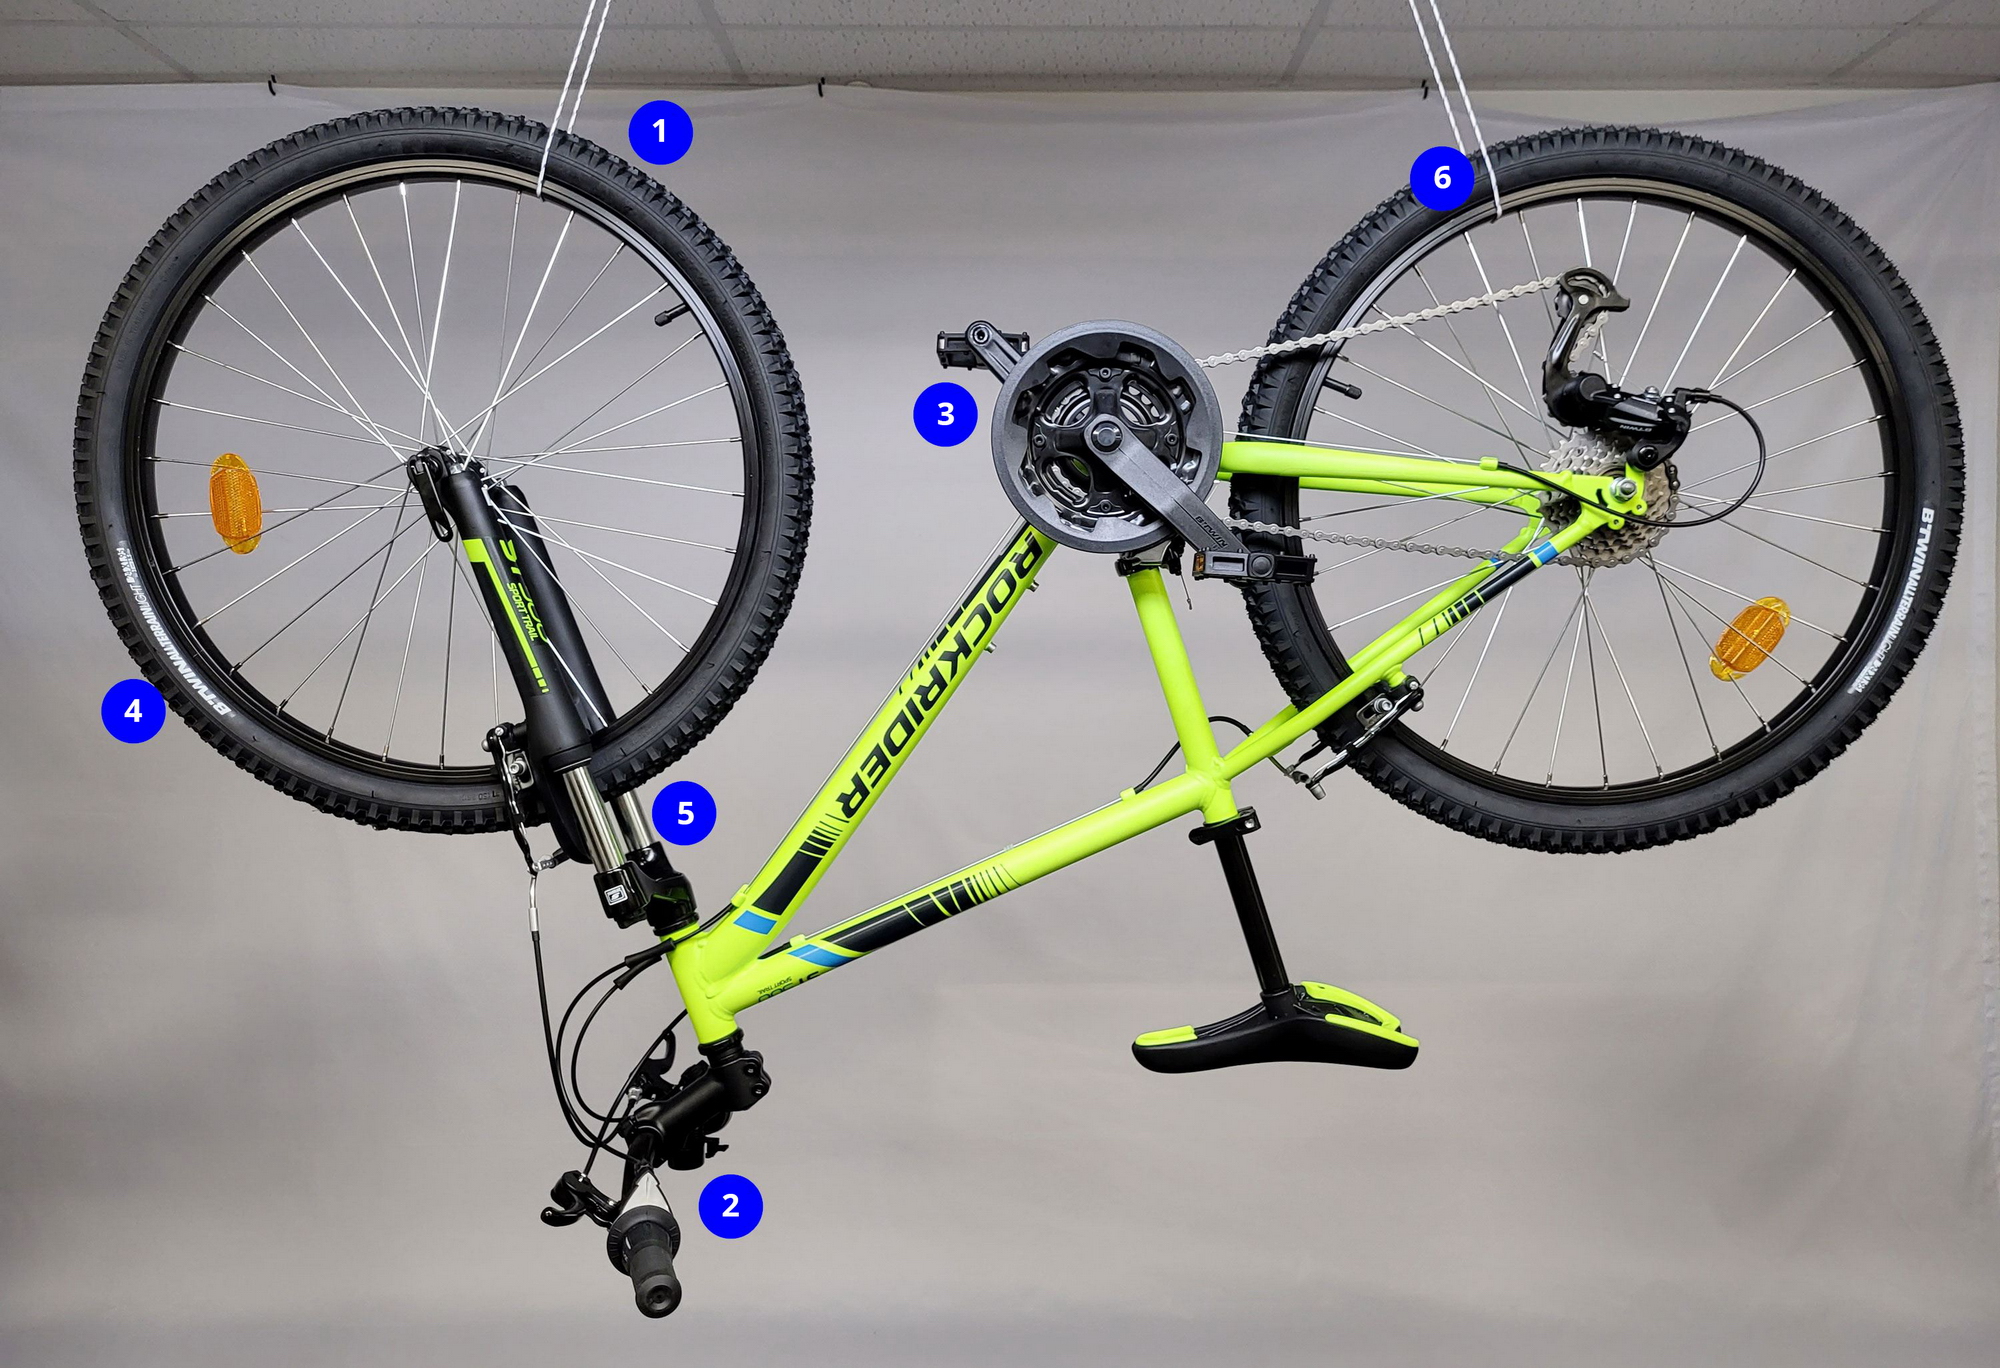
Before the shoot, you want to make sure the bike is clean, in good condition, and presented in the best possible way. In addition to removing any accessories that may obstruct the view of the bike, it's important to set the handlebars straight, align the pedals, and ensure the logos on the tires are at the same height. Also, when hanging the bike, be sure to avoid hanging the rope or string over the logos on the rims or tires. This will make it more difficult to remove in post-processing.
A few things to keep in mind:
- Hang the bike straight
- Straighten the handlebars
- Align the pedals
- Align any logos on the tires
- Clean the bike, even if it is new, there may still be some visible grease here and there.
- Place the rope or whatever you use to hang the bike in the center of the spokes and not over the logos on the tires.
Setting up the equipment
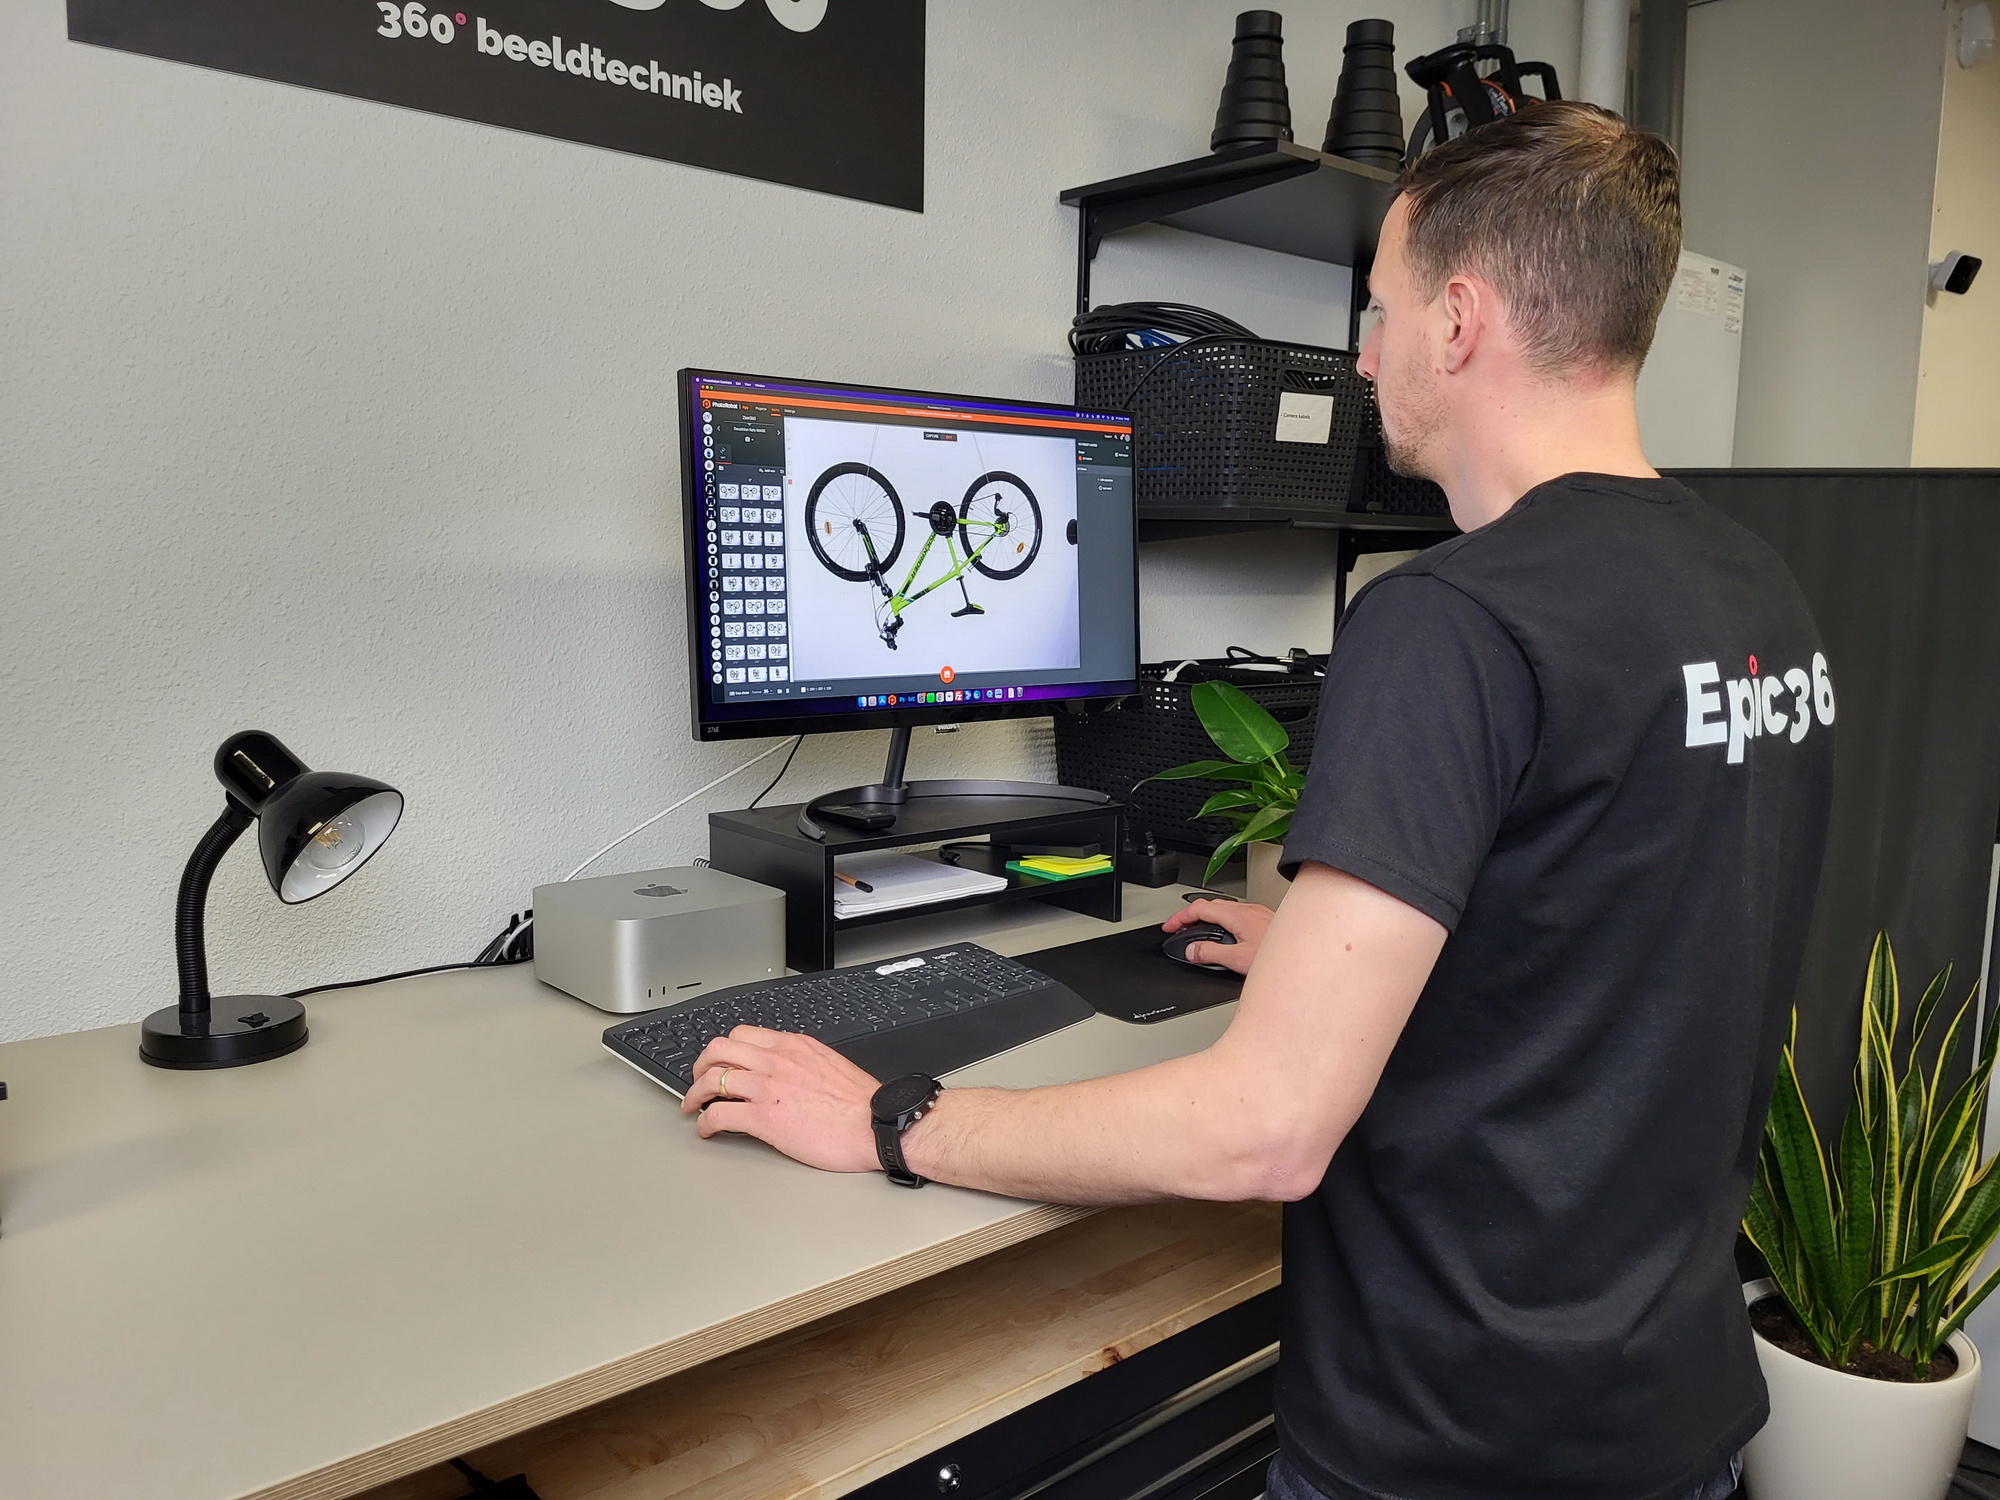
To photograph a bike in 360 degrees using this method, you need a hanging system. I use an automatic hanging system that rotates and takes pictures of the bike while being controlled by a computer.
Jarring movements
It's important to note that the bike may move quickly due to its hanging position, so it's crucial to rotate the bike slowly and smoothly to avoid any motion blur or jarring movements. If you're using a start-stop system, it's important to ensure that the starting and stopping is as smooth as possible. However, the best method is to let the bike rotate slowly and continuously without stopping and have the camera automatically take all the pictures.
Capturing the 360 degree photo
Capturing a 360 degree photo involves rotating the bike and taking a specific number of photos as it turns. I usually take 36 photos to achieve a nice result. Taking more photos can be a drawback since each photo has to be manually edited. But that is up to you of course.
Not enough space?
When photographing a subject like a bike, it's important to have enough space to ensure that the background lighting doesn't affect the subject. If there is not enough space, the background lighting can cause small details such as the spokes become less visible.
 Look at the spokes that are almost invisible
In such cases, it can be helpful to take two photos per frame, one with slightly underexposed lighting and the other with just the background lighting. Having these photos allows creating a mask of the object for each frame, so it can be separated from the background in post-processing.
 First, make a mask of the bike.
The underexposed lighting helps reducing the impact of the reflections while the mask ensures you can still have pure white background.
 Use the mask to remove the background.
However, this technique requires taking more photos and can be time-consuming. In most cases, it's not necessary and can be avoided by using enough space between the subject and the background lighting. So, it's always best to create enough room to position the lights in the right place and prevent the background lighting from interfering with the subject. By doing so, you can save time in post-processing.
Post-processing the photo
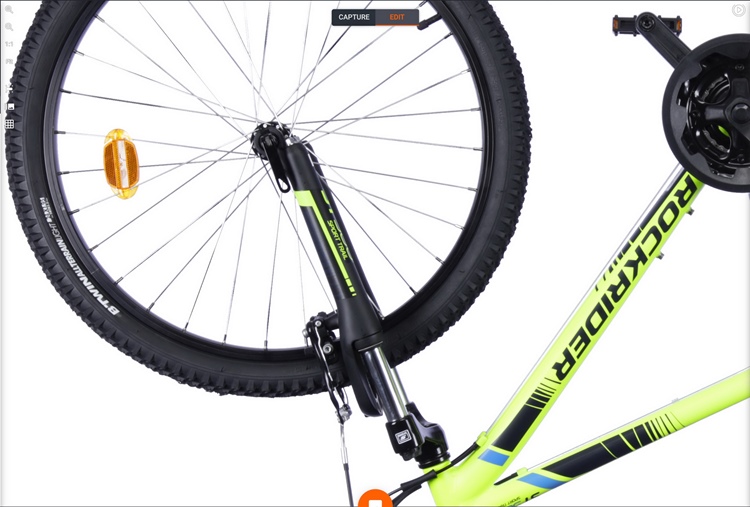
After capturing the photos, post-processing is necessary to refine the image. Initially, the standard adjustments such as making the background 100% white, cropping, adjusting exposure, and sharpening the image need to be done. When using the hanging method, there are two additional steps that need to be taken. First, the support system used to hang the bike, such as a rope, must be removed.
Second, the bike needs to be flipped over into an upright position. When it comes to removing the support system, the color of the rope doesn't matter. Even a black rope is visible and must be removed. I use Photoshop for this process, and until recently the Healing Brush was the go-to tool.

Photoshop remove tool
However, removing the rope from some photos can be a more challenging task, as the perspective of the photo makes it harder to achieve a clean removal. The new Remove tool in Photoshop (Beta version as of 2023) is an excellent new feature that works exceptionally well in removing the support system. It's far superior to the old Healing Brush for this task. Although you still sometimes need to try two or three times like with the Healing tool to achieve a good result.
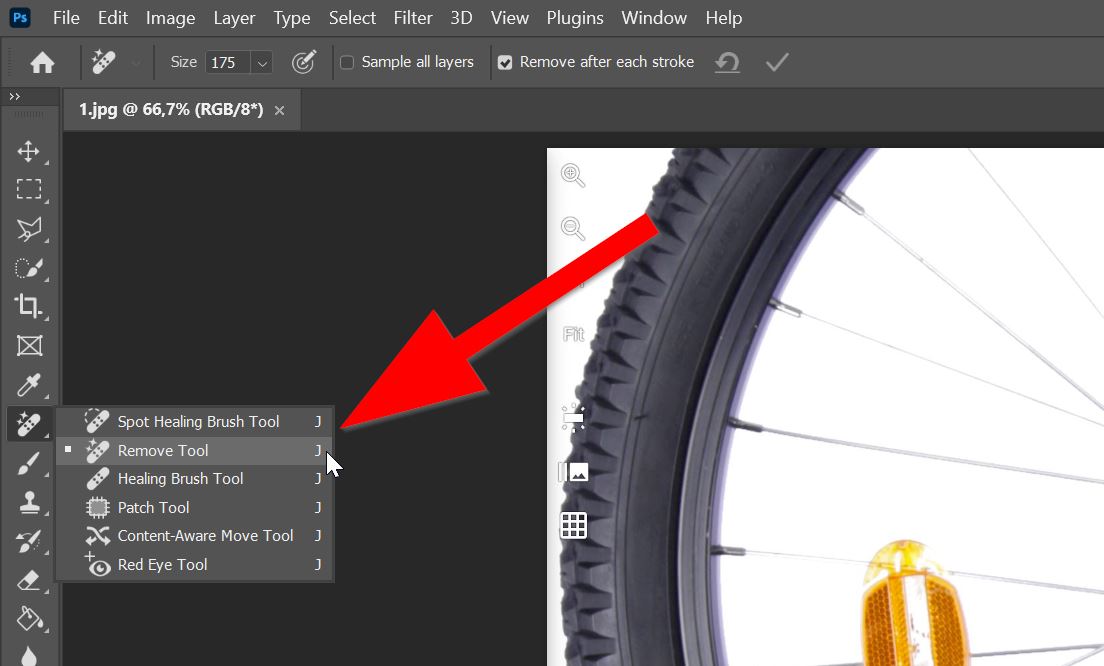 When faced with difficult elements, the new Remove tool is much better.
Currently, the tool is only accessible in the Beta version of Photoshop. If you have an Adobe subscription, you can download the Beta version through Creative Cloud.

End result
Here is the final result of the 360-degree bike photography process: a perfectly upright image of the bike that can be viewed from any angle. This image showcases the bike in its entirety, allowing customers to examine its design and features in detail.
Hopefully, you'll find some helpful tips throughout this post. And of course, I'm happy to help if you have any questions, feel free to contact (https://epic36.com/contact/) me.
Related posts: