
Photo by Christopher Gower
Recently we started recording short video clips to help with some of the most frequent inquires and to showcase the latest updates in WebRotate 360 SpotEditor.
In case you missed these video tips on our Facebook or Youtube channel, here's the latest with some extra notes:
#1 - Crop Imported 360 Product Images
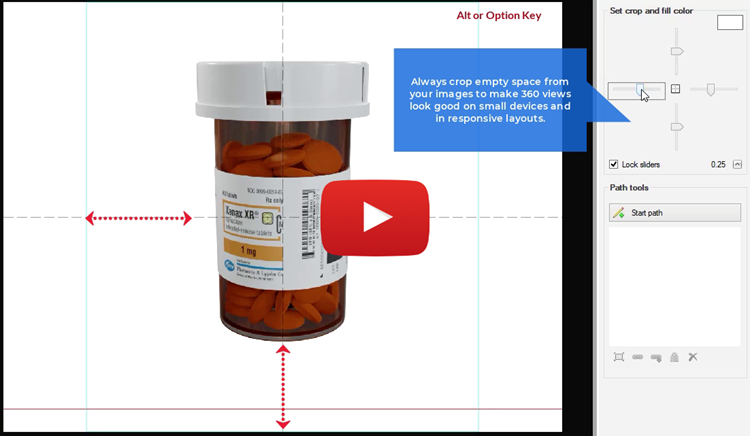
Always crop your images to remove as much empty space as possible, leaving just enough padding inside the turquoise rectangle for the images to look good. This is true even when the viewer preview in SpotEditor provides ample padding space for the images as-is like in this video. This is because the same 360 product view can be viewed on small devices or your client may change the final dimensions of the viewer on their pages and if the images are not cropped sufficiently, the actual product may end up looking too small.
PRO tip:
- Press ALT key (Option key on Mac) to drag locked crop sliders in opposite directions.
- Press center button to reset your crop.
#2 - How to Publish Transparent 360 Product Views
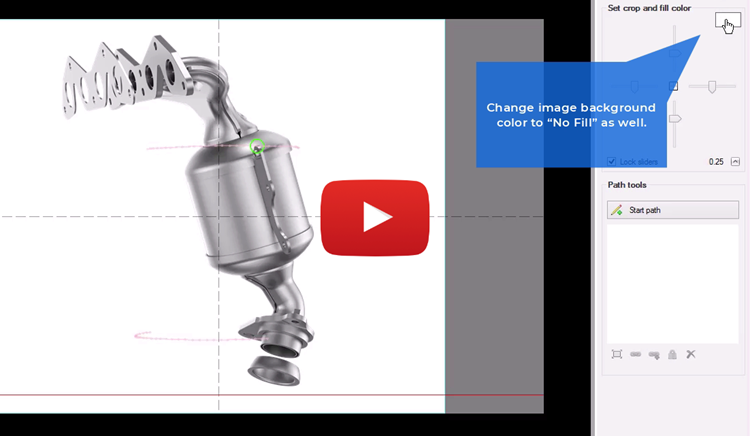
By default, even if you import PNG images with transparent background, SpotEditor will fill the background with white. To ensure SpotEditor doesn't change the background of your 360 product images, first set Viewer background to No Fill on the Interface tab under Styles. Also set image fill color to No Fill under Images -> Tools. And finally, select PNG image format on the Publish form.
PRO tip: remember that PNG format uses lossless compression. A better alternative is to match viewer & image background with the background color of your website and publish JPGs instead. This way you can expect a combined download that is 3-4 times smaller on average.
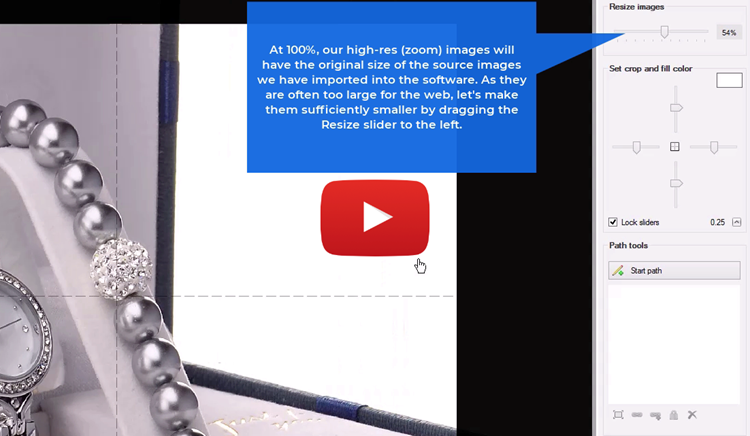
#3 - How to Size 360 Product Images
When you publish a 360 product view in SpotEditor, by default, it creates two sets of images:
- Low-resolution images for fast loading on the web
- High-resolution ones for zooming and optionally full-screen
Low-res images are sized based on the viewer dimensions under the Interface tab in SpotEditor. Usually, the Width and Height there is the size of a web page container where your 360 product view is going to be integrated when the page is viewed on a desktop browser at 100%.
Once viewer size is set under Interface, first crop the images under Images -> Tools as per #1 and then use Resize slider to size your zoom (i.e high-resolution) images.
There's a common mistake where some users think the Resize slider is for sizing the images to make them fit into the viewer container, which is not correct.
If the Resize slider is at 100%, your zoom images will have the original size of the source images you have imported into the software. As they are often too large for the web, make them sufficiently smaller by dragging the Resize slider to the left. Note that every time you start dragging the slider, zoom preview is turned on automatically to give you a preview of the zoom depth. Simply click zoom in/out button at the top to go back to the normal view and back to zoom as needed.
#4 - How to Pan and Spin at the Same Time
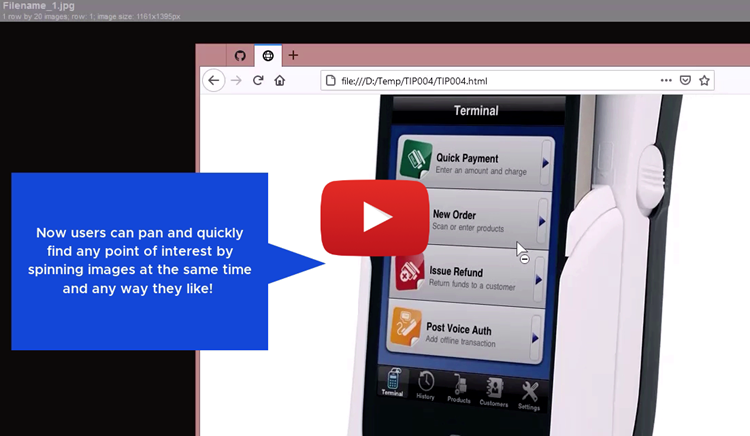
By default when zoomed-in, WebRotate 360 Product Views switch to panning mode where user can only pan left, right, up & down. User has to zoom out to spin images again or use mouse wheel, if configured. This may affect user experience.
We can make it more user-friendly, if in addition to panning, we let user spin images at the same time. This can work especially well for tall and narrow objects. To achieve this effect, select Allow drag rotation when zoomed under Control - More Options and uncheck Allow panning on X-axis. Then republish using fast publish via F6 key on Windows or Cmd + Shft + R on Mac.
PRO tip: it's never a bad idea to enable image rotation on mouse wheel when viewer is zoomed-in which you can also do under Controls -> More options tab.
#5 - Use Project Templates to Save Time
When working on multiple 360 product views that share the same or similar presentation properties (size, hotspots, zoom, speed, etc), consider using SpotEditor project templates.
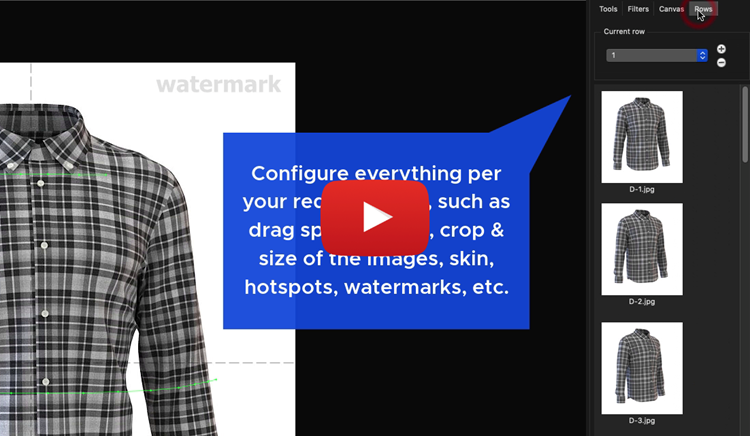
First create a new project or open an existing one that you will designate as a template. Configure everything per your requirements as you would usually do, such as drag speed, zoom, crop and size of the images, skin, hotspots, watermarks, etc.
Publish the project and verify that it works as designed and that it looks good on your web pages using various screen resolutions. At this point it's good to confirm with all of the stakeholders (your client, boss, etc) that they like it too.
Now start a New Project and point it to a folder with the images of your next product. As you do this, check Advanced options on the New Project form and navigate to your "template" project in the Copy project field. Once the new project is loaded, all settings from the template project have been carried over and applied instantly. Just hit Publish and done!