We rarely review third-party 360 product photography hardware, mainly because WebRotate 360 solutions for 360 product photography so far have been hardware agnostic. Today though we feel obliged to introduce you to VIVAT's turntables. VIVAT is a small manufacturer located in Ukraine, an Eastern European country that now fights for survival. And while we support efforts there by other means, being able to help a company that works in the same space in this part of the world is important today.
So without further ado, let's see what VIVAT has to offer, starting with their smaller D-26 table.
To start with, the table was designed from grounds up and specifically for 360 product photography, unlike some gimmicks we see out there with rebranded display stands and alike. The team at VIVAT didn't start working on the product out of the blue either. They are professional photographers who shot plenty of 360 product photography before embarking on the product development. Not unlike truly yours.
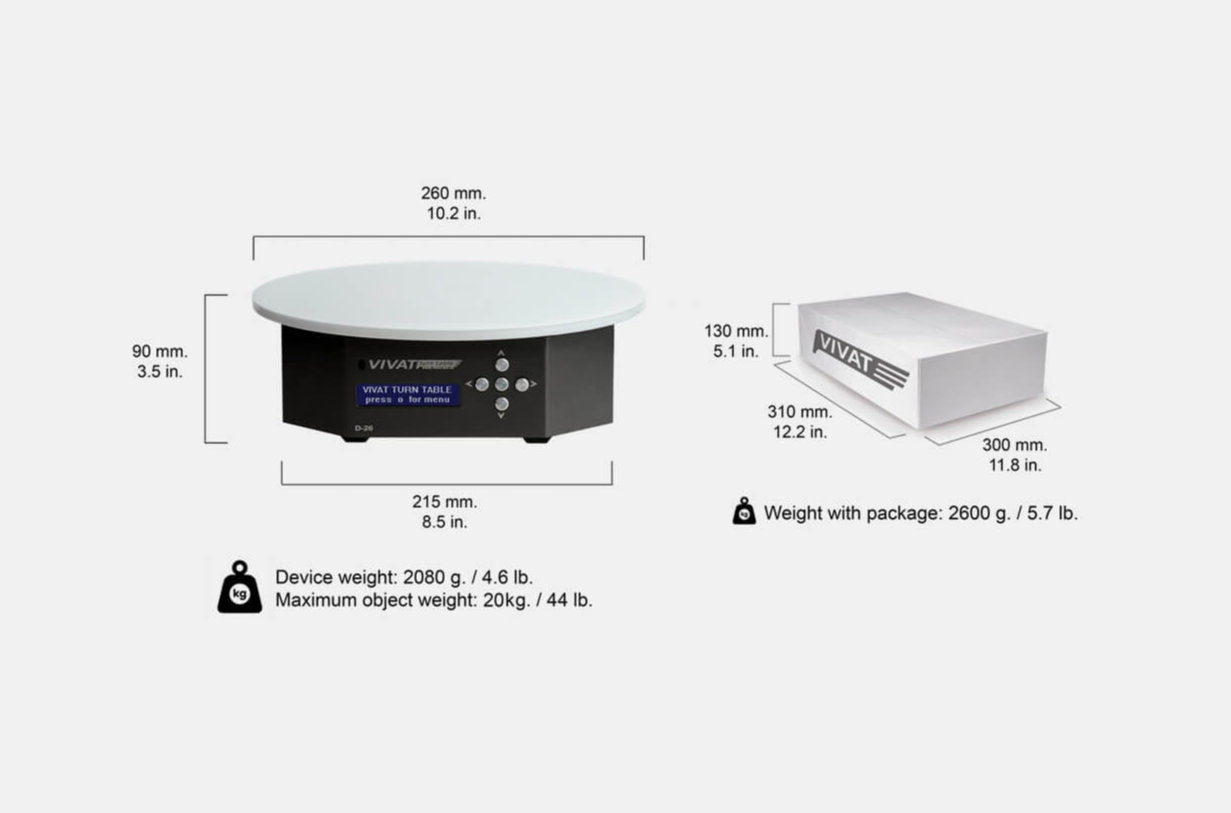
D-26 is rated for weights up to 44lbs (20kg), which is sufficient for most small object photography be it jewelry, small electronics, footwear and such. If you are a professional product photographer, that's enough to get started. Note that even though the base platform is just 26cm (10.2") in diameter, you can order an expansion platform and some are 60cm (23.6"), so you can deal with some bulky items too. AC input can be either 110v or 220v.
The table comes with a camera sync cable and you get a free adapter based on your camera model that you chose during checkout.
D-26 can be operated in 3 modes: photo, video and manual, where photo is an automated stop-motion 360 product photography, video is a non-stop 360 video shooting, and manual is where you can control everything using provided features. In terms of automation, it's pretty much an industry standard and is something we see in the top of the line tables by other manufacturers.
There are a couple of things we really appreciate in the design of D-26:
IR remote and on-board control
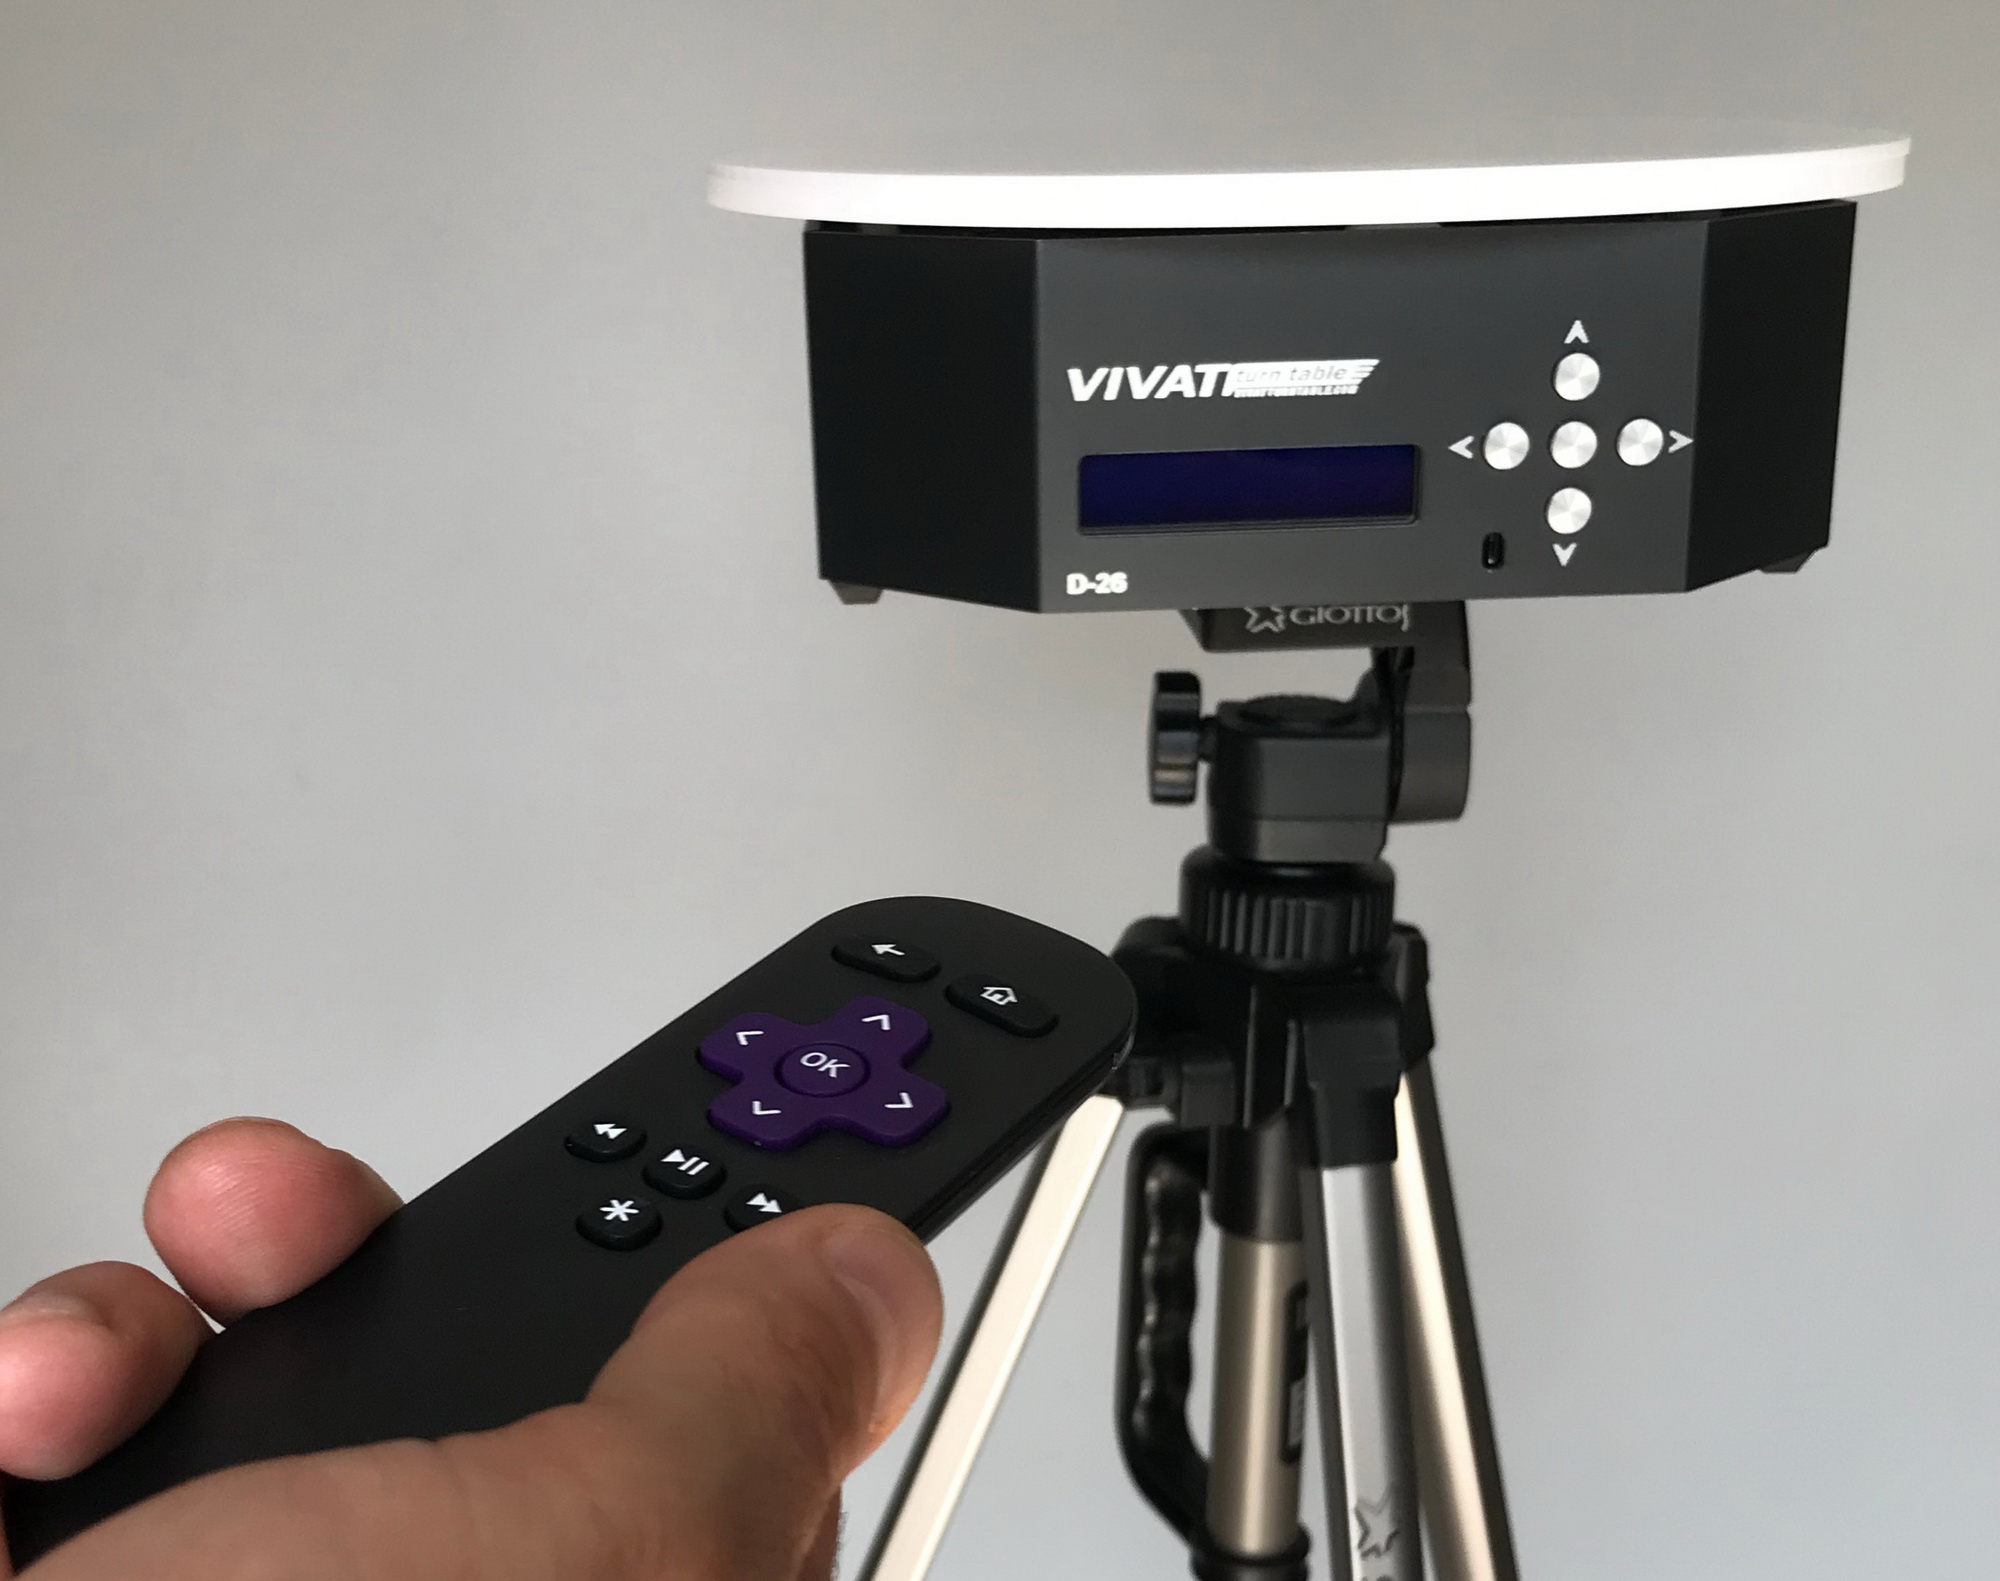
We have been shooting commercial 360 product photography non-stop for many years until 2016, and I can't tell you how many times we wanted to get a hand-held remote like this in our tables that were three times more expensive (we're taking 2009 prices).
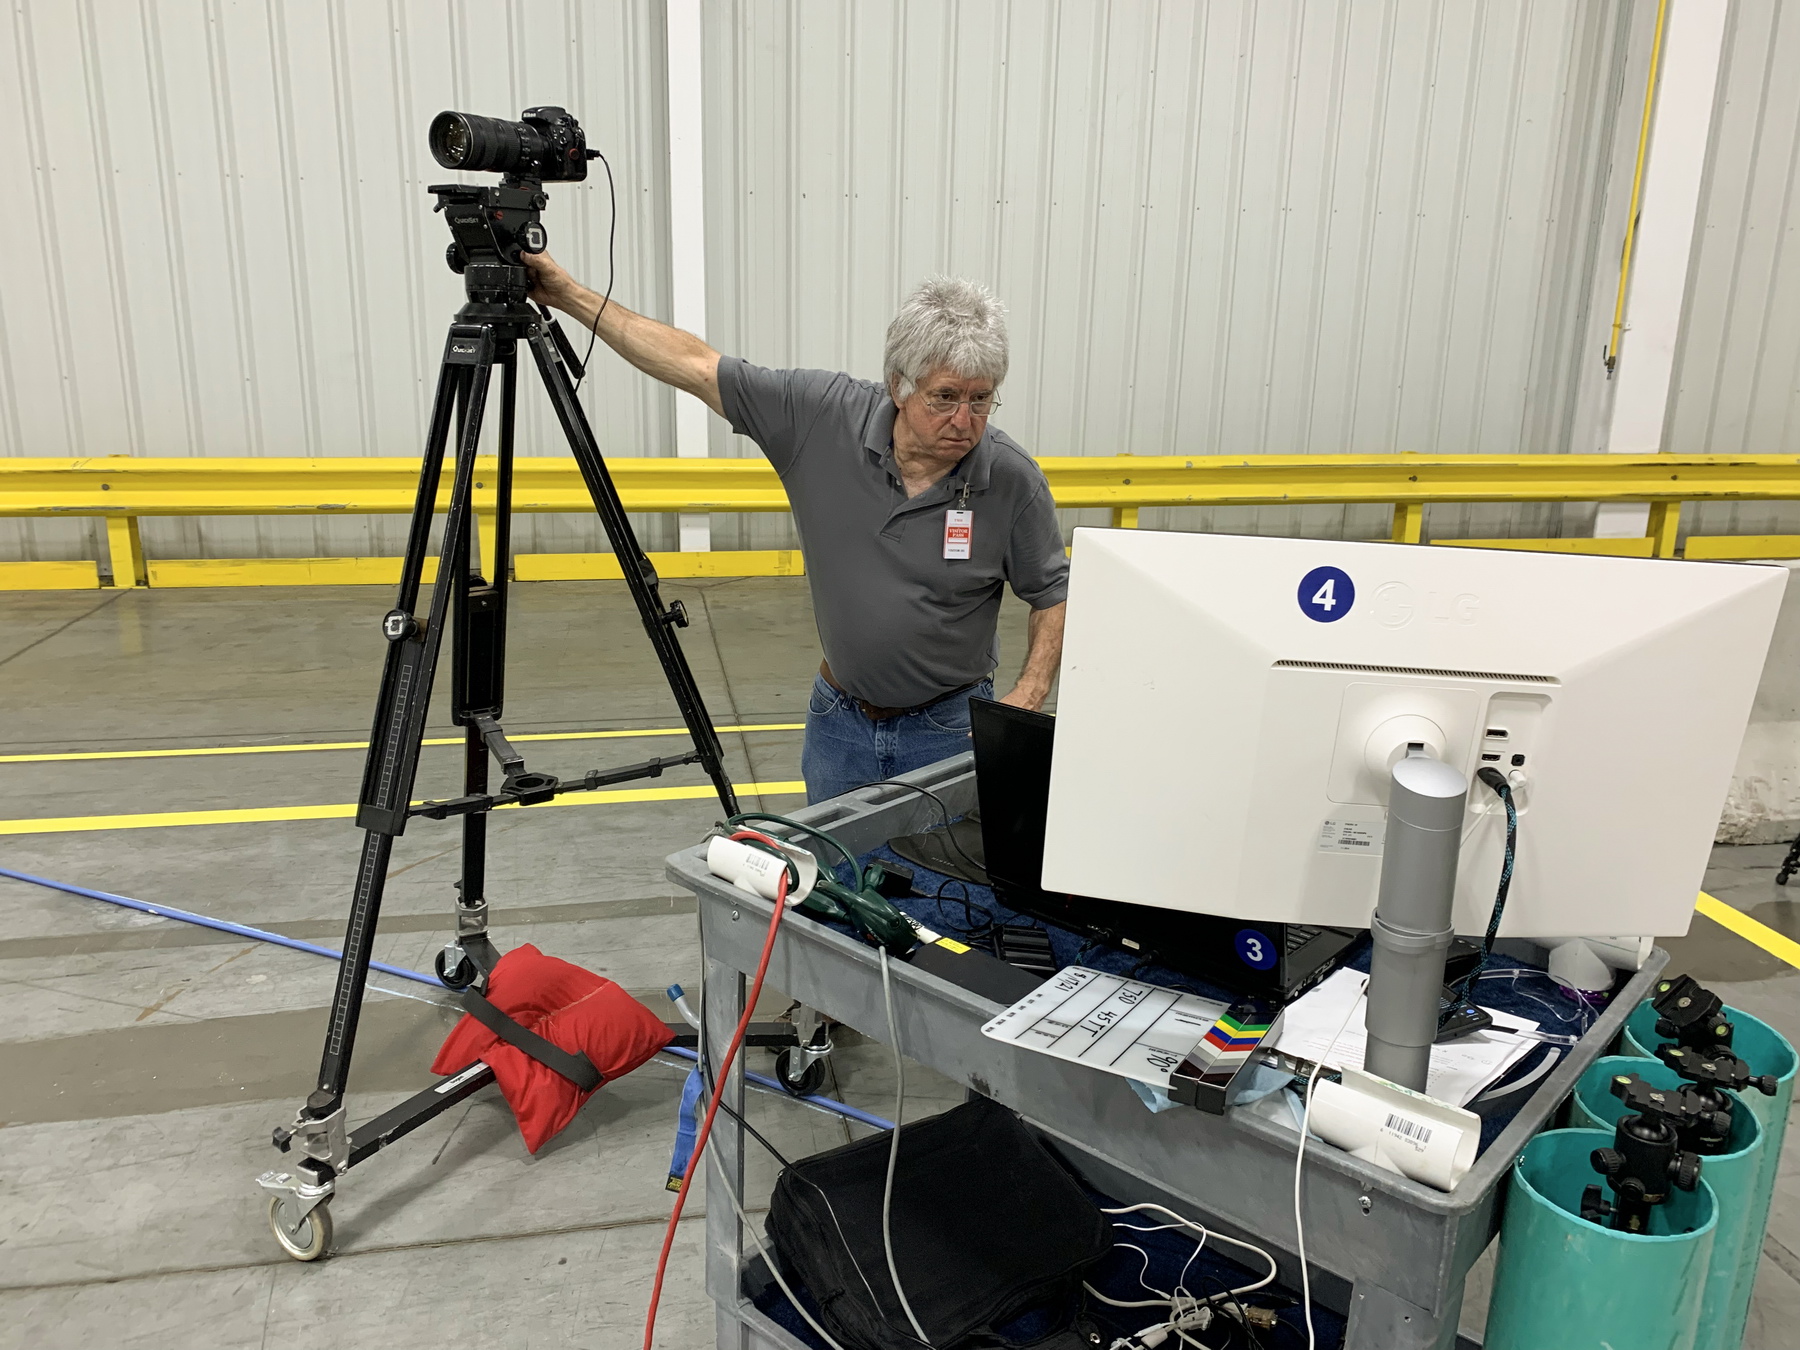
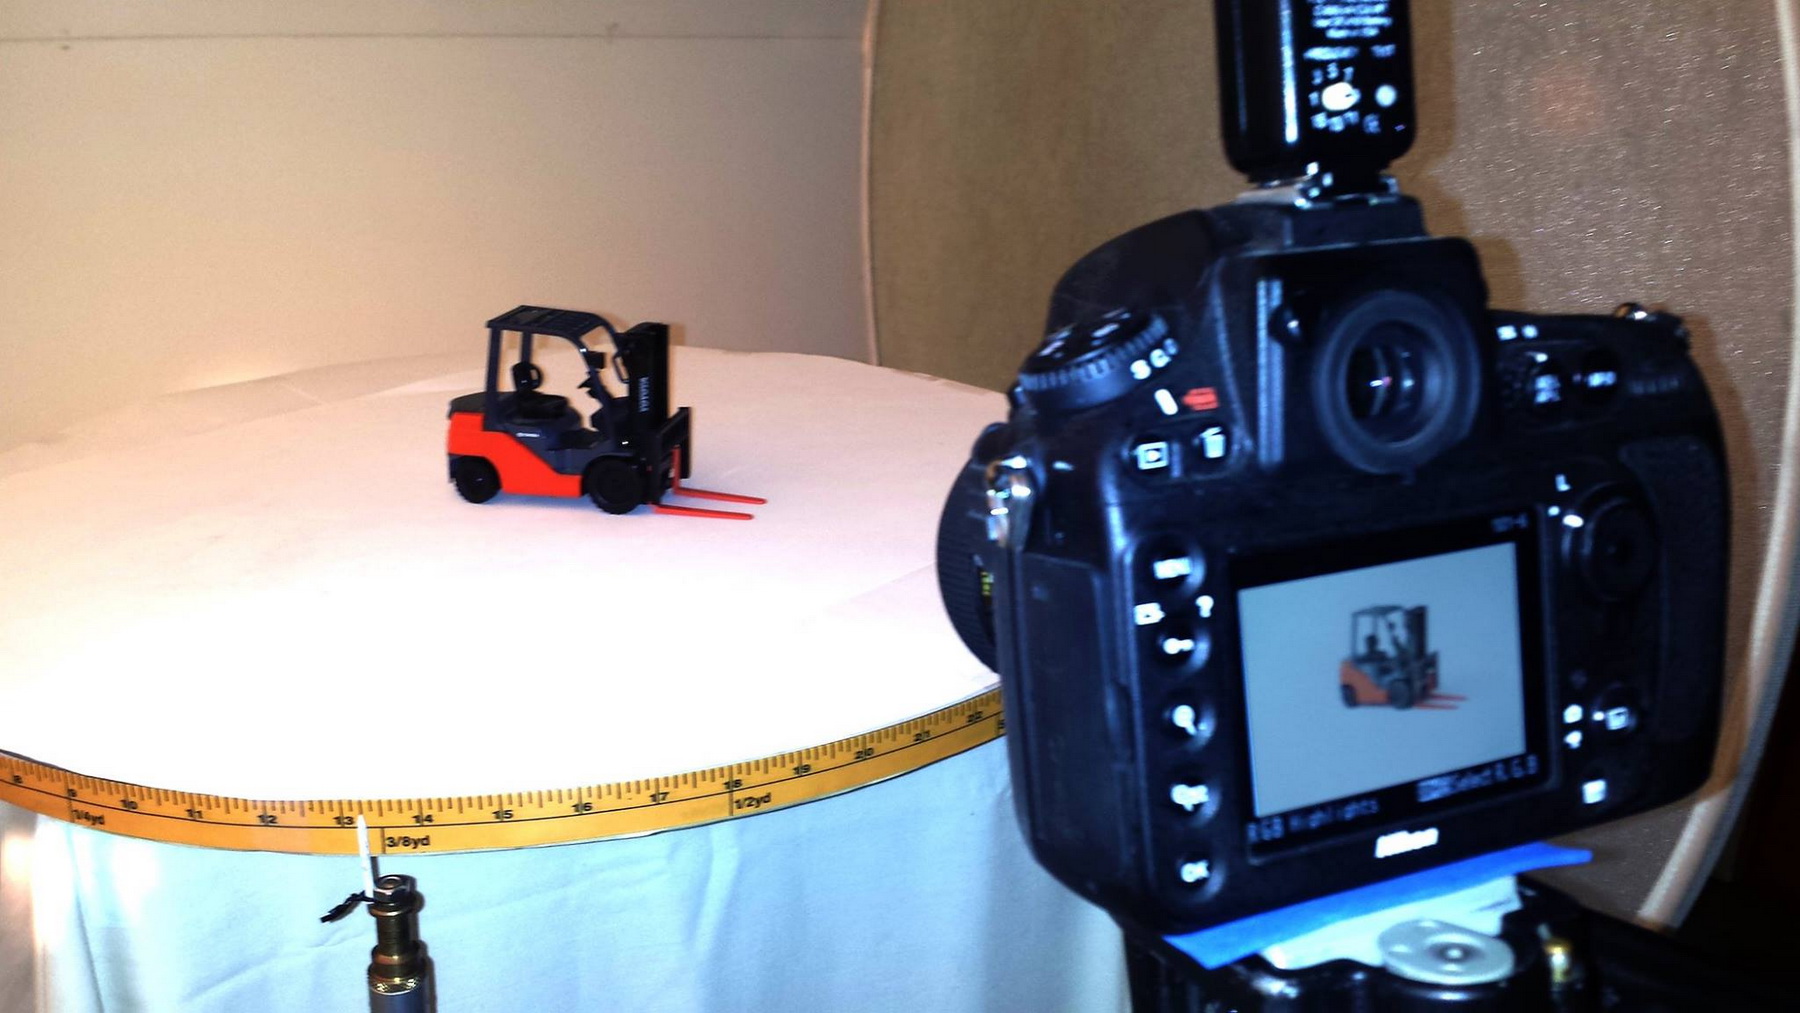
Why? For quality work, you can't just place a product on a turntable, click a button on your computer and wait for great results while specialized computer software works its magic, triggering camera and spinning the platform. Rarely happens. Things reflect differently as it spins, products shift and wobble, etc., so you have to really work your setup and that means running back and forth all the time between the table and wherever your computer is tethered. So if you can control everything via a remote or right there at the table using VIVAT's LED screen, that's a big plus. Granted you would still want to wire your camera to some large TV screen nearby so you can also review images as things progress.
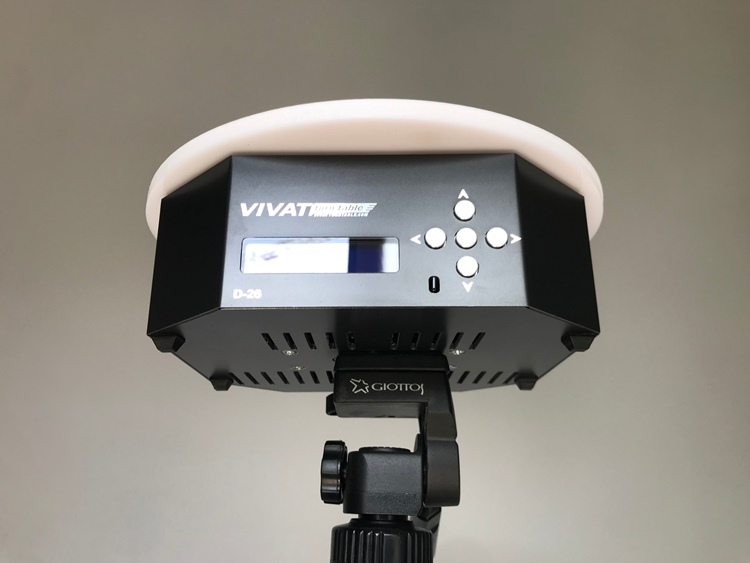
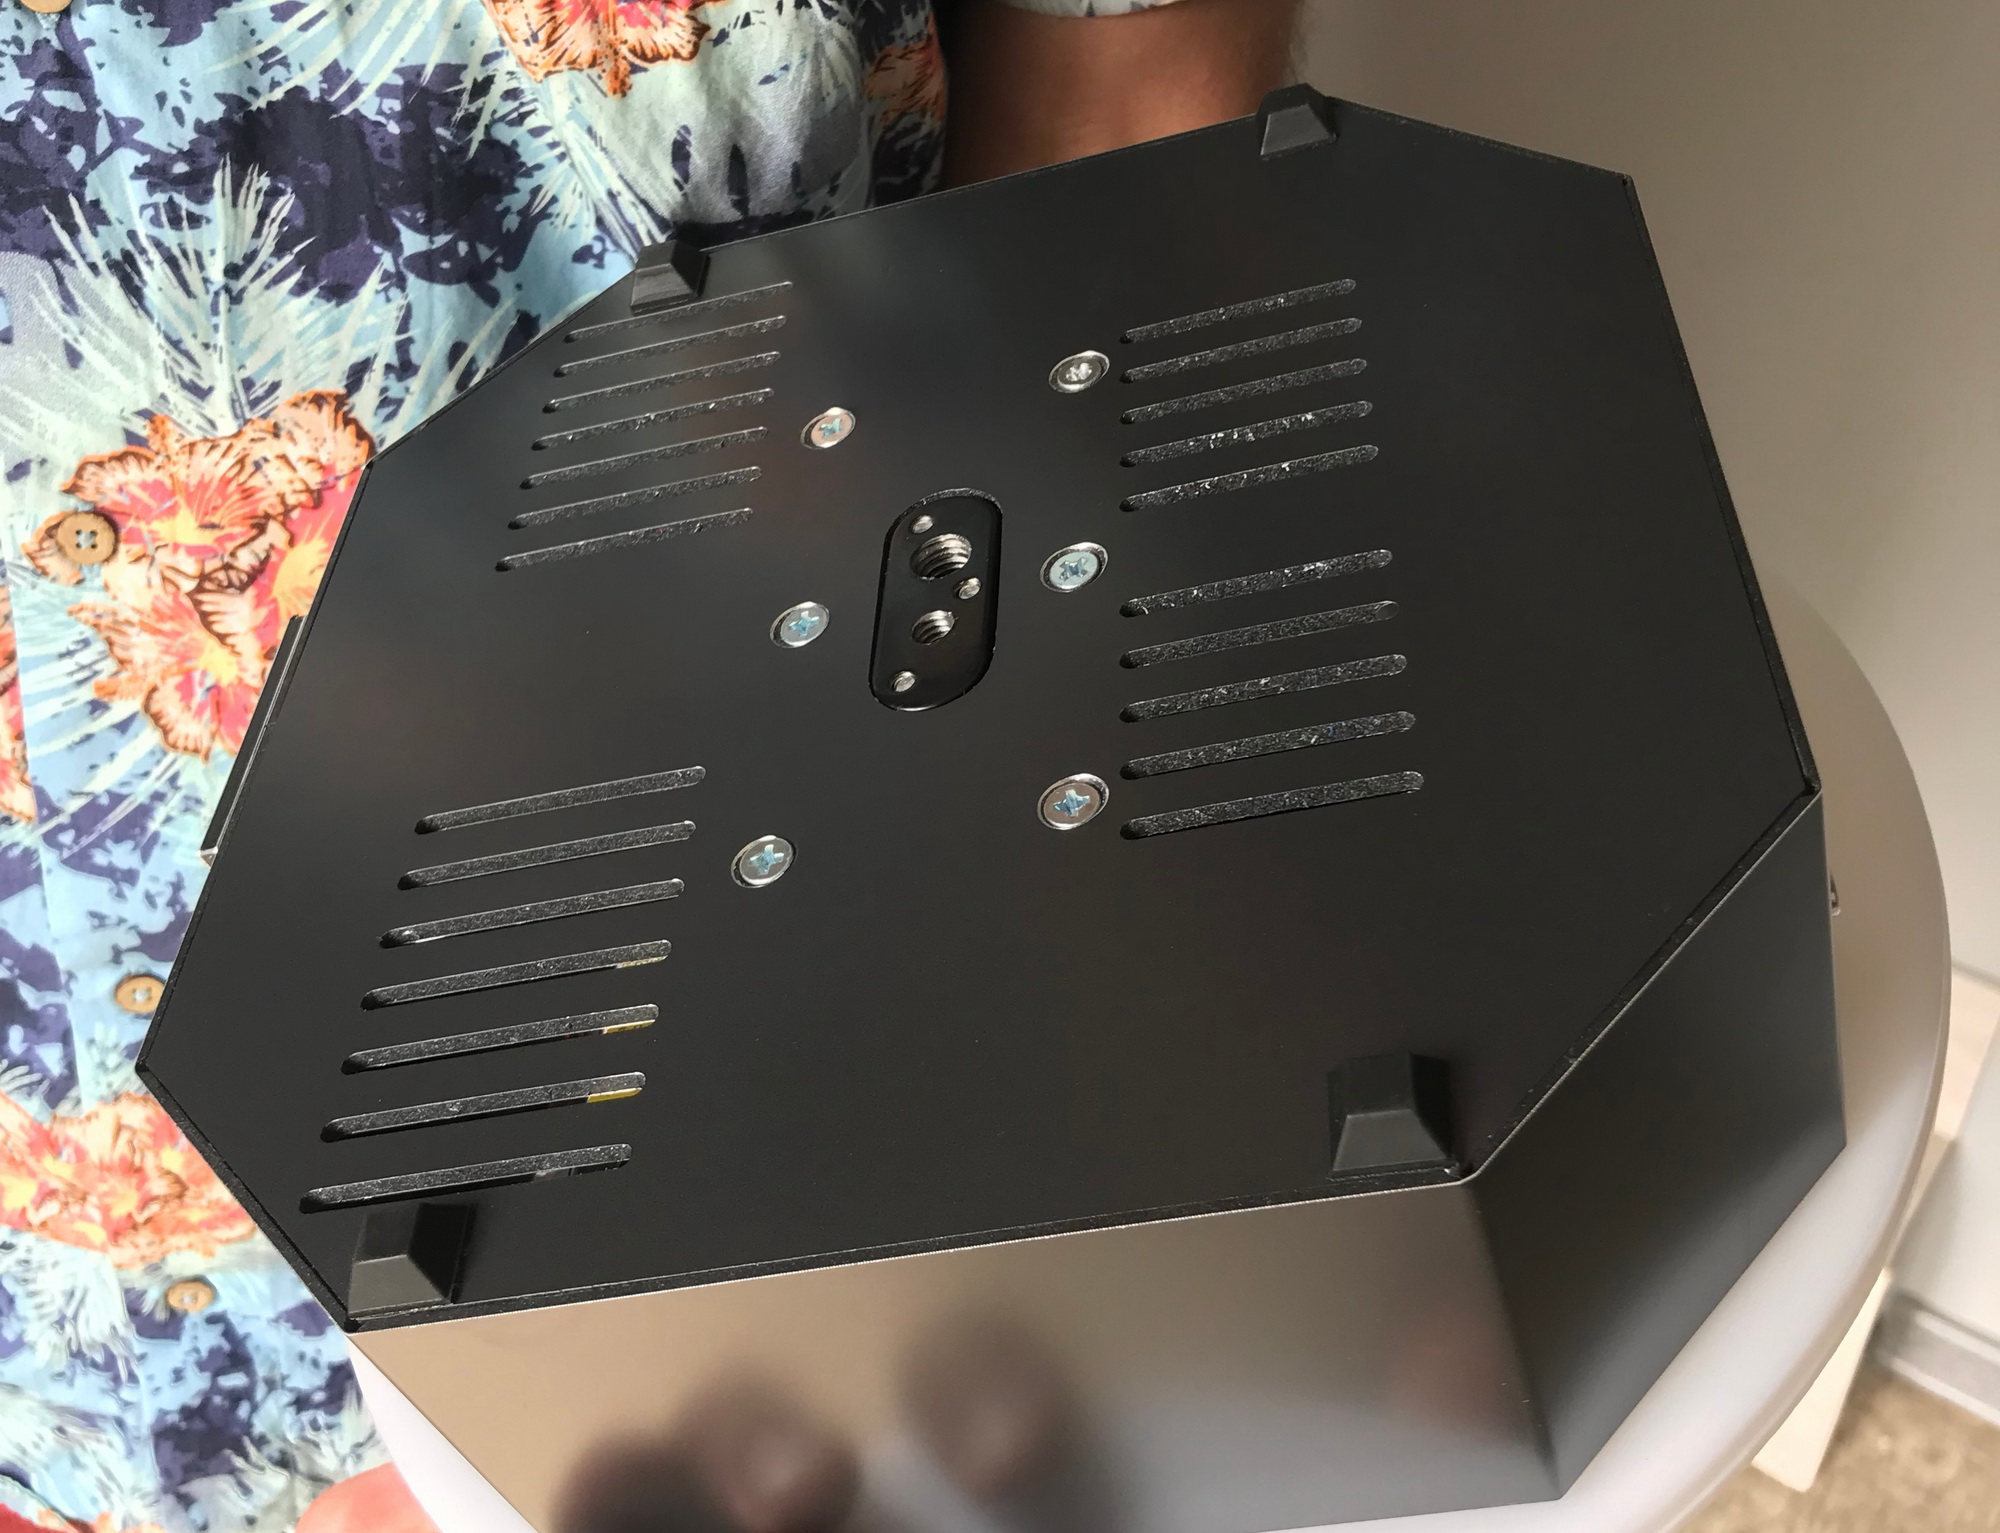
Tripod mount at the base
This is very handy and is something we would be quite happy with in our own studio as well. Having the table mounted at a level that doesn't require constant bending is priceless.
But there's more. When advising our clients on shooting 360 product photography, we often have to warn them upfront that it's actually rare that you can simply throw a product on a table. There's all sorts of rigging that is often involved in keeping products upright and also it's not uncommon that you have to shoot products mounted upside down and the base tripod mount can really help with this (note that it's an extra option that you would need to select during checkout).
See how we actually had to drill our turntable on one project to be able to hang it upside down, or see this recent guide on 360 product photography by Jose Soriano with a similar example.
Portability
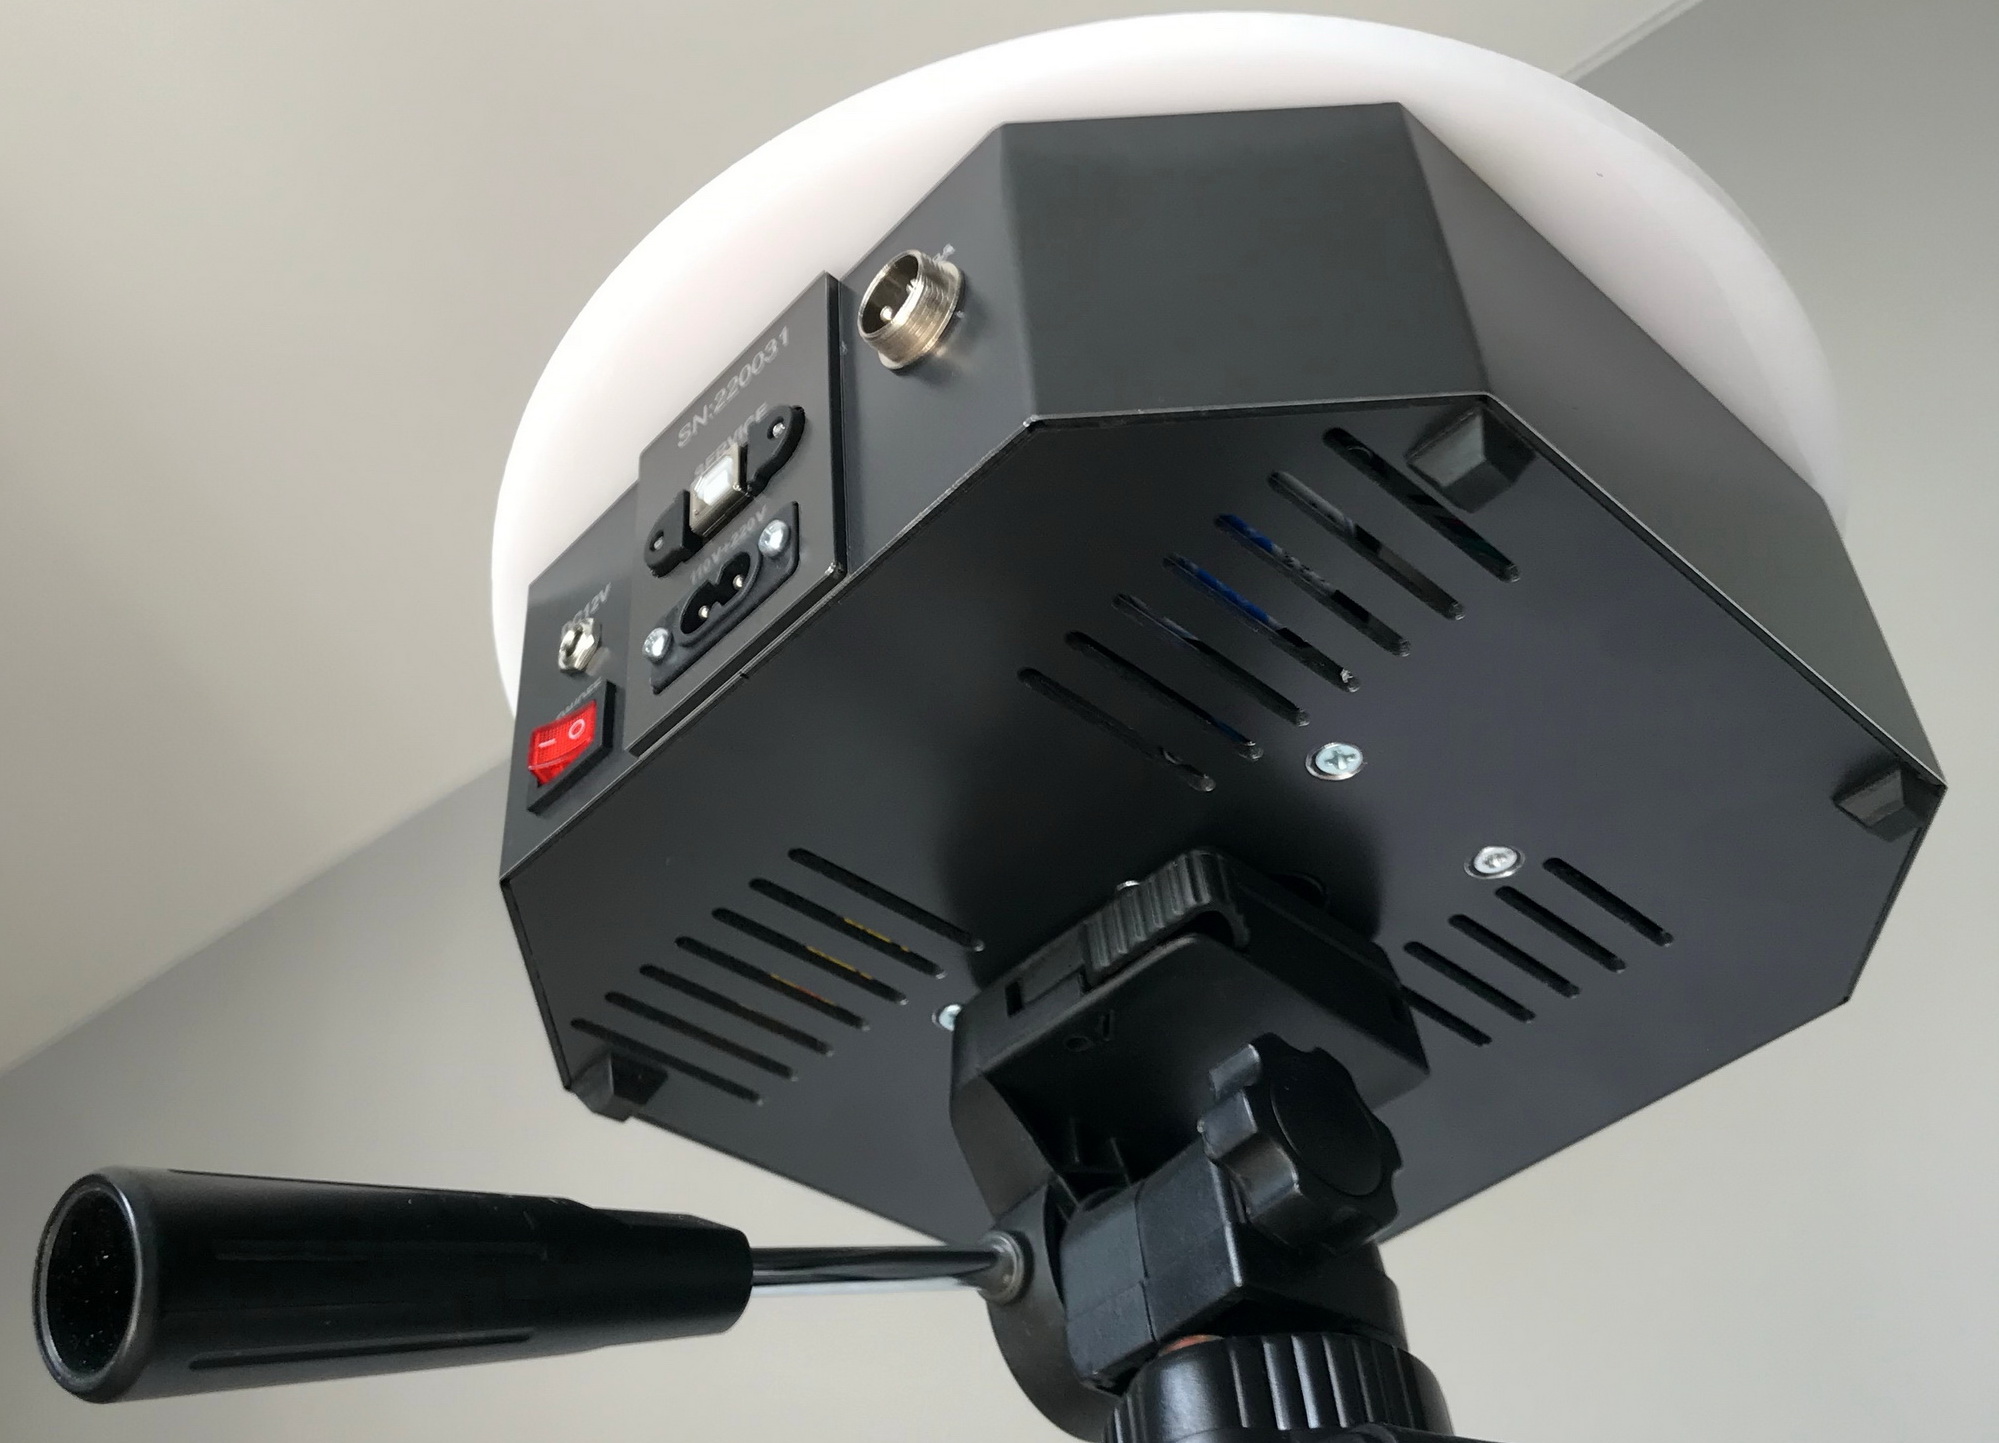
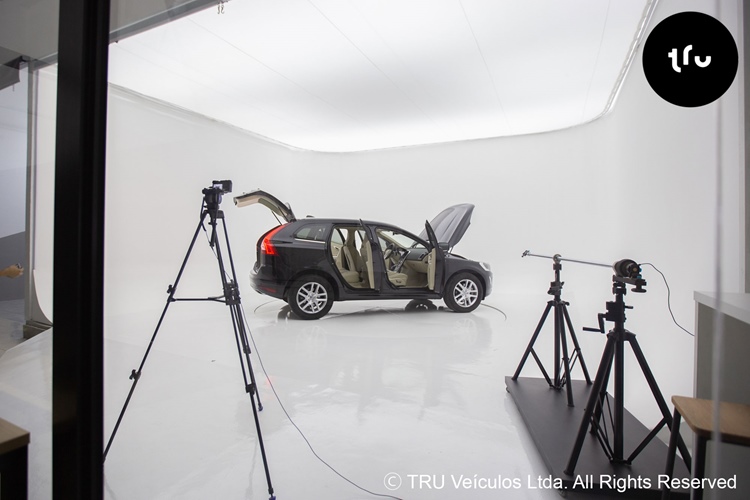
D-26's extra 12v power input gives you the ability to shoot pretty much anywhere by powering the table via a power bank and this means lots of flexibility. While you probably have an AC outlet in your studio and an extension cable as needed, sometimes you may need to travel to a client or even shoot outside, and the 12v input can be a game changer. We have been shooting on location on a few occasions (example) and finding an AC outlet was not always easy.
Not to mention, D-26 comes with an over the shoulder carrying case which is a nice touch by VIVAT.
Conclusion
While we haven't used D-26 ourselves yet, at $349 it seems to be an excellent deal if not just for your on-site projects, if you already have something similar.
VIVAT is running a 20% promotion on D-26 and D-70 which is live until July 31st. Use code webrotate-20 at checkout to apply the discount. Plus you get 20% off on WebRotate 360 Product Viewer, if you get both.