In this post we will talk briefly about a project we did for Glock USA a couple of years ago when we were chosen to produce 360 product photography of pretty much all of Glock’s handguns.. This was an interesting and unusual assignment to say the least!
For one thing, there was no question about photographing guns in our own small studio. We had to find a couple of better options in downtown Los Angeles and Anaheim where we could meet with Glock’s team flying over all the way from Georgia and feel safe about photographing a small arsenal of firearms (Glock had to arrange with authorities for this first, of course).
Another challenge was to find a good way to photograph pistols of various sizes and weights in 360 degrees in a consistent manner and very quickly such that we could finish everything in 2-3 days.
On location – 360 product photography setup for Glock:
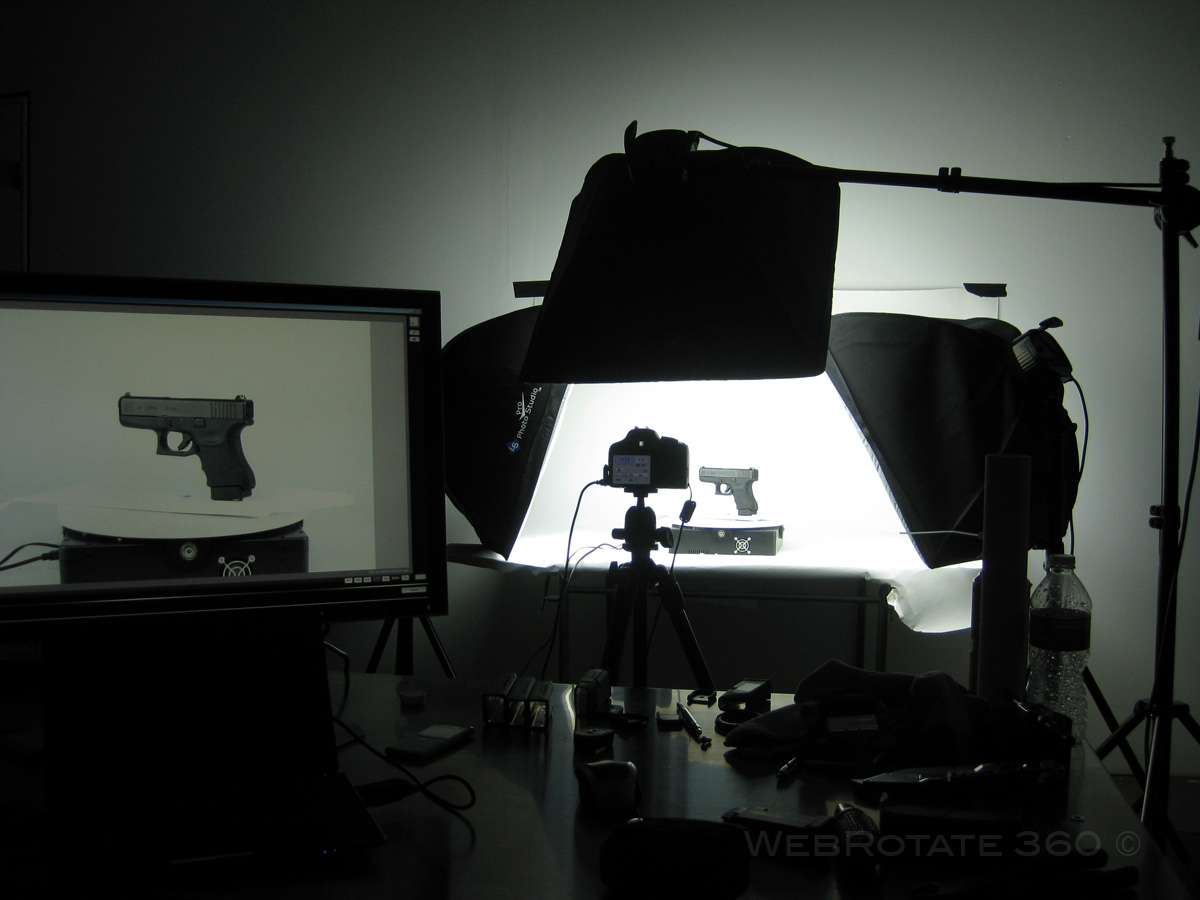
So the first task was to build a test setup to make sure everything would work on location which we did about a month in advance. And since we didn’t have access to the guns, we asked Glock to send us just a few magazines that would represent the majority of the items we were about to photograph. That was good enough to devise a simple approach:
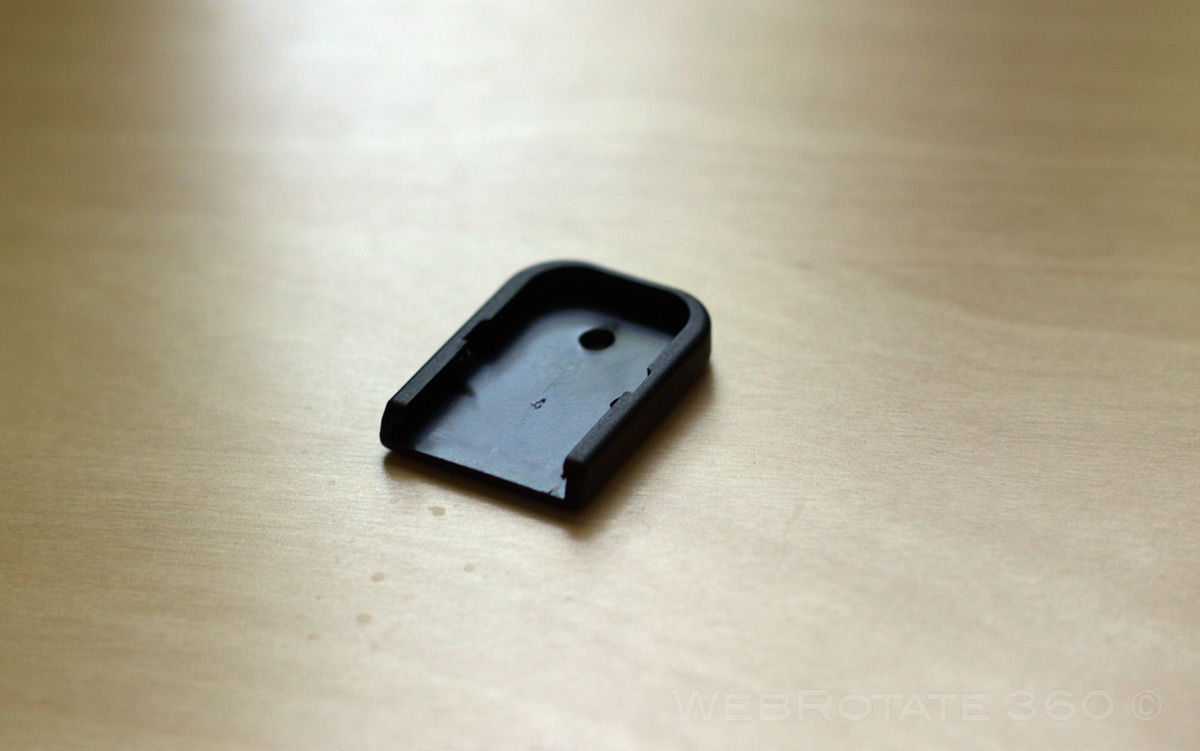
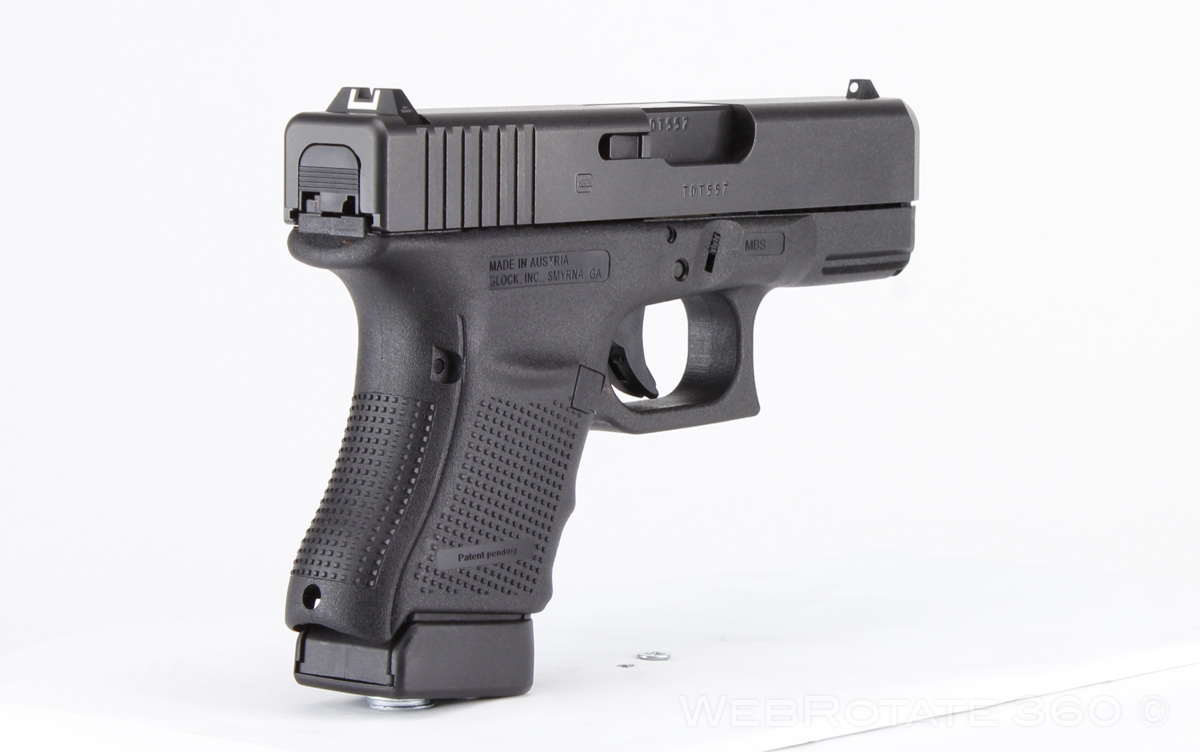
Each magazine had a sturdy plastic base plate at the bottom that also had tiny rails for the actual magazine to slide in and out (you can almost see the rails in this image below). This base plate was stiff enough for us to drill in two holes and then mount it via small bolts onto an aluminum sheet that served as the base for all guns.
Magazine base plate:
This aluminum sheet was then itself attached to the turntable. We used the aluminum sheet such that we could easily drill wholes in it and then cut threads as well to firmly screw in the bolts which were coming out of the magazine plates. This was essential as some guns were small and others were quite long so the center of balance of the 360-degree rotation was different for various guns and extra holes had to be made quickly on site. We then wrapped the aluminum sheet with white tape to make sure there’s no glare and it could be easily removed during post production.
Plate assembly for balanced product rotation:
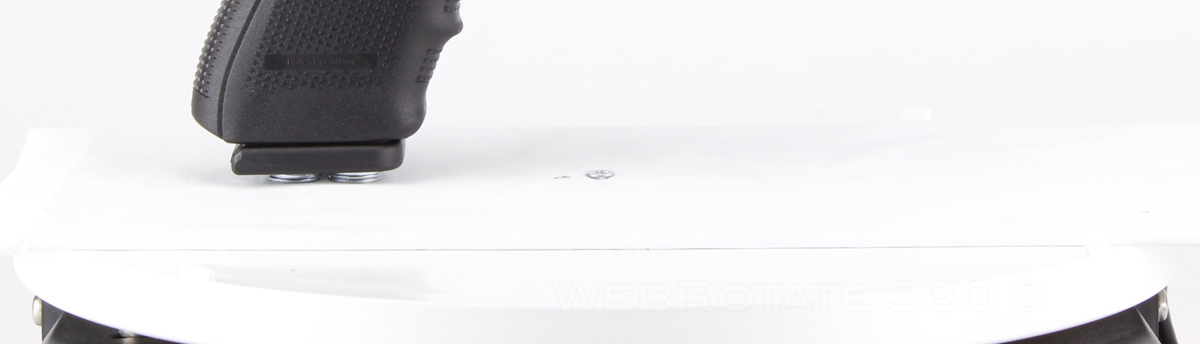
This worked very well as all we had to do for the majority of pistols was to slide in a new (empty!) magazine into the plastic magazine plate that was already screwed in to the aluminum sheet (and attached to the turntable) and then slide in the gun itself onto the magazine. That is until we had to change the magazine plate for a different model.
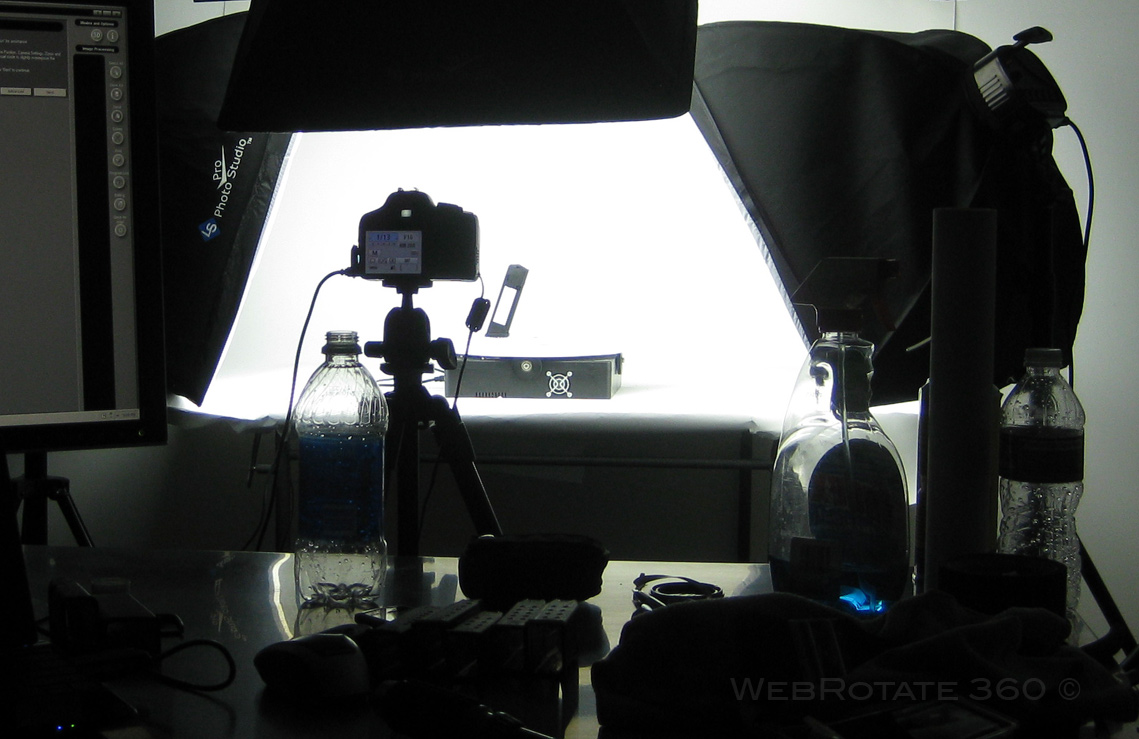
On location close-up:
The only small issue that remained was that these guns were quite heavy so there was a tilt on the barrel end and some smaller guns had an angled grip bottom which we compensated using a combination of washers going through the bolts between the magazine plate and the aluminum sheet as you can see better in these images:
Angle compensation with washers (example 1):
Angle compensation with washers (example 2):

Everything had to be automated to make sure we finish the project on time so we used small Ortery PhotoCapture 360 as it was tough enough for all the items we photographed. The rest was pretty straightforward!
We have recently moved all posts from our old photogear360 blog here, so here's some related material you may find useful:
- 360 Product Photography of Long Narrow Objects
- 360 product photography upside down
- Using suspension in 360 product photography (example 1)
- Using suspension in 360 product photography (example 2)
- White background in your 360 product photography projects
- DIY guide to building a manual 360 product photography turntable
- 360 product photography of large objects
- Mastering 360 product photography
- 360 product photography of flashlights