If you've been rendering products in Blender and want interactive 360-degree or multi-row 3D product views ready for web, mobile, or marketplace use, without rigging cameras and keyframes from scratch every time, the WebRotate 360 Turntable Animator for Blender is built to streamline that process. This plugin brings powerful 360 spin automation, hotspot support, and web publishing integration directly into Blender's familiar interface.
360 product spins made simple (single & multi-row)
Whether you need a standard 360 spin or a more advanced multi-row 3D product view, Turntable Animator takes the guesswork out of setup. It uses Blender's Scene Properties panel and viewport as your "viewfinder" so you can frame your model, set the number of frames per row, and automatically generate a clean turntable animation ready for rendering. This brings consistency and speed to your workflow, especially for eCommerce catalogs with many SKUs.
Hotspots that help sell
Interactivity is key for product engagement, and our Blender plugin lets you add hotspots directly in your scene.
- Point hotspots (via Blender "empties") to call out features.
- Custom polygonal hotspots using meshes or vertex groups for precise clickable areas.
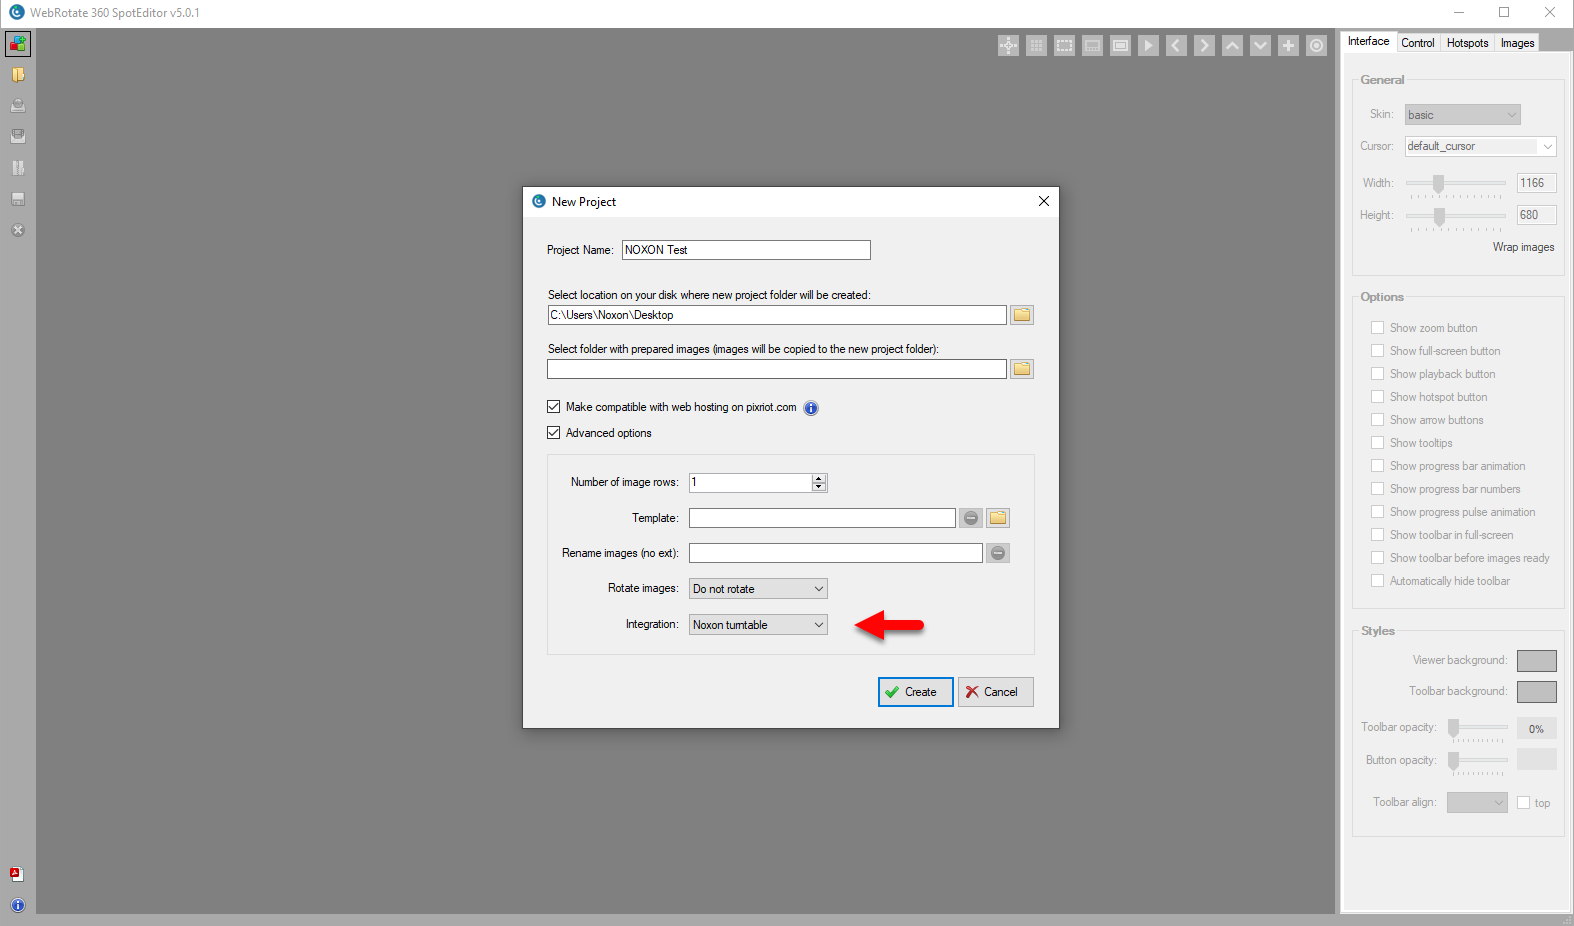
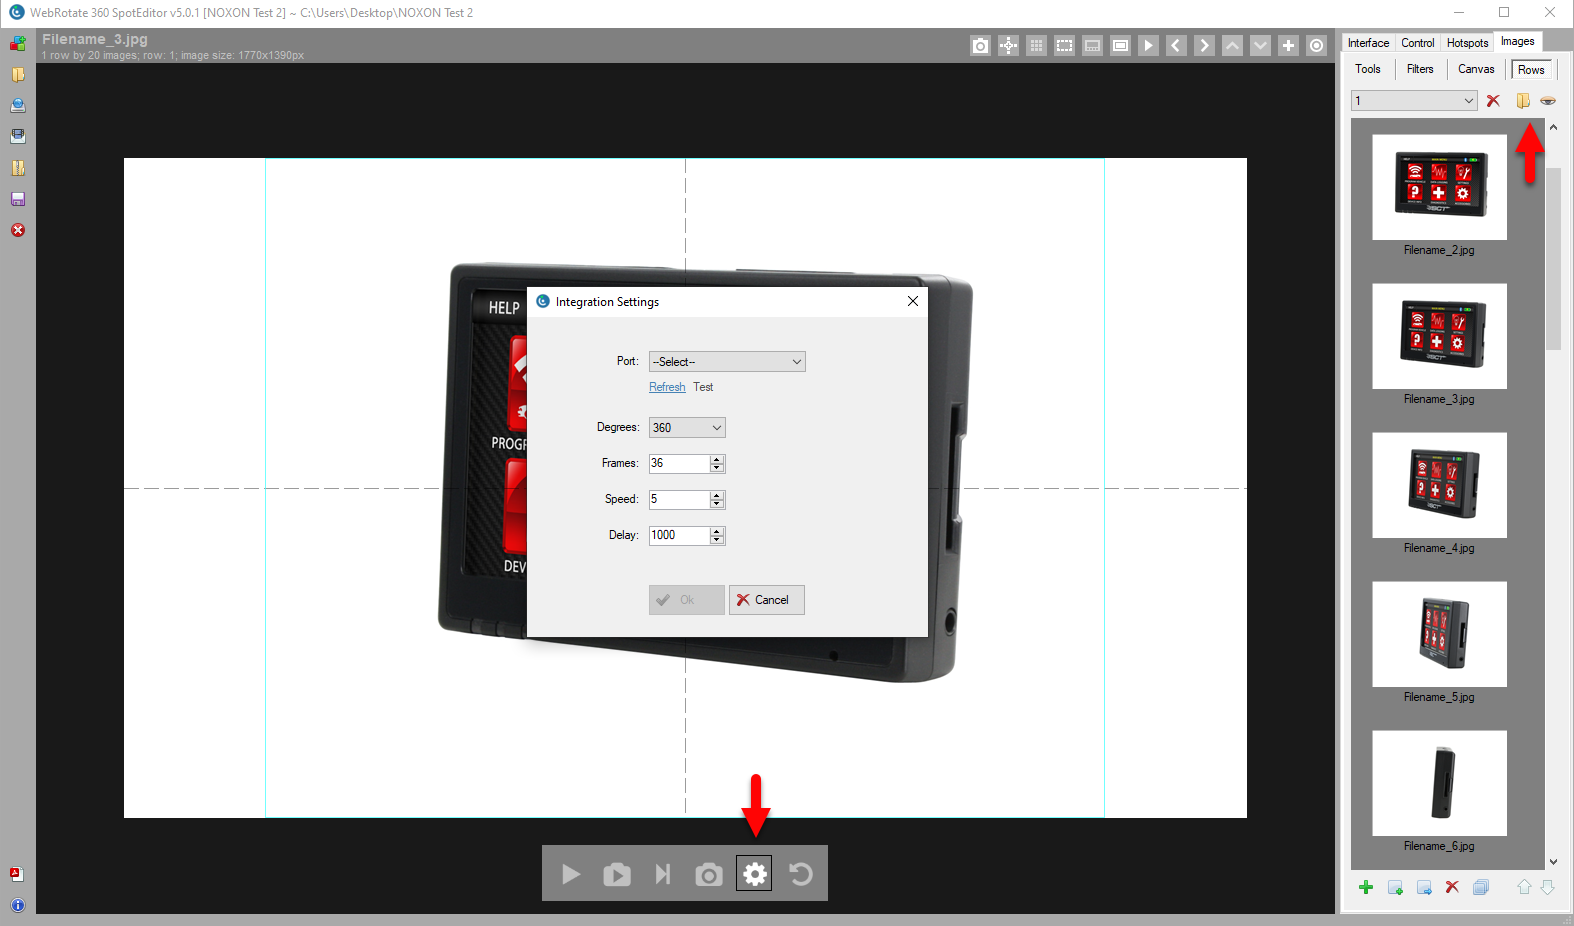
These can be extended later in the WebRotate 360 SpotEditor with rich content, video, images, HTML, tooltips, and even custom actions for interactive walkthroughs.
Built for web publishing
Turntable Animator supports multiple output targets.
- Standalone 360 product image sequences (great for marketplaces like Amazon).
- Interactive 360 assets for web and mobile using WebRotate 360 Product Viewer (free version).
- SpotEditor projects for more advanced publishing and styling.
Rendered output works with WebRotate 360's broader ecosystem, including CMS and eCommerce plugins and our optimized PixRiot CDN with analytics and collaboration, so teams and agencies can deliver polished product experiences faster.

Quick start
- See our complete plugin user guide.
- Get the Blender plugin here.
- Install the plugin (comes as a normal .zip add-on) and optionally install QuickView for instant previews.
- Setup your animation by choosing a project folder, selecting your object, and positioning your view, no camera rig required.
- Build your target, previewing with fast renders before finalizing high-quality outputs.
If you need help optimizing your cloud publishing setup or integrating 360 product views into your CMS or eCommerce platform, just let us know!