
Photo by Startup Stock Photos
Today we continue with our Missing Manuals series (see previous post) where we review more advanced product features and API examples. This time let's review a recent customization we have implemented for our client using viewer APIs.
Quick tip: to see all available APIs, simply publish your SpotEditor project using "JavaScript API" template that you can select via Template drop-down on the Publish form.
This customization was outside of our standard feature set and specifically the client wanted to really speed up the initial playback of their 360 product views on page load and then to also ensure that the 360 is always spinning as long as user doesn't interact with it. What seemed like a quick "fix" ended up being a good example of a more advanced API usage.
Check it out by opening the following link. Alternatively, download the entire SpotEditor project here and see our customized html template in the published folder.
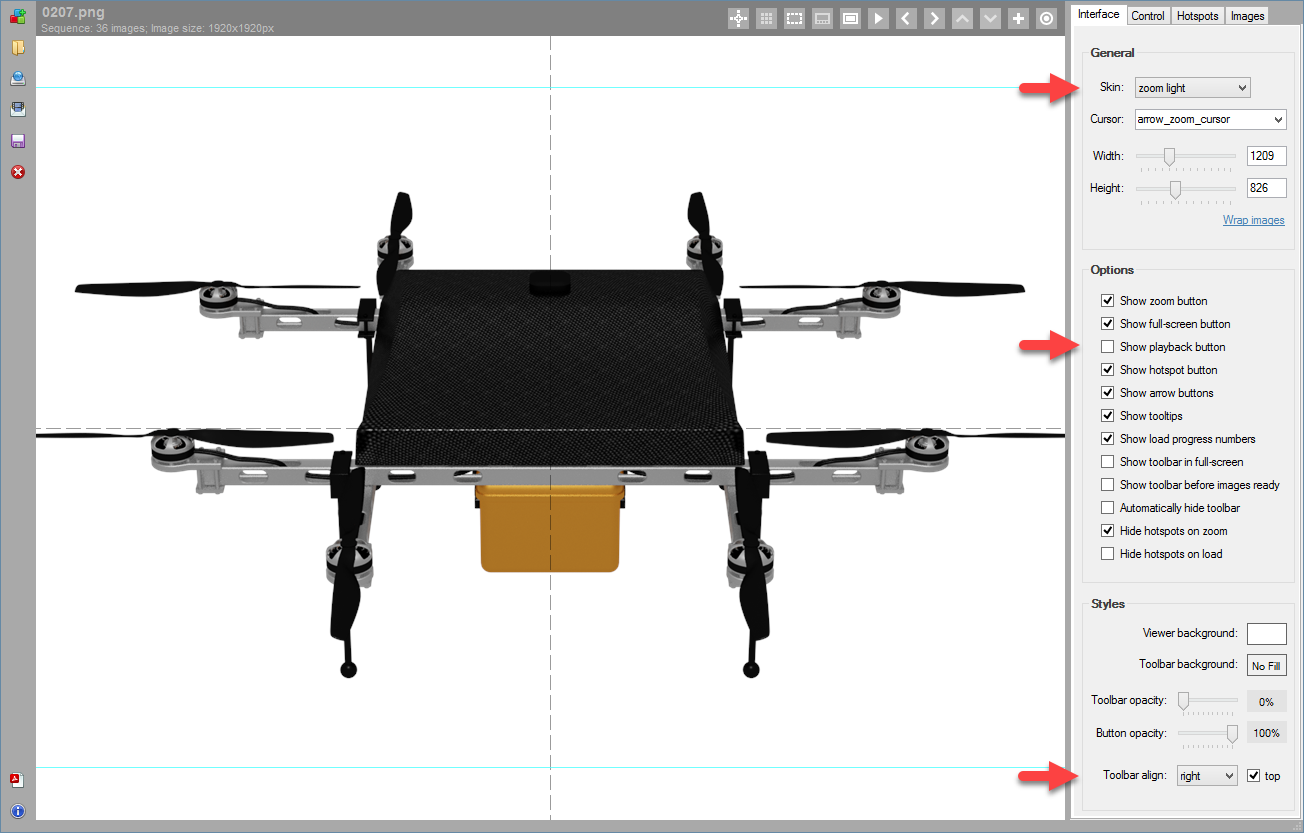
To achieve the same result, start by creating a new project in WebRotate 360 SpotEditor (download here) or open an existing SpotEditor project. Configure everything as you would usually do. As we're going to always auto-play, make sure to hide the playback button if selected viewer skin supports it (e.g all except "empty", "zoom_light", "zoom_dark"). In our example, we use "zoom_light" so this is not a concern.
With "zoom_light" skin consider using the "Toolbar align" controls to position the full-screen button to the top right of a 360 product spin as per the example.
Next step is to verify that the playback speed is reasonable, as again our product view is going to spin non-stop pretty much. Playback speed is controlled via "Rotate period" and it's the number of seconds it takes to play once through the entire set of 360 product images.
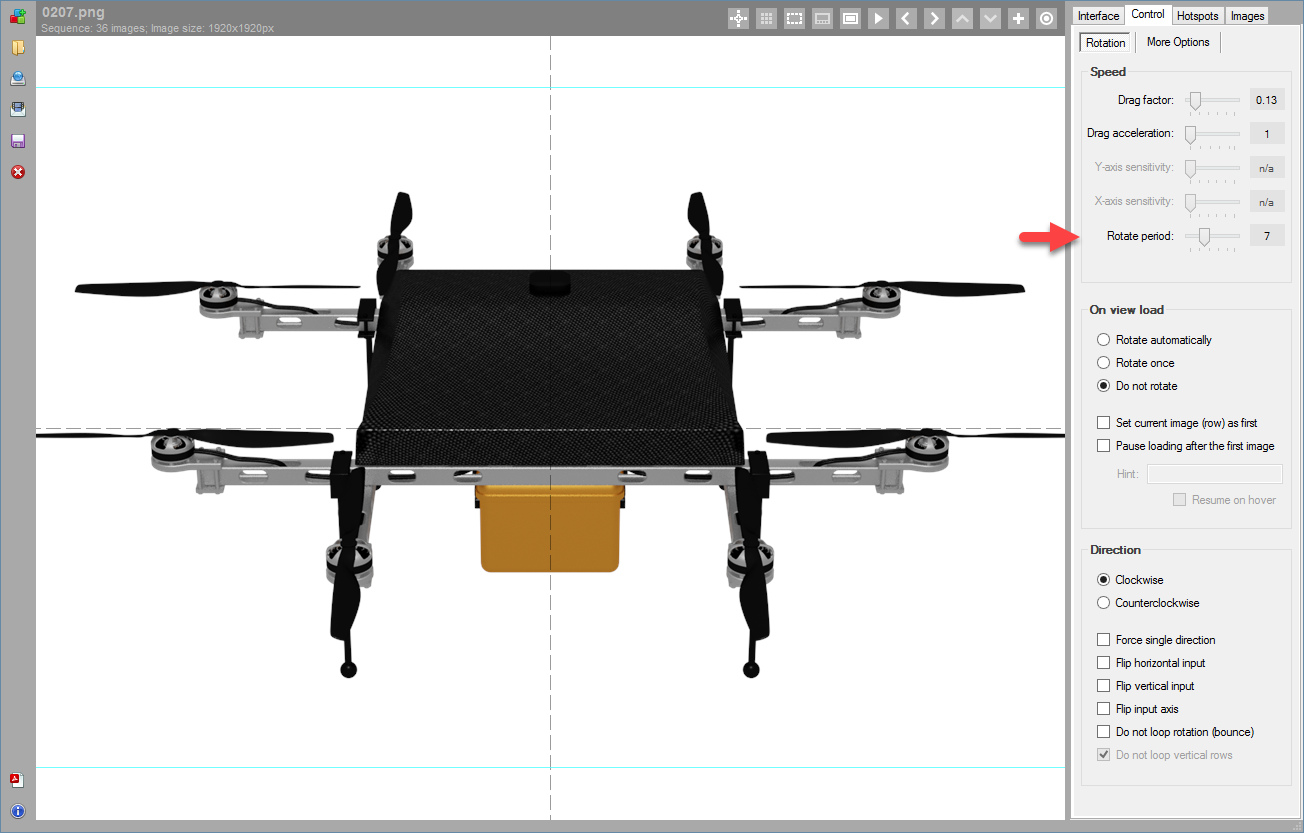
Remember that the rotate period value is also used in the calculation of the drag speed in that we multiply "Drag factor" you see in the same section in SpotEditor by the rotate period to get our desired drag responsiveness.
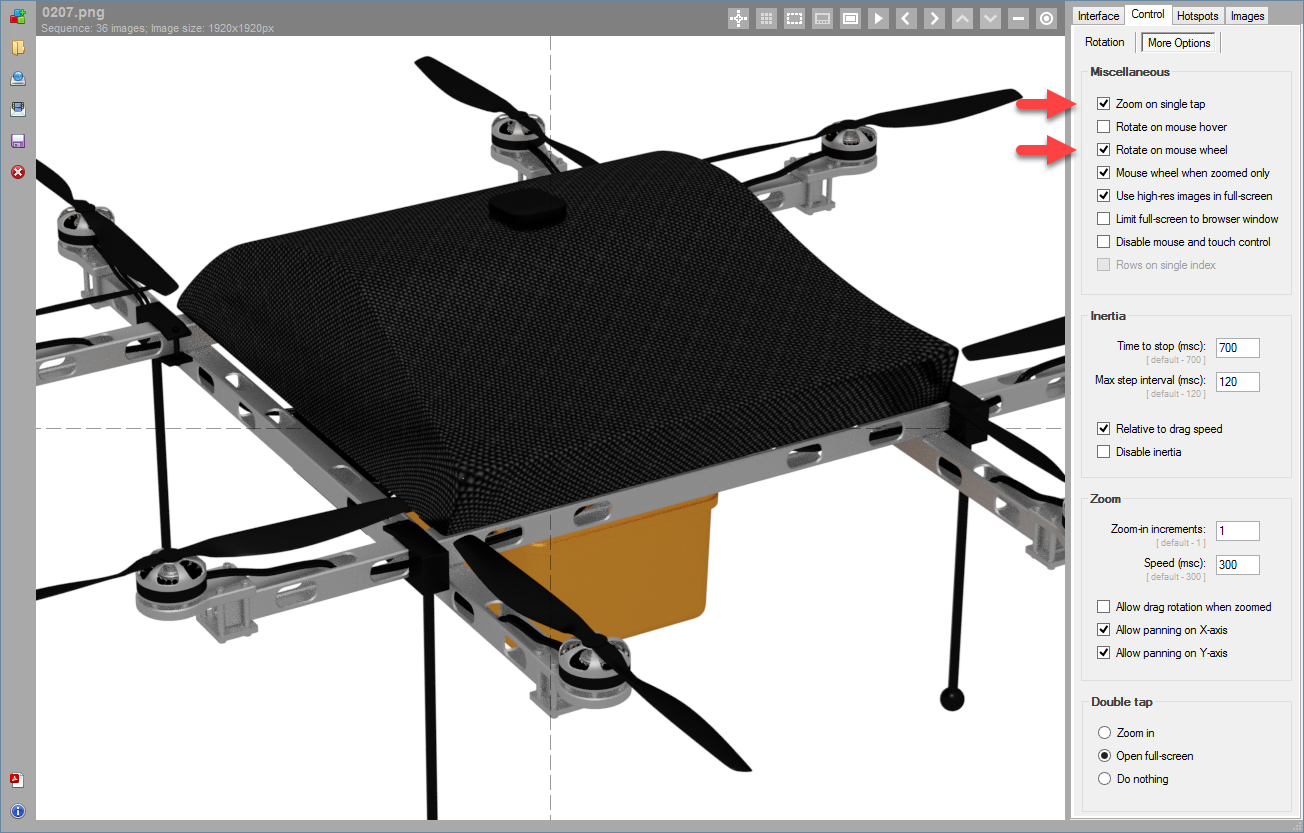
Let's also configure our 360 view to zoom-in on single tap and spin on mouse wheel when it's either zoomed-in or in full-screen.
Publish the project using "Responsive" template and rename the .html file under "published" folder of your project to something else so that our manual API changes don't get overwritten accidentally if something needs to be modified in SpotEditor and re-published.
As always to use APIs we add apiReadyCallback property with the name of our callback function, i.e wr360Callback.
jQuery('#wr360PlayerId').rotator({
    ....
    apiReadyCallback: wr360Callback
});
In wr360Callback (see the entire script in the html source of the example) we first determine the number of images we want to skip during the first spin to achieve that snappy turnaround we need. In this example, it's set to 2 via startPlaySkip. Then we setup a timer to manually play through the 360 degree animation by skipping 2 images every time the timer is fired which in our example is every 120ms.
Once we finish a full loop determined by skipCount, we stop the timer and start our standard viewer playback via api.toolbar.playbackToggle().
And if our callback is called in full-screen, we skip the whole thing all together to give user full control over the 360 product view.
function wr360Callback(api, isFullScreen) {
    if (isFullScreen)
        return;

    var totalImageCount = api.images.getTotalImageCount(),
        startPlaySpeed = 150; // Speed of the first spin in ms. The smaller the faster.
        startPlaySkip = 2; // Number of images to skip when running the first spin.
        startPlayDirection = 1; // Change to -1 to spin in opposite direction.

    var skipCount = Math.floor(totalImageCount / startPlaySkip);

    var startPlayInterval = setInterval(function() {
        api.images.showImageByDelta(startPlayDirection * startPlaySkip);
        if (--skipCount <= 0) {
            clearInterval(startPlayInterval);
            api.toolbar.playbackToggle();
        }
    }, startPlaySpeed);

    ....
Next section in the callback deals with the auto-playback when there's inactivity. Here we setup a separate timer that keeps tracking every 2 seconds whether the current viewer image is the same as the previous one we checked inside the timer callback. If it's not and the viewer is not in a zoomed-in state, we toggle the playback again.
....
var previousImageIndex = -1;
    isZoomed = false,
    pauseTimeout = 2000; // Time in ms to check for inactivity.

setInterval(function() {
    var newImageIndex = api.images.getCurrentImageIndex();
    if (previousImageIndex == newImageIndex && !isZoomed)
        api.toolbar.playbackToggle();
    previousImageIndex = newImageIndex;
}, pauseTimeout);
In the next v3.6.5 update, there's going to be a new api.images.onFrame that the viewer calls each time the image index changes and this may provide a bit cleaner solution without the extra timer.
All of our CMS and eCommerce plugins expose API callback so you can easily add interesting effects such as the one we reviewed above by providing the name of your callback function via a dedicated plugin property.
See the previous post in the Missing Manuals series here.