Not long ago we published a post on how to build a simple DIY turntable for 360 product photography sing a couple of rounded plywood sheets and a Lazy Susan bearing. Many of our blog readers used the guide and actually built it for their own 360 photography projects! But our DIY turntable was missing an important feature - automation. You have to rotate it manually by aligning marks on the top and the bottom of the table for each 360 degree product photo. This can still be useful when you work on a single and complex product where you need to quickly asses your lighting setup and product positioning, but when you work on a bunch of uniform items the manual rotation becomes an issue.
Here is a guest post by TINYenormous on how to go one step further and build a fully automated table using off-the-shelf microcontroller board, stepper motor, and an EasyDriver stepper motor driver.
_______________________________________________________________________________________
I have wanted to build a rotary turntable for quite a while. With it I can shoot 360 degree product photos, I can set the camera up on it and shoot panoramas. I can use it with my timelapse setup to put motion into a long shot. I also have an idea about trying to use it to build a masterlock picker!
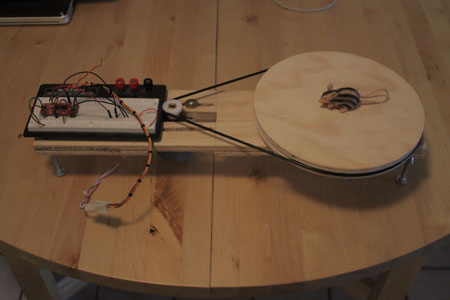
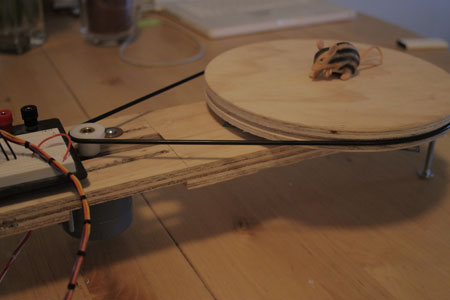
There is a stepper motor connected to a sparkfun easydriver via an arduino (not shown) The motor has something like 1.5 degrees per step and it is geared down heavily via the rubber belt, so it is very precise.
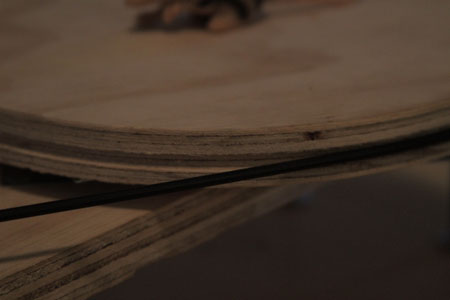
I used a table saw to cut this notch. Not something that I would recommend for the faint of heart.
Here is the easy driver on the breadboard.
This shot shows the bottom of the board. I used a “lazy susan” bearing from Home Depot to keep the turntable rolling smoothly. One thing I did wrong is that it was mounted several times while I was sanding or grinding and I definitely got a bit of grit in the bearings.

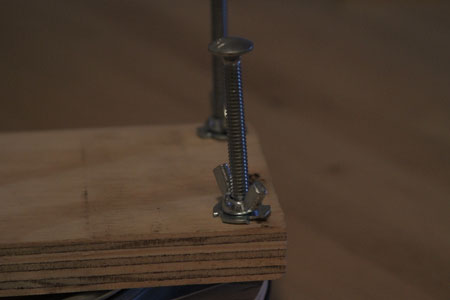
Here is a new thing I have been doing to make adjustable feet. It is a furniture nut pressed into the wood with a 1/4 x 20 bolt and wingnut poking out. It is cheap, adjustable, and keeps me from having to do any more woodworking.
With the easy driver the arduino code couldn’t be easier. I think I based it off of the “blink” example code. You need to enable two pins to set the stepping mode, a pin for direction, and a pin for step. It is that easy. I also have it connected to a converted pc power supply to give the motors 12v. I’m not sure how much I’ll use this, but it has been in my head for forever, so it’s good to let it out!
Please check out TINYenormous Blog to read about his other cool ideas and DIY projects that utilize microcontroller, programming, cameras, lasers, and all things technology!
Have you already captured 360 degree images of your products? To publish them on your website use our interactive 360 Degree Product Viewer. Windows and Mac software is also included to make creation of your 360 product views as simple as possible.
If you plan to work on 360 degree spins often and rather prefer to use a specialized commercial 360 product photography turntable with robotic control, check out our new 360 photography equipment store where we offer a variety of sturdy turntables built to simplify the process and save time.